Troubleshooting Canning Jar Preparation
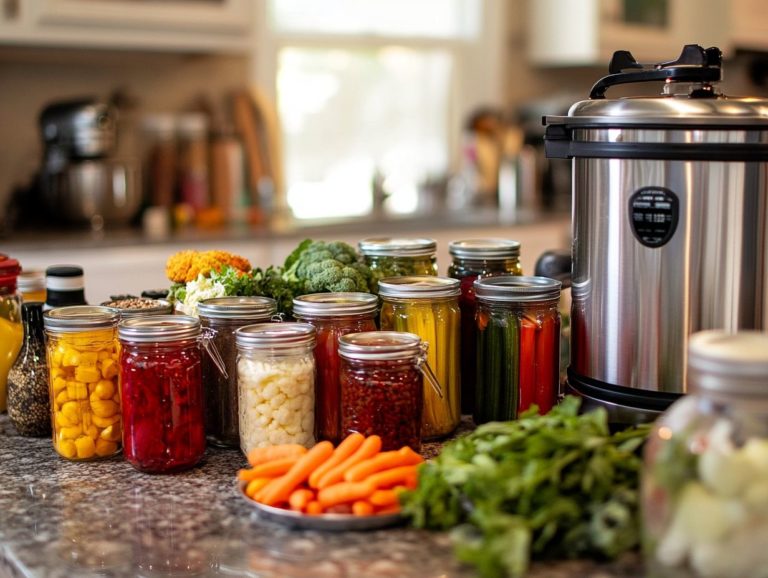
Canning is a rewarding method to preserve your favorite foods, but it can come with challenges, especially when preparing jars.
This article covers the essential steps for preparing canning jars, guiding you through common issues and ensuring that your jars are clean and properly sterilized. You ll discover how to select the right jars for your needs, along with step-by-step instructions to make the process smooth.
You ll also find troubleshooting tips to help you navigate any problems that may arise along the way. Get ready to dive into the exciting world of canning!
Contents
- Key Takeaways:
- Common Issues with Canning Jars
- Proper Cleaning and Sterilization Techniques
- Choosing the Right Canning Jars
- Preparing Jars for Canning
- Troubleshooting Tips
- Frequently Asked Questions
- What is the recommended method for preparing canning jars?
- Why are my canning jars breaking during the canning process?
- Can I reuse canning jars?
- What should I do if my canning jars do not seal properly?
- Can I use any type of jar for canning?
- What should I do if my canning jars develop mold or bacteria growth?
Key Takeaways:
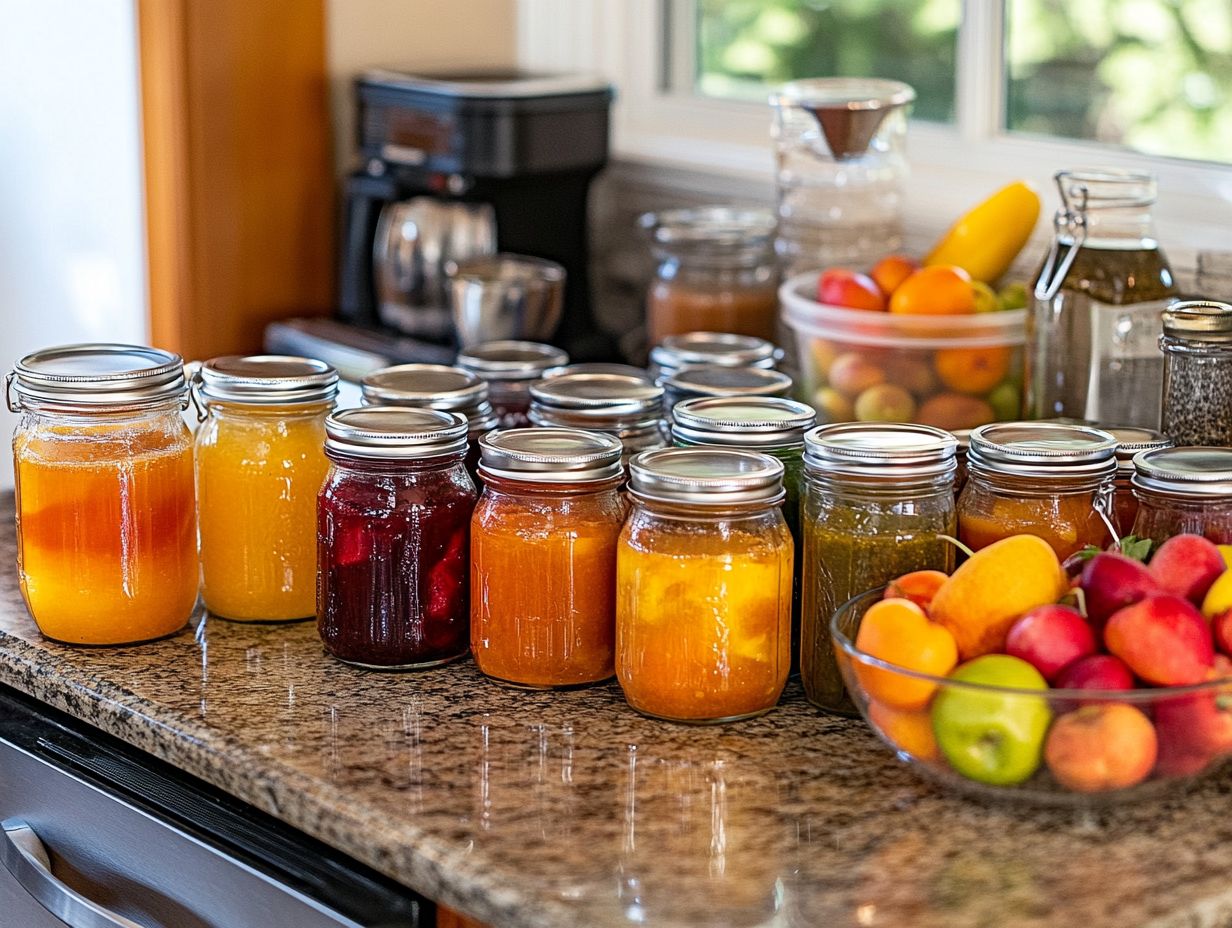
- Clean and sterilize jars properly to ensure safe food preservation.
- When facing issues with canning jar preparation, consider jar size, material, and condition.
- Identify and address common problems, like jar breakage and seal failure, to ensure a successful canning process.
What is Canning Jar Preparation?
Canning jar preparation is a vital step in your home canning journey. It ensures that the jars used for food preservation are sanitized and ready for sealing. This process goes beyond selecting the right jars; it requires careful attention to detail to prevent seal failures or contamination, which is why knowing about troubleshooting common canning problems is essential.
It’s essential to achieve an airtight seal for safe, long-lasting food storage. Proper jar preparation helps maintain the quality of your canned goods over time, making it essential for successful food preservation. If you encounter issues, refer to our guide on troubleshooting thickening issues in canning.
When you start this culinary adventure, thoroughly clean your jars with hot, soapy water, and rinse them well to remove any residue. Choose glass canning jars, like Mason or Ball jars, as they are designed to withstand high temperatures and ensure a secure seal.
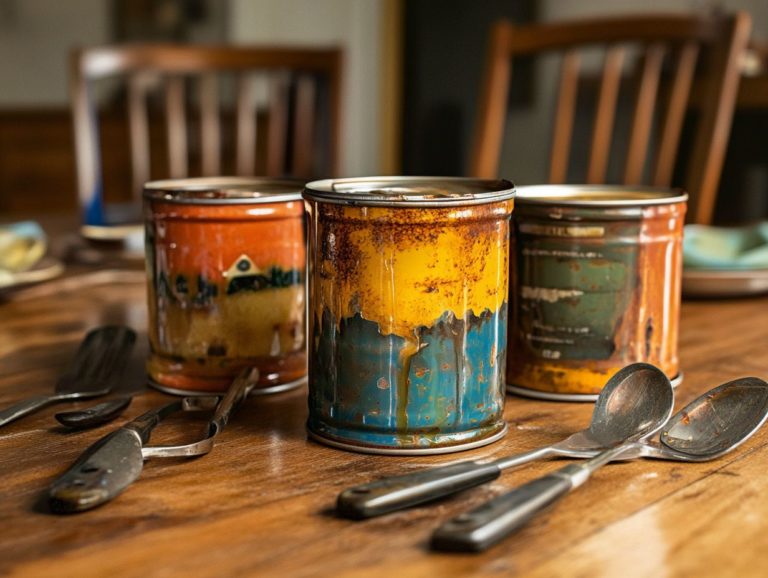
Using the right canning supplies like lid rings and a canning tool kit will set each jar up for effective sealing. Avoid jars with any signs of damage, such as cracks or chips, as these can compromise the integrity of your seals.
Following these best practices not only promotes food safety but also elevates the quality of your preserved treasures.
Common Issues with Canning Jars
Common issues with canning jars can significantly affect your food preservation efforts, so knowing how to address these problems is crucial. For more guidance, check out troubleshooting pressure canning issues, as this can help prevent seal failures and spoilage.
Many home food preservers encounter challenges like improper sealing, cracks in jars, or lid problems, which can compromise the safety and quality of their preserved food. For those dealing with specific issues, such as texture, refer to our guide on troubleshooting soft fruit in canning.
Understanding these issues is crucial for effective canning. It helps you avoid food poisoning and other hazards linked to improper storage, such as botulism.
Know the common canning mistakes and take steps to avoid them. Being aware of these issues allows you to take necessary precautions to ensure your jars function perfectly, securing the integrity of your delicious creations.
Identifying and Addressing Problems
Identifying and addressing issues with canning jars is essential for the safety and longevity of your preserved food. For instance, if you encounter problems like excessive canning liquid, it could indicate seal failure due to improper headspace or using the wrong lid, leading to potential contamination or spoilage.
Monitor your jars closely and recognize signs of failure so you can rectify any issues promptly and uphold optimal food safety standards in your canning practices.
Common signs to watch for include visual cues like a broken seal, which may appear as a slight bulge or a lack of vacuum. You might also hear a pop when opening the jar, indicating a loss of vacuum. Additionally, watch for cloudy liquid or floating particles, as these can signal spoilage.
Inspect gaskets and lids before use to ensure they aren t damaged or warped, as this can compromise the seal. If you detect any problems, taking immediate action such as reprocessing the food or discarding compromised jars can help prevent health risks.
Remember, following tested canning methods and maintaining a clean workspace are essential steps in fostering safe food preservation.
Proper Cleaning and Sterilization Techniques
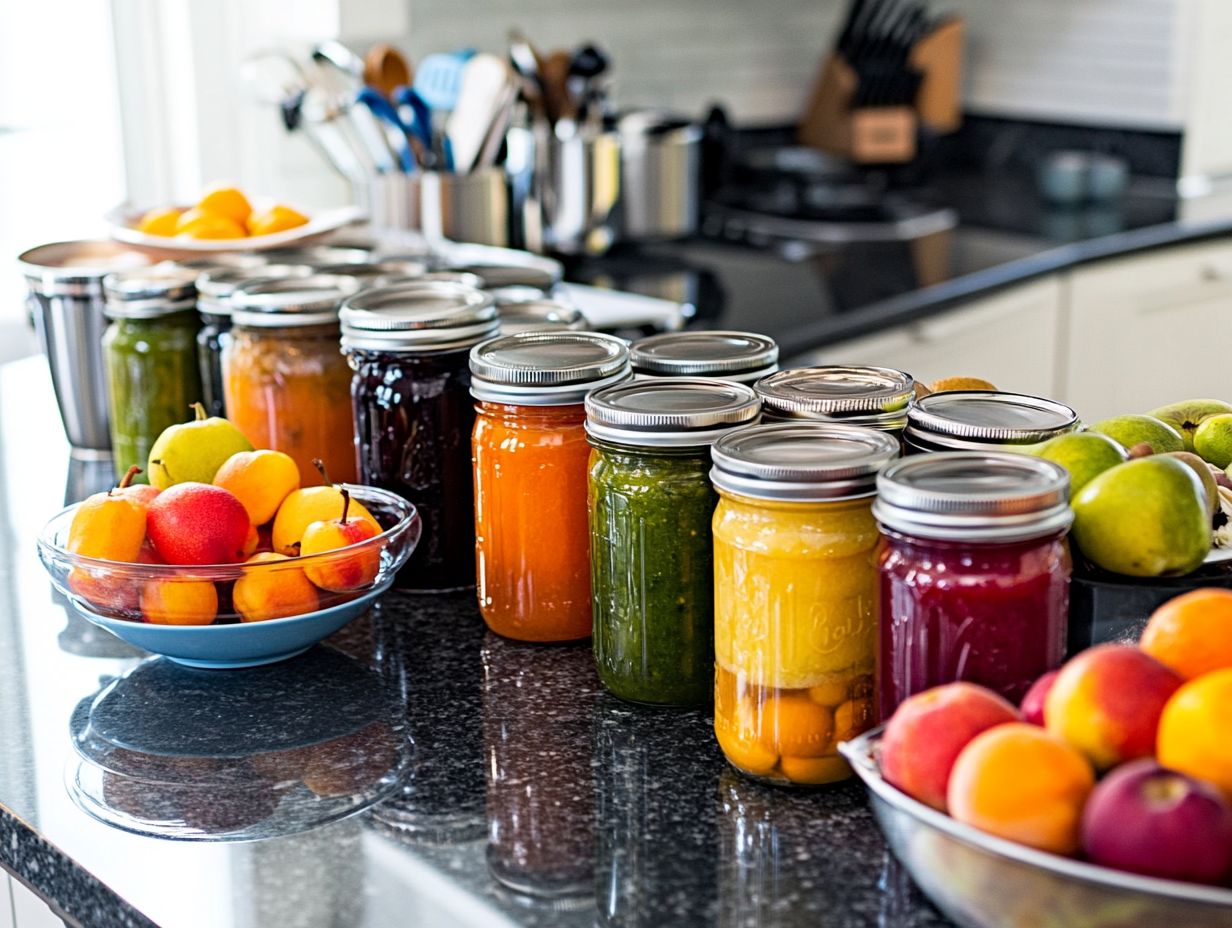
Proper cleaning and sterilization techniques are vital in the canning process. They effectively eliminate germs and ensure the safety of your preserved foods.
You can achieve effective sterilization through methods like boiling water or using a pressure canner. These methods not only clean but also prepare your jars for the sealing process.
By adhering to established safety precautions, you can secure an airtight seal. This significantly reduces the risk of foodborne illnesses associated with improper food preservation.
Understanding the intricacies of cleaning and sterilization is essential for anyone aiming to master the art of home canning.
Ensuring a Safe and Clean Environment
Ensuring a safe and pristine environment is essential for your canning success. It directly influences the quality and safety of your preserved food.
A well-organized workspace with sanitized jars and equipment reduces the risk of contamination. This helps maintain the integrity of the canning process.
By adhering to best cleanliness practices, you create an ideal setting for food preservation. This minimizes the chances of food safety issues such as botulism or spoilage.
To start, thoroughly clean all surfaces and utensils that will come into contact with your food.
- Use hot, soapy water to wash countertops, cutting boards, and tools. Follow this with a rinse using a 10% bleach solution to eliminate any lingering germs.
- Inspect all your canning supplies to ensure the jars are free of cracks and that the lids close tightly.
- Wash your hands frequently while handling food to keep harmful pathogens at bay.
By utilizing proper canning techniques, you enhance the quality of your preserves and reinforce your commitment to food safety.
Choosing the Right Canning Jars
Selecting the right canning jars is crucial for successful food preservation. Not every jar is designed for the canning process.
Key factors to consider include the thickness of the glass, compatibility with various canning techniques, and the integrity of tight seals.
These elements are essential for ensuring that your preserved foods remain safe and delectable over time. By familiarizing yourself with the specific requirements of different canning methods and following essential safety precautions, you can choose jars that best align with your preservation goals.
Factors to Consider
When selecting canning jars, it’s important to consider several crucial factors. This ensures optimal food safety and successful preservation.
The size and type of jar can significantly affect processing time and the effectiveness of sealing. Therefore, choosing jars that align with your specific canning methods is essential.
For example, pint-sized jars are perfect for jams and jellies. In contrast, quart-sized jars shine when it comes to pickling vegetables or storing sauces.
The material of the jar, whether glass or plastic, also plays a vital role. Glass jars typically provide a better seal and are more heat-resistant during processing.
Don’t skip checking for certifications they’re your guarantee of safety! Ensure compliance with safety standards.
Jars designed for canning should feature a two-part lid system to create a tight seal, minimizing the risk of bacterial contamination.
Understanding these factors will significantly enhance the longevity and safety of your preserved foods.
Start your canning journey today with the right jars!
Preparing Jars for Canning
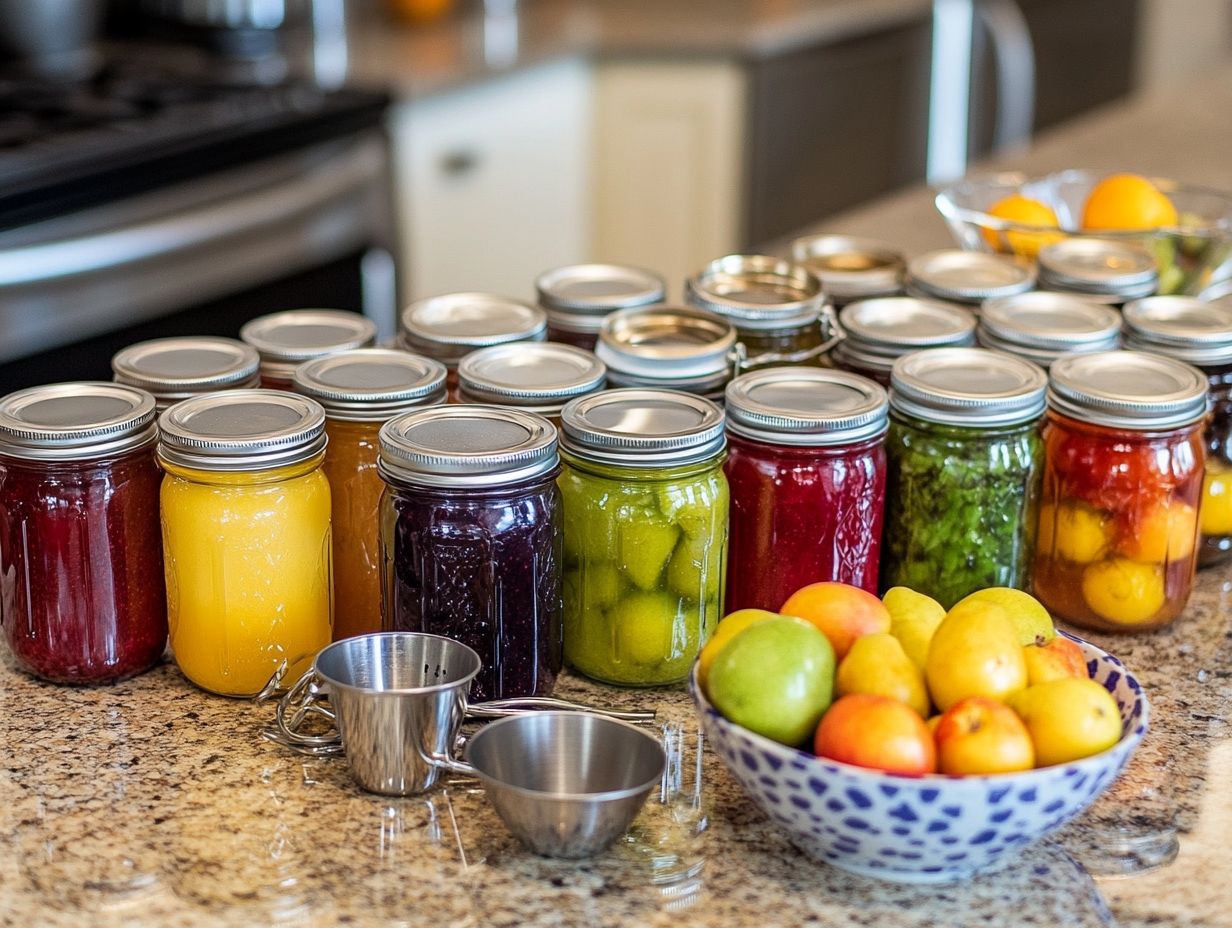
Preparing jars for canning is an essential step in the food preservation journey. This ensures that each jar is fully prepared to hold and seal your cherished preserved foods, such as jam and syrup.
This preparation entails thorough cleaning, careful sterilization, and a keen inspection for any potential damage. Addressing issues in your setup is crucial, as troubleshooting your canning process can help ensure that any damage does not compromise the jar’s ability to maintain a tight seal during processing, especially when using a home pressure canner.
By adhering to established canning techniques, you can confidently safeguard your fruit, vegetables, pickles, and other preserved delights. This minimizes the risk of spoilage or foodborne illness.
Step-by-Step Instructions
Step-by-step instructions for preparing jars for canning are essential to ensure that every detail of the process is executed correctly and safely. This involves boiling water for sterilization, inspecting jars for defects, and confirming that the lids are in optimal condition. Additionally, knowing what to check when jars don’t seal can help prevent issues in the canning process.
By following these guidelines, you can significantly reduce the risk of food safety issues, including risks of bacteria and food poisoning. This ensures that your preserved foods remain both safe and delicious.
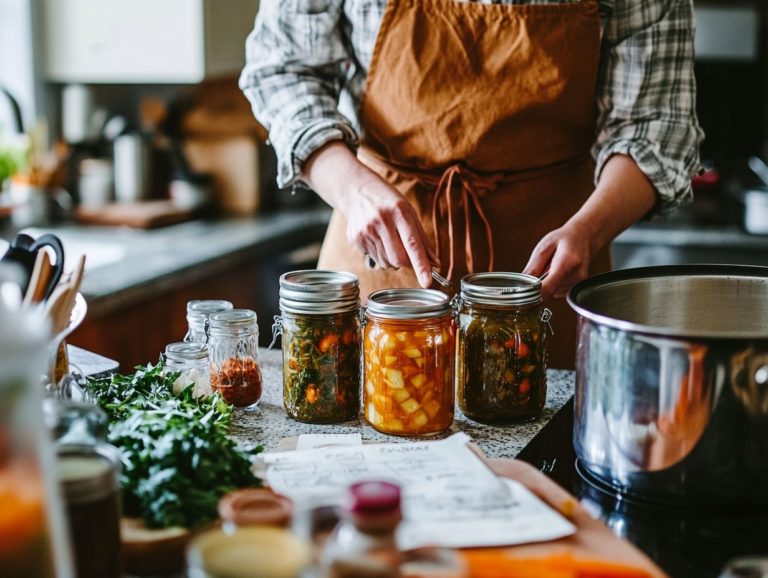
To start, gather all the necessary materials: clean jars (especially those designed for home canning), lids free of dents or rust, a large pot for boiling water, and a towel for drying.
- First, fill the pot with water and bring it to a rolling boil.
- While the water heats, closely inspect each jar for any cracks or chips. Even the smallest imperfections can compromise the seal.
- Once the water is boiling, carefully place the jars inside for about 10 minutes of processing time to sterilize them thoroughly.
- After this, use tongs to remove the jars, placing them on a clean towel or a clean jar lid.
- It s equally important to check the lids for dents or rust before sealing.
Implementing these meticulous steps enhances the longevity of your preserved goods. It also ensures that food safety standards for home canning and food preservation are met, instilling confidence in every canning endeavor.
Troubleshooting Tips
Troubleshooting tips help you identify and resolve common issues that may emerge during the food preservation process. This includes methods like pickling and making jam, which is an easy canned preserve to make.
You can avoid common mistakes by preparing carefully, such as seal failures or improper jar preparation. This enables you to take proactive steps, ensuring that your preserved foods retain their quality and safety.
By embracing effective troubleshooting strategies, you can refine your canning skills. This helps you steer clear of pitfalls that could compromise the integrity of your food.
Solutions for Common Problems
Solutions for common challenges in canning enable you to tackle issues effectively. This ensures the safety of your food and guarantees airtight seals.
By pinpointing potential problems like under-processing, incorrect cooking times, jar breakage from thermal shock, or improper acidity levels, you can refer to understanding canning process failures to take proactive measures that reduce these risks.
Using research-backed methods such as following tested canning recipes from reliable sources like the Cooperative Extension Service and maintaining precise temperatures is essential for achieving safe preservation.
Regularly check your equipment standards, including your pressure gauge, and ensure that jars are free from nicks and food debris. This can help prevent seal failures.
By emphasizing cleanliness and proper food storage practices, you significantly lower the chances of contamination. This allows you to enjoy your homemade delights with complete peace of mind.
Frequently Asked Questions
What is the recommended method for preparing canning jars?
To prepare canning jars, wash them in hot, soapy water. Rinse well, then place them in boiling water for 10 minutes to sterilize. Let them air dry before use.
Why are my canning jars breaking during the canning process?
There are a few reasons why jars might break. One reason is improper sterilization. Also, uneven heating can cause the jars to break.
Can I reuse canning jars?
Absolutely! You can reuse canning jars if they re in good condition. Just make sure to sterilize them properly before each use. Inspect the jars for any cracks or chips before reusing them. Discard any that are damaged.
What should I do if my canning jars do not seal properly?
If your canning jars do not seal properly, troubleshoot the issue. Check that the lids and rims are clean and free of debris. Ensure the jars have the correct amount of headspace for proper sealing, as this is crucial for the type of food you’re canning. For more guidance, refer to troubleshooting for better canning results. If the problem persists, you may need to replace the lids or adjust your canning process.
Can I use any type of jar for canning?
No, it is important to use jars specifically designed for canning. These jars can withstand high heat and pressure during the canning process. Using other types of jars, such as recycled store-bought jars, may result in breakage or failure to seal properly.
What should I do if my canning jars develop mold or bacteria growth?
If your canning jars develop mold or bacteria growth, discard the contents. Properly clean and sterilize the jars before using them again. Follow the recommended steps for preparing and sterilizing your jars to prevent this issue from occurring again.
