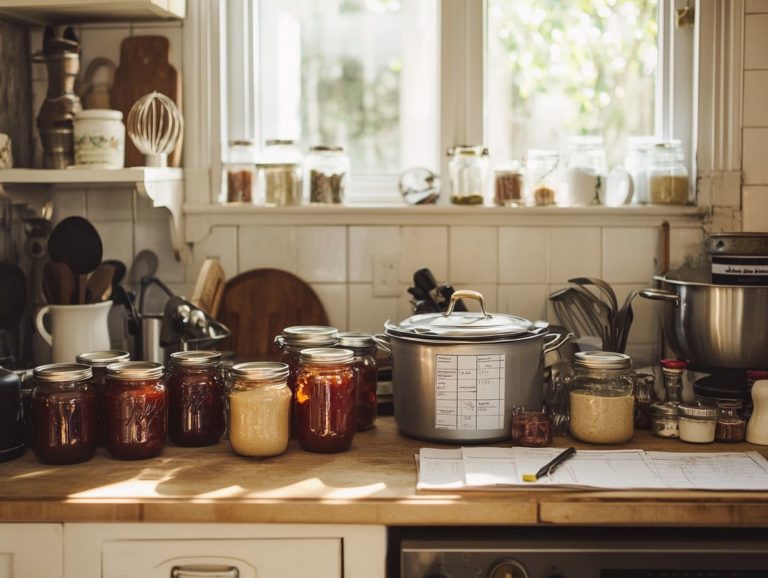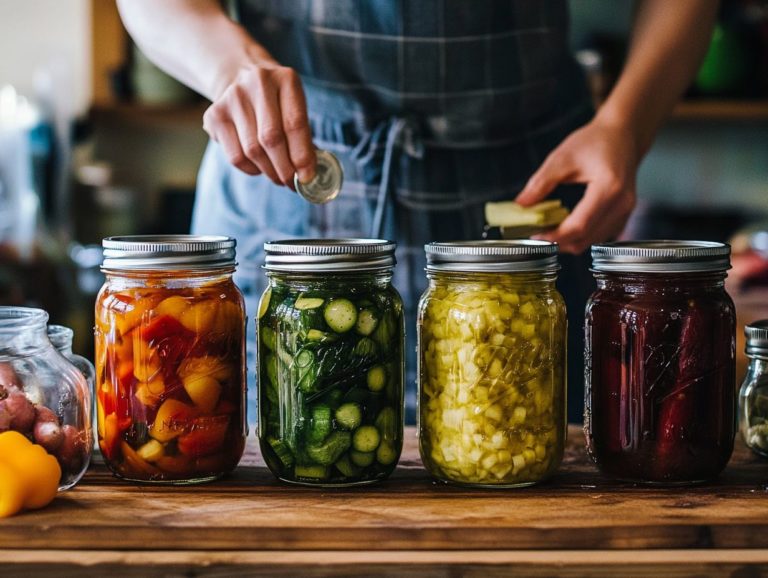
Managing Air Bubbles in Canning
Air bubbles can be quite the nuisance during the canning process. They impact not only the quality of your preserving food but also their safety.
Understanding what sparks these bubbles and the potential risks they pose is essential for any home canning enthusiast. Let s explore the factors that cause air bubbles and how to tackle them!
In this guide, you’ll find practical tips for prevention and techniques to eliminate air bubbles during canning. You ll also discover solutions to common issues, ensuring your jars are perfectly sealed and safe from foodborne illnesses.
Immerse yourself in this guide to master the art of bubble-free canning and explore delicious recipes like chutneys and relishes!
Contents
- Key Takeaways:
- What Causes Air Bubbles?
- Potential Risks of Air Bubbles
- Preventing Air Bubbles
- Managing Air Bubbles During Canning
- Troubleshooting Common Issues
- Frequently Asked Questions
- Q1: What causes air bubbles in canned foods?
- Q2: How can I prevent air bubbles when canning?
- Q3: Are air bubbles in canned food dangerous?
- Q4: Can I remove air bubbles from canned food after processing?
- Q5: How can I tell if my canned food has air bubbles?
- Q6: Are there any methods to remove air bubbles from canned food before processing?
Key Takeaways:
- Air bubbles in canned goods can be caused by various factors, including improper filling or processing techniques.
- Air bubbles can pose risks to both the canning process and food safety, leading to spoilage, liquid loss, or creating a breeding ground for bacteria.
- Preventing and managing air bubbles during canning is crucial for producing safe and high-quality canned goods, achievable through proper techniques and troubleshooting methods.
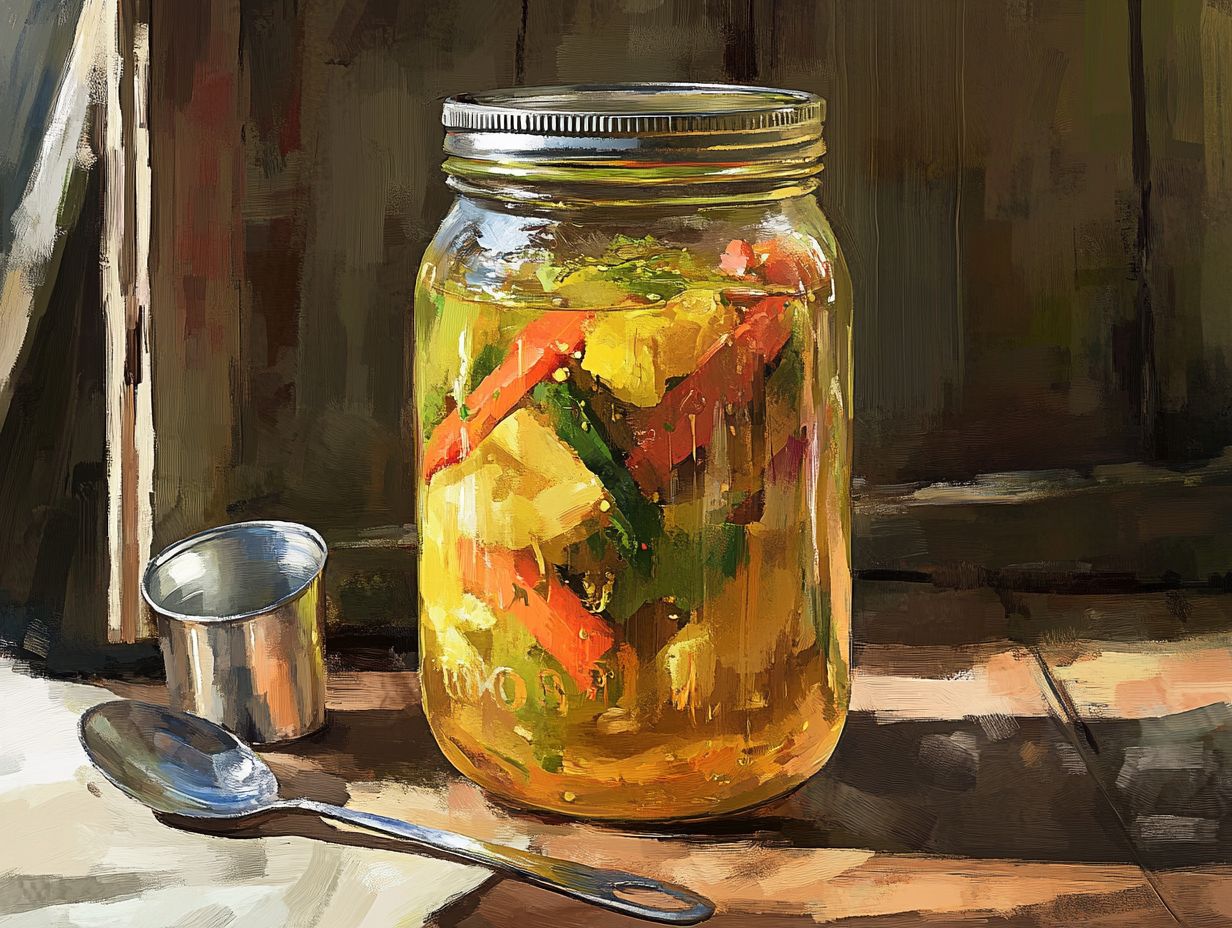
What Causes Air Bubbles?
Air bubbles can sneak into your jars during the canning process due to trapped air in the food or jar itself. If left unchecked, these bubbles can jeopardize both the quality and safety of your preserved goods.
When you’re preserving food, it’s vital to grasp the importance of headspace the space left at the top of the jar in preventing those pesky air bubbles from undermining the vacuum seal. Trapped air threatens liquid loss and can create an environment for foodborne illnesses if jars aren’t sealed properly. That’s why sticking to established home canning practices is essential.
Ensuring you have the right headspace varies by the type of food. For example, fruit sauces typically need about 1/4 inch of headspace, while pickled vegetables require closer to 1/2 inch.
Following USDA guidelines can make managing these details simpler. Employing proper vacuum sealing techniques, like using a canning funnel and carefully removing air bubbles with a plastic utensil, helps maintain the quality of your preserving liquid.
By taking these measures, you reduce the risk of spoilage and food safety issues, ensuring your canning efforts yield delicious, safe results.
Potential Risks of Air Bubbles
Grasping the potential risks associated with air bubbles in canned goods is essential for safeguarding food safety and preserving the intended quality of your products.
The presence of air bubbles can result in liquid loss during the jar processing stage, compromising the integrity of the vacuum seal. This elevates the risk of foodborne illnesses and is particularly concerning when jars are improperly stored or not processed following USDA guidelines or Colorado State Extension.
Effects on Canning Process and Food Safety
The effects of air bubbles on the canning process significantly influence food safety. Trapped air can hinder the formation of an effective vacuum seal essential for preserving your food. This oversight can lead to spoilage, compromised quality, and an elevated risk of foodborne illnesses due to insufficient processing and sealing.
By minimizing air during the canning process, you can align with USDA guidelines, which stress the importance of achieving a proper vacuum seal. This seal is vital for halting bacterial growth, especially in low-acid foods like vegetables and meats.
Different foods, such as fruits, fruit sauces, and tomatoes, require tailored processing times to effectively eliminate pathogens and ensure safety. For instance, while fruits may need a shorter processing time, tomatoes demand careful attention to their acidity levels.
Therefore, cultivating a deeper understanding of bubble management elevates food quality and safeguards your health throughout the canning journey.
Preventing Air Bubbles
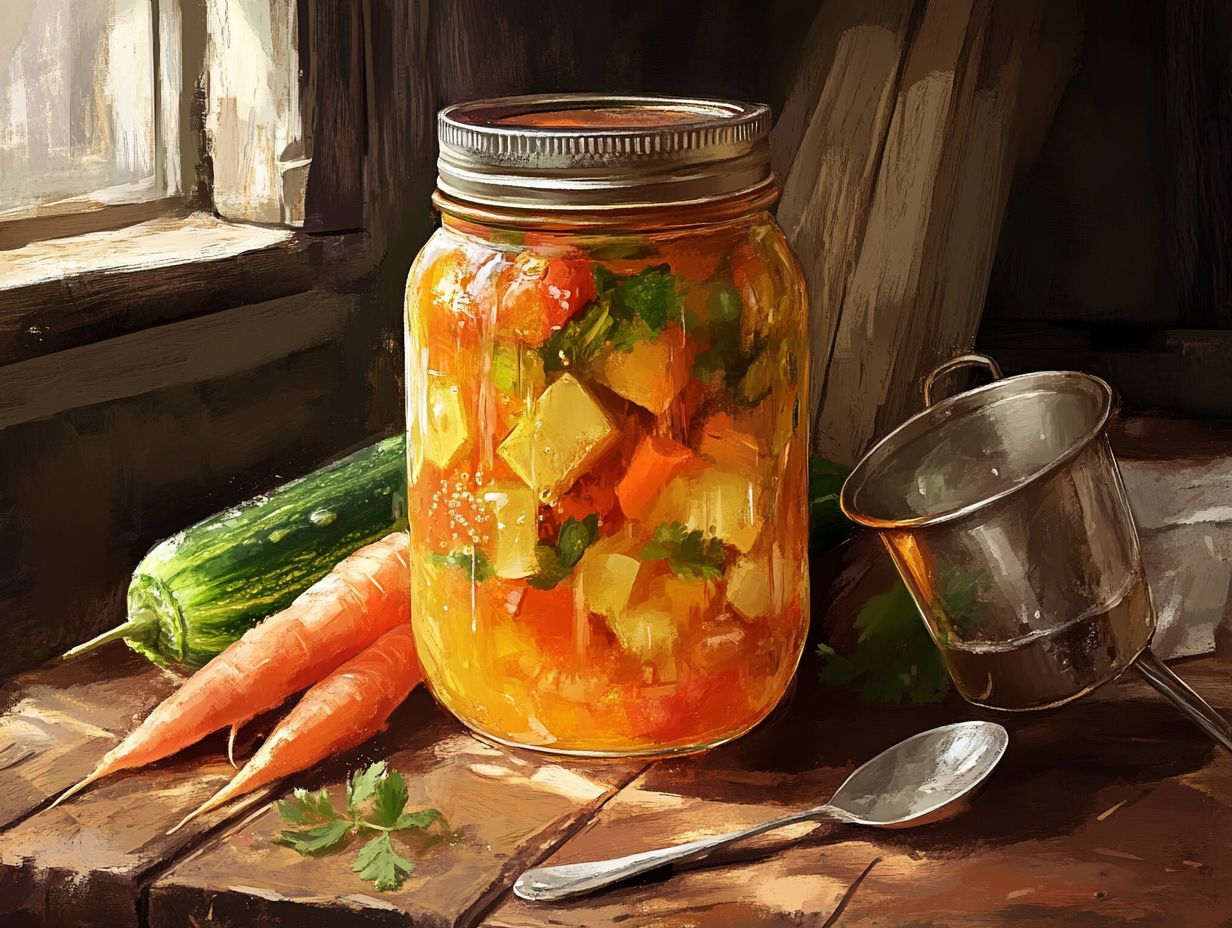
Preventing air bubbles during canning is crucial for food safety and the quality of your preserved goods. To effectively tackle this, use the right tools such as wooden spatulas or plastic utensils to release trapped air.
Make sure you maintain the correct headspace, which is the space between the top of the food and the lid of the jar. By following these practices, you’ll create a reliable vacuum seal, essential for safe canning.
Tips for Eliminating Air Bubbles
Eliminating air bubbles is essential for successful canning. Using tools like a wooden spatula or a plastic knife can help create space for air to escape. Pay close attention to headspace and use the right techniques to significantly reduce trapped air, ensuring the preserving liquid fills the jar properly.
Fill your jars to the recommended headspace typically about half an inch for most fruits and vegetables to minimize air pockets. Techniques like slightly tilting the jars and gently tapping them on the counter can also be beneficial.
Incorporating various preservation methods, like water bath canning or pressure canning, is crucial for keeping the contents you re storing, including brine and syrup. Foods such as pickles, jams, and tomatoes are ideal for canning but require careful attention to avoid trapping air.
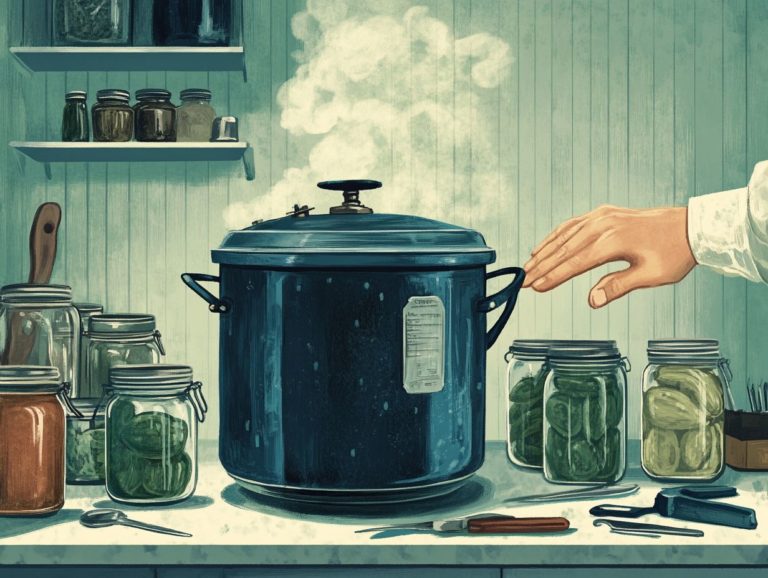
Managing Air Bubbles During Canning
Managing air bubbles in the canning process is essential for ensuring the safety and quality of your preserved foods. Effective techniques, like using a pressure canner or the water bath canning method, help you achieve a strong vacuum seal.
By addressing air bubbles proactively, you can lower the risk of spoilage and enhance the longevity of your preserved goods. This ensures your efforts yield delicious results for months to come.
Techniques for Removing Air Bubbles
Mastering the removal of air bubbles from jars during canning is vital for food safety and quality. Using tools like a wooden chopstick or a plastic utensil allows you to gently nudge food items, releasing trapped air without disturbing the contents too much. Following this method will ensure your jars are vacuum-sealed perfectly, keeping your food fresh and safe!
Along with chopsticks, consider investing in specialized bubble-removing tools. These often have rounded ends for easy navigation around delicate ingredients. Tapping jars gently on a flat surface can also encourage trapped bubbles to rise. Adhering to these guidelines is key, as any trapped air leads to spoilage and food safety issues.
Caring for each technique significantly enhances the success of your canning endeavors.
Troubleshooting Common Issues

Troubleshooting common issues in canning, especially those related to air bubbles, is vital for maintaining the safety and quality of your canned goods. For specific challenges like this, consulting resources on troubleshooting canning liquid separation can be incredibly helpful.
By identifying problems early, such as unexpected air bubbles or inadequate seals, you can effectively address potential food safety risks and prevent spoilage of your preserved goods. This proactive approach not only safeguards your culinary creations but also enhances your overall canning experience.
How to Fix Air Bubbles in Canned Goods
Fixing air bubbles in canned goods is essential for a secure vacuum seal, and knowing how to troubleshoot these issues can help ensure food safety. For more information, check out troubleshooting common canning problems.
If you spot air bubbles after sealing, one effective strategy is to gently tap the jar or use a plastic utensil to shift the food around. This allows trapped air to escape, restoring the vacuum seal and preventing spoilage.
Consider running a non-metallic spatula or a wooden spatula around the inside edge of the jar. This technique aids in releasing additional air pockets that could jeopardize the food’s preservation.
Monitor the headspace closely! It can make all the difference in sealing your jars. This is the gap between the food and the jar lid and must comply with recommended guidelines. By applying consistent pressure while adjusting the contents, you encourage any stubborn bubbles to break free.
Always remember, food safety is vital; improper sealing can lead to contamination or spoilage of your preserving liquid.
Final Thoughts and Recommendations
Being mindful of air bubbles is essential in the canning process, as it directly impacts food safety and quality. For more insights, check out troubleshooting pressure canning issues.
To ensure your home canning endeavors are successful, follow established guidelines, employ appropriate techniques, and continuously educate yourself about the best practices for preserving food for long-term storage.
As a home canning enthusiast, recognize that even small air pockets can lead to spoilage and jeopardize the safety of your preserved foods.
Utilizing techniques like maintaining proper headspace and removing air bubbles can significantly enhance the effectiveness of your canning process.
Prioritize keeping a clean environment and using sterilized jars to further minimize the risk of contamination.
By adhering to USDA recommendations and engaging with reliable resources, you can refine your skills and cultivate a deeper appreciation for the art of preservation. This will ultimately lead to safer and tastier results.
Frequently Asked Questions
Q1: What causes air bubbles in canned foods?
A1: Air bubbles can form due to improper filling or sealing. They can also occur with food that has air pockets.
Q2: How can I prevent air bubbles when canning?
A2: To prevent air bubbles, make sure to properly pack and fill the jars. Leave enough headspace for expansion during processing. Remember to remove any air pockets from the food before sealing.
Q3: Are air bubbles in canned food dangerous?
A3: Air bubbles aren t necessarily dangerous, but they can impact the quality and shelf life of food. They may also indicate improper sealing, leading to spoilage.
Q4: Can I remove air bubbles from canned food after processing?
A4: It is not recommended to remove air bubbles after processing, as this could introduce contaminants and increase the risk of spoilage. Properly pack and fill the jars before processing.
Q5: How can I tell if my canned food has air bubbles?
A5: You can tell if canned food has air bubbles by gently tapping on the jars and listening for a hollow sound. You may also notice visible air pockets or empty spaces in the food.
Q6: Are there any methods to remove air bubbles from canned food before processing?
A6: Yes, methods to remove air bubbles include using a bubble remover tool or gently tapping the jars on a flat surface to release trapped air. Avoid damaging the jars or altering the headspace during this process.
Try applying these techniques in your next canning session for the best results!