How to Fix Poorly Sealed Canning Jars
Canning is a rewarding way to preserve your favorite foods. Ensuring that your jars are sealed properly is crucial for safety and quality.
You ll learn why a solid seal matters. You’ll also find out how to spot signs of a poorly sealed jar.
Step-by-step instructions will guide you in fixing these issues. Plus, you’ll get tips to prevent them from happening again.
Get ready to master the art of canning!
Contents
Key Takeaways:
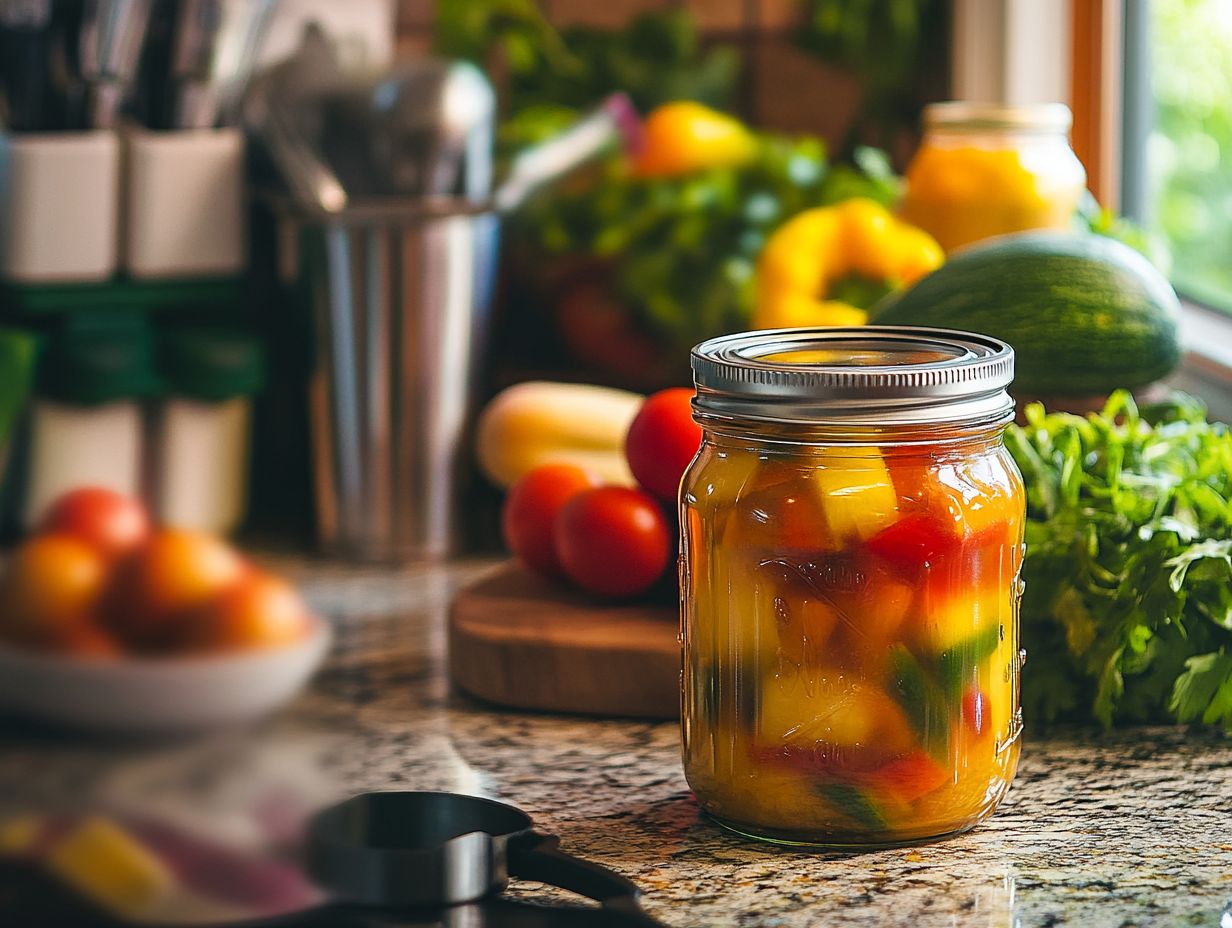
- A proper seal is crucial for safe canning; it prevents spoilage and bacteria.
- Signs of a poor seal include a loose lid, leaking contents, and no pop sound when opened.
- Poor sealing can happen due to old jars, damaged lids, or incorrect techniques. Re-seal using fresh lids to fix it.
Understanding the Importance of Properly Sealed Canning Jars
Well-sealed canning jars protect your food from harmful bacteria like botulism. They also keep your canned goods tasting great.
To achieve this, use the right tools and methods. Ensure that your fruits and vegetables can last, whether they re pickles or jams.
Why a Good Seal is Crucial for Canning
A good seal is essential in canning, as it prevents air and contaminants from entering. This is vital to protect against harmful foodborne illnesses like botulism.
Without a proper seal, your canned goods can become breeding grounds for bacteria, jeopardizing both flavor and health. Home canners should stick to best practices, like using new lids and processing jars correctly.
Inspecting seals after processing can significantly reduce spoilage risks. Proper sealing techniques, such as adjusting processing times for altitude and monitoring temperature, are key to enhancing taste and safety.
Signs of a Poorly Sealed Canning Jar
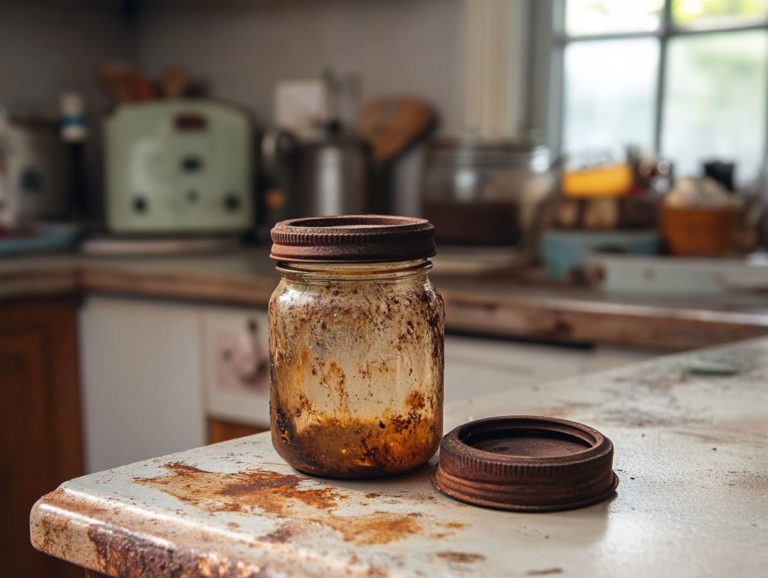
Identifying a poorly sealed canning jar is essential for food safety. It’s important to know what to check when jars don’t seal by looking for indicators that can alert you to sealing issues.
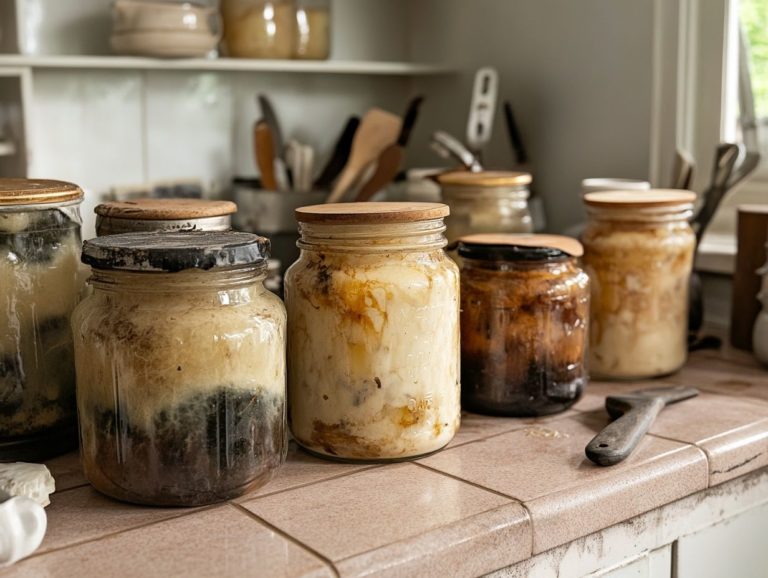
Common signs include the absence of a vacuum seal, bulging lids, and leakage. These often result from not leaving enough space at the top of the jar or using unclean jars.
Regular inspections of your jars can help mitigate the serious health risks associated with foodborne illnesses.
Identifying Common Indicators
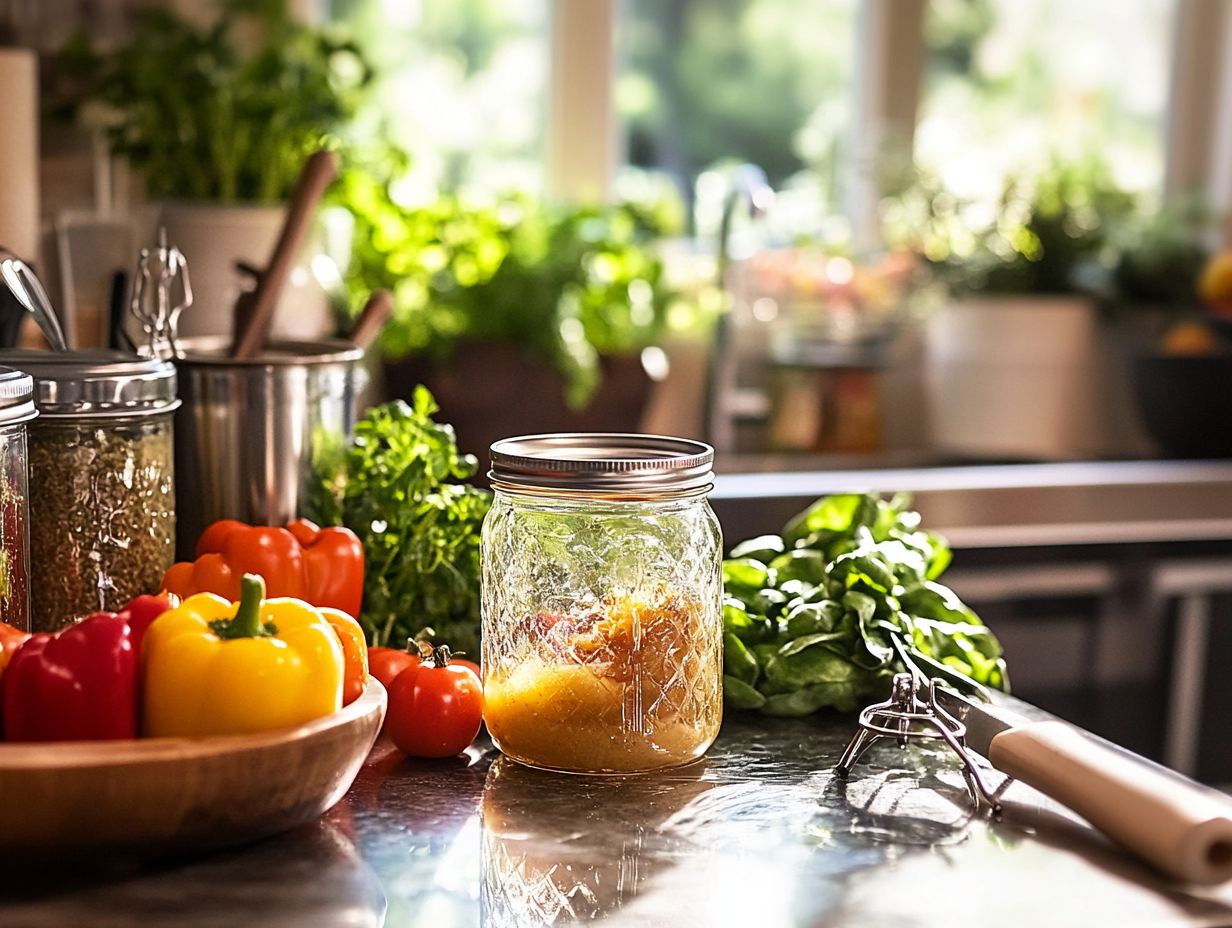
Common indicators of poor sealing in your canning jars include bulging lids, leaks, or a failure to create a vacuum seal. For tips on resolving these issues, refer to our guide on troubleshooting canning jar preparation, as these problems can jeopardize the quality and safety of your preserved food.
These signs signal potential spoilage and raise concerns about bacterial growth, such as botulism, which thrives in improperly sealed jars.
When inspecting your jars, first check the lid for any curvature or swelling. These signs indicate pressure build-up due to fermentation or spoilage.
Next, examine the seal around the rim; it should be smooth and intact, free from visible gaps. Any liquid residue on the jar’s outside hints at leaks that could allow contaminants to enter.
By attending to these details, you can ensure that your home canning practices are safer and more reliable.
Causes of Poor Sealing
Knowing why poor sealing in canning jars occurs is vital for your preservation success. Several errors can lead to failed seals, such as keeping the right temperature, not leaving enough space at the top, and unclean jars. For more information on this topic, check out how to prevent canning jar breakage.
Common issues come from not following the right canning steps, including incorrect boiling times or using old lids that no longer guarantee an effective seal. By pinpointing these mistakes, you can refine your canning techniques and ensure the safety and longevity of your food preserves.
Possible Reasons for Failed Seals
Failed seals in canning jars can often be traced back to several common culprits, such as improper headspace, insufficient cleaning of jars, and using outdated lids. If you encounter issues like this, knowing what to do if canning jars crack can be very helpful.
These issues can lead to spoiled food and wasted efforts, which is why it s essential for you as a home canner to grasp how to prevent them. Proper headspace management is key; leaving too much or too little air space can disrupt the sealing process.
Thoroughly cleaning jars before use gets rid of any residues that might impede a proper seal. Choosing suitable lids ideally new ones for each canning session ensures reliable seals.
By following these best practices, you can elevate your canning experience and guarantee that your delicious homemade goods remain safe and beautifully preserved.
Fixing a Poorly Sealed Canning Jar
When you encounter a well-sealed canning jar, it s essential to follow specific steps to ensure the safety and quality of your preserved food. This might mean reprocessing the jar or, if the seal can t be restored, considering its disposal.
- Start by visually inspecting the seal.
- If it s not up to par, reprocess the contents using proper canning techniques, making sure that the lids are clean and correctly placed.
By adhering to these steps, you can salvage your home canning endeavors and preserve the integrity of your food products.
Step-by-Step Instructions for Re-Sealing
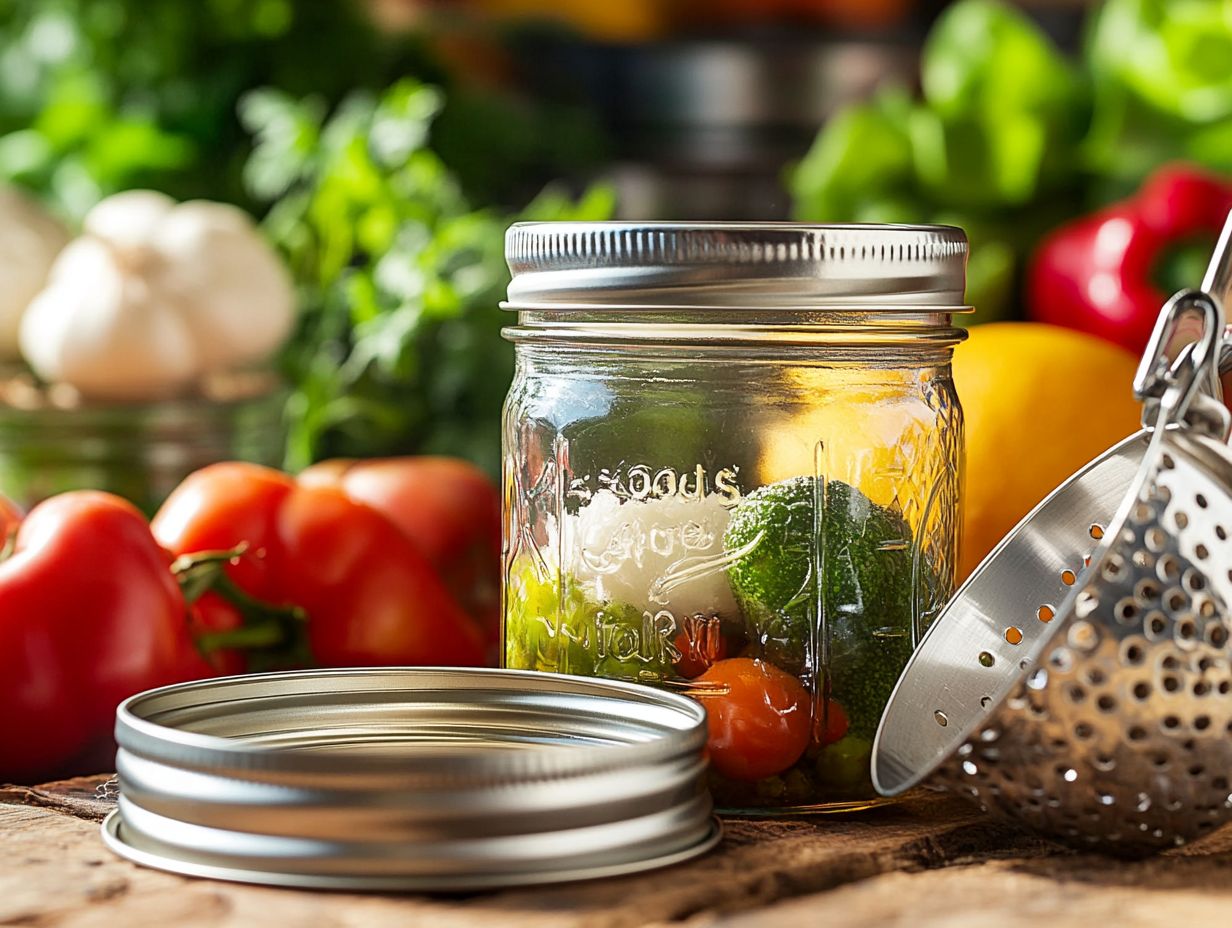
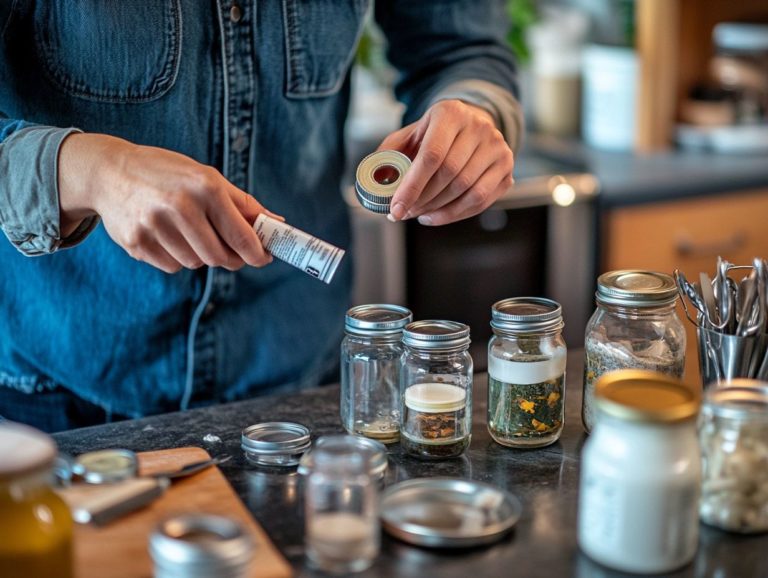
To effectively re-seal a poorly sealed canning jar, follow these step-by-step instructions to ensure your food safety: start by assessing the seal and then reprocess the jar using either a pressure canner (a special pot that cooks food under pressure) or a boiling water bath.
-
Begin by inspecting the jar for any cracks or chips; these imperfections can jeopardize the integrity of the seal. If the jar appears intact, remove the lid and examine the rubber sealing compound it should be smooth and free from any damage.
-
Once you’ve evaluated the condition, give the jar and lid a thorough cleaning with hot, soapy water to eliminate any residues that could interfere with the sealing process.
-
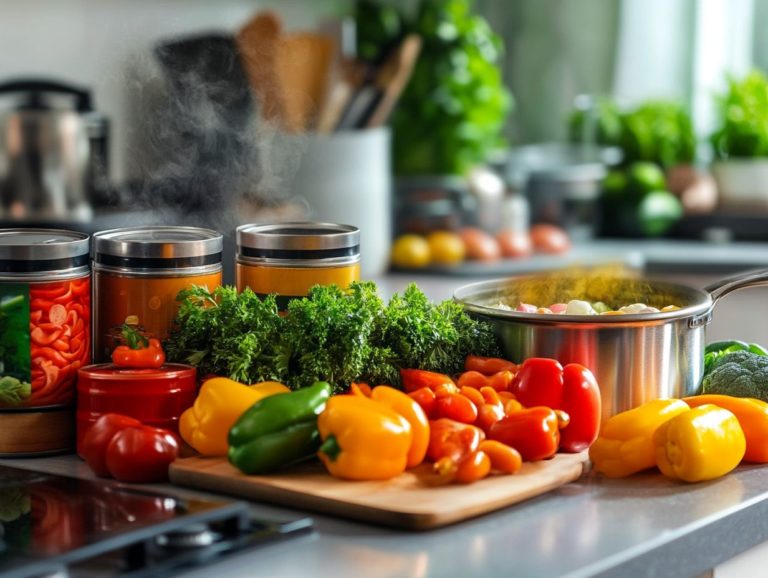
Next, prepare the appropriate boiling water bath or pressure canner, ensuring it s filled with enough water to completely submerge the jars.
-
It s vital to adhere to the recommended boiling times typically, a minimum of 10-15 minutes depending on the type of food in the jar. As the jars process, keep an eye on the water level and maintain a gentle boil.
-
Once the time is up, carefully remove the jars and let them cool undisturbed on a clean towel. After they’ve cooled, check each seal by pressing the center of the lid; if it doesn t budge, you ve done it right.
By following these steps, you can achieve a safe, effective re-sealing of your jars.
Preventing Poor Sealing in the Future
Preventing poor sealing in your home canning projects is essential for your canning success. By learning how to handle overfilled canning jars and adopting effective methods and tips, you can significantly enhance the quality and safety of your sealed jars.
Employ strategies like using new lids, maintaining the proper headspace, and meticulously cleaning your jars to avoid common canning errors. By following these preventive measures, you can relish your delicious home-preserved foods without the anxiety of spoilage or foodborne illnesses.
Tips for Ensuring Proper Seals Every Time
To achieve perfect seals in your canning endeavors every time, follow these essential tips that prioritize both quality and safety throughout the sealing process.
-
Use fresh, high-quality ingredients. This significantly affects the taste and preservation of your canned goods.
-
Thoroughly clean your jars before filling them; any residue can sabotage the sealing process.
-
When filling those jars, remember to leave the recommended headspace, which is the space left at the top of the jar. This allows for proper expansion during canning too little space can lead to inadequate seals.
-
Always opt for brand new lids; reusing old ones can compromise their sealing capabilities.
-
Pay close attention to the processing times and methods tailored to the specific food you re canning, whether it’s water bath or pressure canning. This diligence enhances the effectiveness of your seals and ensures food safety.
Frequently Asked Questions
What are some signs of a poorly sealed canning jar?
Signs of a poorly sealed canning jar include a loose or bulging lid, visible air bubbles inside the jar, and a lack of a popping sound when the jar is opened. If you notice particles floating in the jar, it may also indicate a poor seal. To learn more about troubleshooting, check out why is my canning jar not sealing?
How can I tell if my canning jar is properly sealed?
A properly sealed canning jar has a concave lid that is firmly sealed to the jar. When opened, there will be a distinct popping sound as the seal is broken. Let the jar cool down after canning before testing the seal to ensure the heat hasn t caused any issues.
What causes canning jars to have a poor seal?
Several factors can contribute to a poorly sealed canning jar, including improper filling, inadequate tightening of the lid, contamination of the jar or lid, and using old or damaged lids. To learn more about addressing these issues, check out this guide on how to fix rubber seals in canning. Temperature fluctuations can also affect the seal.
How can I fix a poorly sealed canning jar?
If a canning jar has a poor seal, transfer the contents to a new jar with a fresh lid and seal it properly. To prevent issues, it’s important to understand why some jars fail to seal properly. Check both the jar and lid for any signs of contamination or damage. Store jars in the fridge if you suspect the seal is compromised until you can reheat and prepare them for proper sealing.
Can I use a jar with a poor seal?
No, don t use a jar with a poor seal! This can spoil your food and make you sick. Always seal jars properly for safe preserving.
How can I prevent poorly sealed canning jars?
To prevent poor seals, follow proper canning procedures. Ensure you clean and sterilize jars and lids, use new lids, and tighten them well after filling. For detailed instructions, check out how to properly seal your canning jars.
