How to Restore Mistakes in Canning
Canning is a rewarding endeavor that allows you to preserve the flavors of seasonal foods. However, even the most seasoned home canners can face unexpected challenges.
This article delves into common mistakes that could lead to spoiled goods while providing practical solutions to restore your canned items.
Get ready to discover essential tools and techniques highlighted, along with easy-to-follow steps for the restoration process and tips to help you avoid future mishaps.
Most importantly, safety is paramount. You ll learn how to recognize the signs of spoilage, ensuring you enjoy your homemade preserves with complete confidence.
Contents
- Key Takeaways:
- Common Mistakes in Canning
- Tools and Techniques for Restoring Canned Goods
- Preventing Canning Mistakes
- Ensuring Safety in Canning
- Frequently Asked Questions
- 1. How to restore mistakes in canning if I accidentally use the wrong type of jar?
- 2. Can I still restore mistakes in canning if the lids don’t seal properly?
- 3. What should I do if I accidentally add too much salt or sugar to my canned goods?
- 4. How to restore mistakes in canning if I forget to add lemon juice to my canned goods?
- 5. Is it possible to restore mistakes in canning if I accidentally overfill the jars?
- 6. How can I fix mistakes in canning if my jars break during processing?
Key Takeaways:
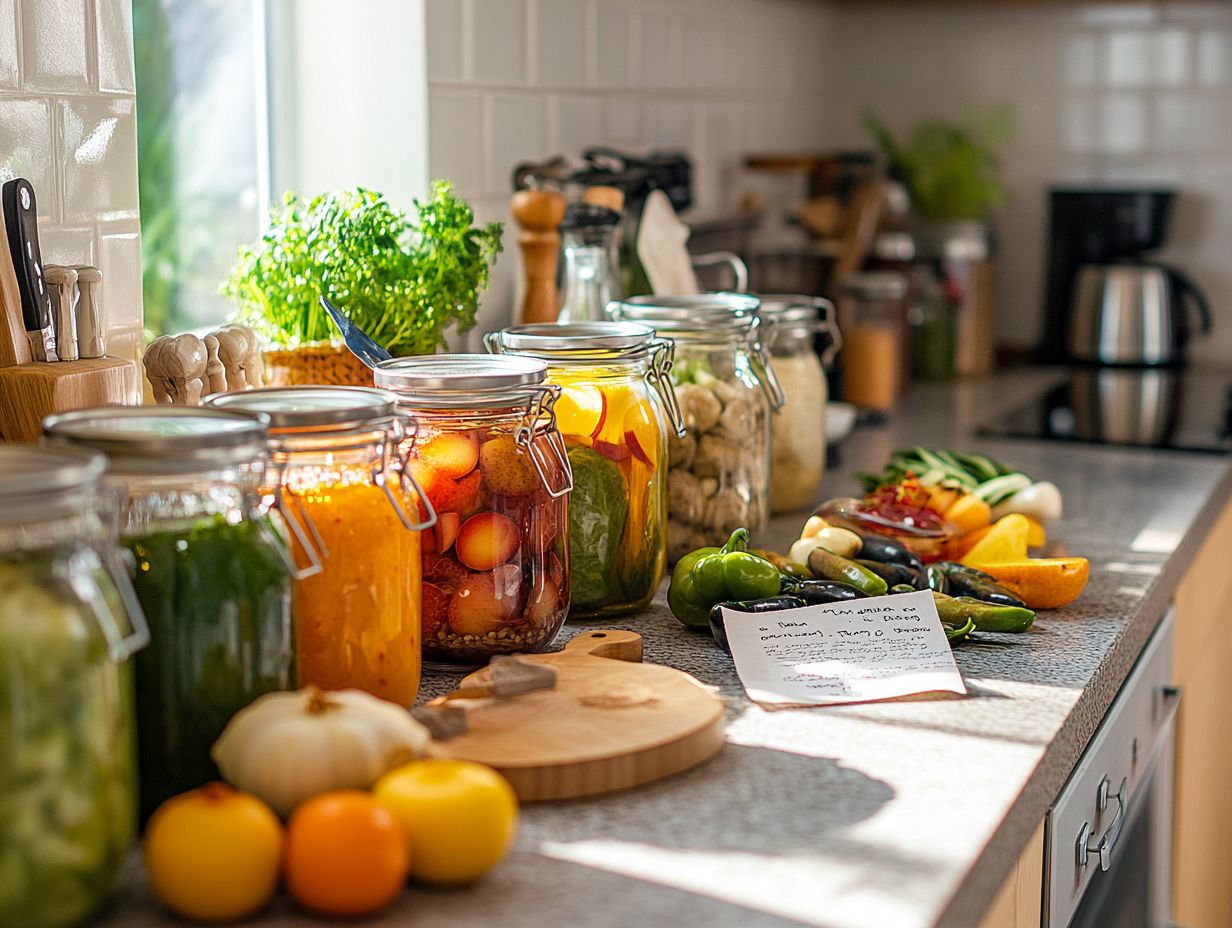
- Learn common canning mistakes to prevent spoiled goods.
- Use the right equipment and follow clear steps to restore your cans.
- Apply helpful tips to ensure safe and successful canning in the future.
Common Mistakes in Canning
Canning offers a delightful method for preserving the bounty of seasonal produce. Yet, many home canners inadvertently stumble into common pitfalls that can compromise food safety and undermine their hard work.
From relying on outdated lids to misjudging the space left at the top of the jar between the food and the lid, these missteps can result in failed seals and pose serious health risks, such as botulism, which is a type of food poisoning that can occur from improperly canned foods. Understanding these potential hazards is crucial for mastering the canning process, whether you re pressure canning tomatoes or employing a boiling water bath for high-acid delights like tomato salsa.
Identifying and Understanding Mistakes
Identifying and understanding common canning mistakes is essential for ensuring your food safety and steering clear of potential food sickness that can stem from improper processing techniques.
Many home canners often miscalculate acidity levels, which can lead to improper preservation of high-acid versus low-acid foods, drastically affecting safety. For instance, if you fail to accurately assess tomatoes as low-acid when they should be pressure-canned, that oversight can have serious consequences.
Improper sealing techniques can be just as harmful, like using the wrong lid or neglecting to check seal integrity, which can leave your jars vulnerable to spoilage.
It s easy for enthusiasts to overlook the importance of adhering to current guidelines from reputable sources like the USDA or the University of Georgia Extension. Ignoring these could jeopardize your efforts and lead to unsafe food products. Staying informed and vigilant in your canning practices can make all the difference in ensuring your creations are both delicious and safe.
Tools and Techniques for Restoring Canned Goods
Restoring canned goods is an invaluable skill, particularly when faced with challenges such as seal failures, jar breakage, or food safety concerns that jeopardize the integrity of your preserved foods.
By utilizing the right equipment and mastering the proper techniques for restoring items, you can salvage your hard work and ensure that both your high-acid and low-acid foods remain safe for consumption.
Whether you choose to work with a pressure canner or a boiling water bath, understanding how to effectively restore canned goods is a crucial aspect of successful food preservation and mastering the canning process.
Proper Equipment and Supplies
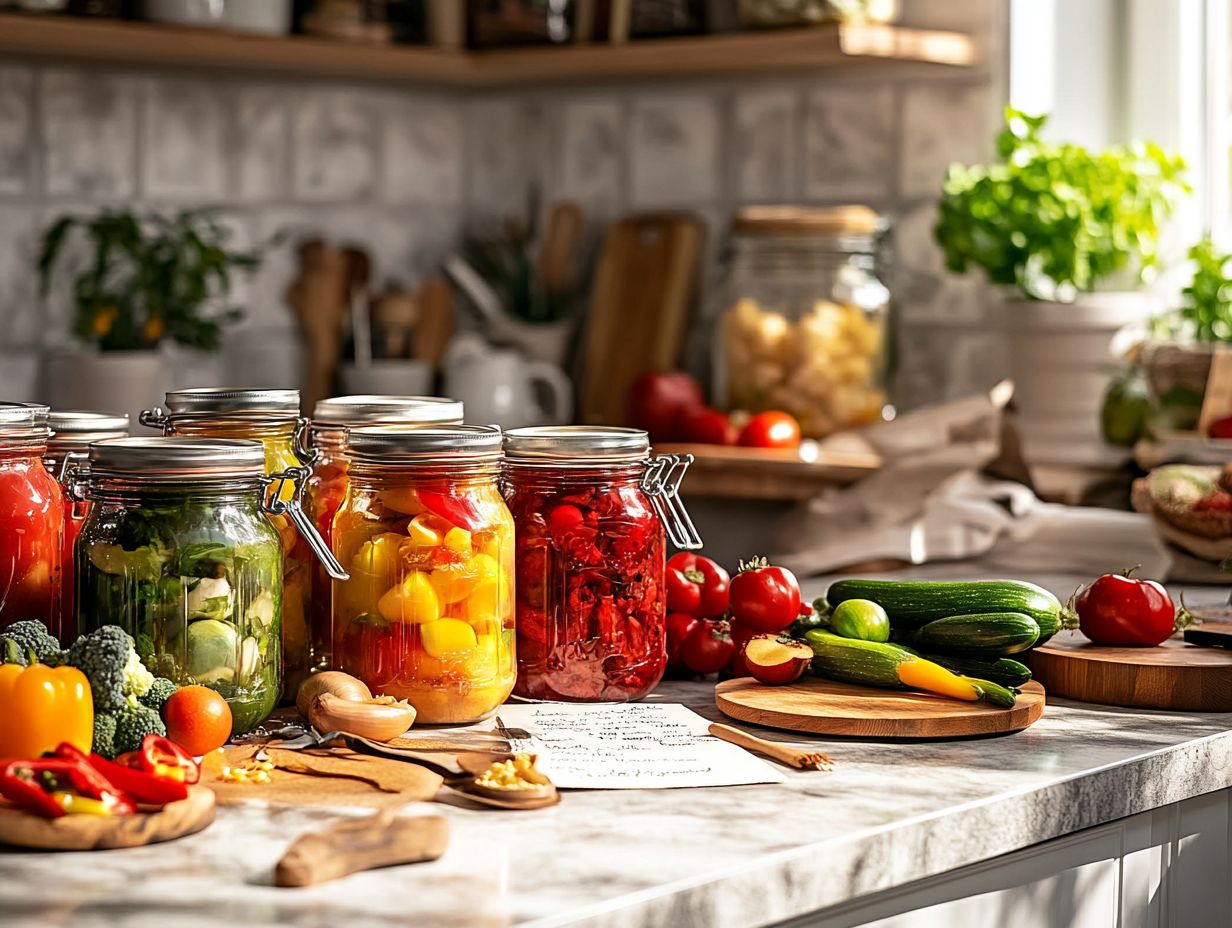
Using the right equipment and supplies is essential for successful canning. This includes choosing the perfect Mason jars and the right pressure canner.
Investing in essential canning tools simplifies your journey. These tools ensure your homemade preserves are safe and delicious.
A reliable pressure canner is necessary for low-acid foods, while a water bath canner is best for fruits and jams. Opt for high-quality brands like Ball for jars and lids crafted specifically for canning.
These products provide an airtight seal that keeps your food fresh. Always choose smooth-sided Mason jars that are free from cracks or chips, and use new lids to ensure proper sealing.
Follow safety standards to reduce the risk of spoilage or contamination. This makes it vital to stick to recommended procedures.
Step-by-Step Restoration Process
The restoration process for canned goods starts with assessing the jars’ integrity. Food safety must be the top priority.
This guide teaches you how to evaluate each jar’s condition. Look for signs of seal failures, like bulging lids or leaks that can lead to foodborne illnesses.
Know the proper methods for reprocessing jars, which ensures all food remains safe. The protocol emphasizes careful handling to avoid contamination, especially with homemade preserves.
Following these steps sharpens your preservation skills. Your canned goods will maintain their quality and safety for future enjoyment.
Preventing Canning Mistakes
Preventing mistakes is crucial for anyone mastering the art of safe food preservation. Whether you re a beginner or an experienced cook, using proven tips can significantly reduce errors.
Maintain proper acidity levels and use the correct canning methods for delightful outcomes every time.
Tips and Tricks for Successful Canning
To excel at canning, explore tips tailored to high-acid and low-acid foods. Understanding headspace measurement is key; it affects the sealing process and the quality of your canned items.
When choosing between pressure canners and boiling water baths, remember: pressure canners are best for low-acid foods, while boiling water baths work well for high-acid options.
Rely on trusted recipes from sources like Mississippi State University Extension. These guidelines ensure safety and optimal results for both novice and experienced canners.
Ensuring Safety in Canning
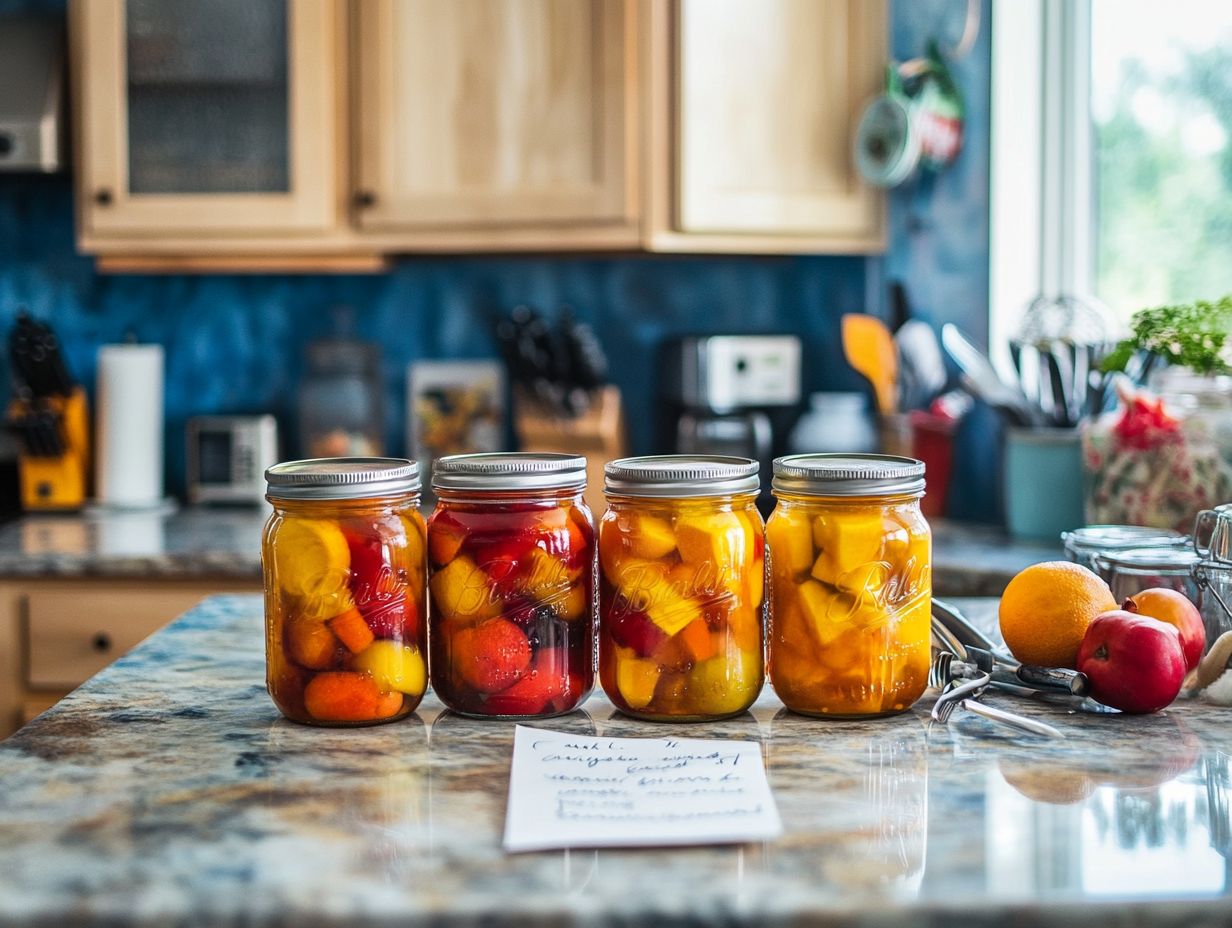
Your safety in canning is vital to prevent health risks like foodborne illnesses or botulism. These risks can arise from improper preservation techniques and storage practices.
Using proper methods protects your health. It also ensures that your preserved goods are delicious and safe to eat!
Properly Preserving and Storing Canned Goods
Properly preserving and storing canned goods is crucial for maintaining food safety and ensuring the enduring quality of both high-acid and low-acid foods.
To achieve this, prioritize specific storage conditions that include a cool, dry, and dark area. Stay clear of direct sunlight and moisture.
Aim for a shelf temperature between 50 and 70 degrees Fahrenheit. This range significantly extends the life of your canned goods.
Knowing the shelf life of different varieties, which typically ranges from 1 to 5 years, will help you manage your inventory effectively.
Use the oldest items first to ensure that older cans are used before they reach their expiration date.
Regularly check for signs of bulging, leaks, or rust to assess safety. Maintaining optimal preservation conditions further enhances the overall integrity of these foods.
Signs of Spoiled Canned Goods
Recognizing the signs of spoiled canned goods is essential for maintaining food safety and safeguarding against health risks, such as botulism and foodborne illnesses.
Be on the lookout for indicators like off-odors that hint at fermentation, lids that are puffed out, which suggest gas buildup, and discoloration that could signal spoilage or bacterial activity.
Knowing how to seal jars correctly is important, as proper sealing techniques play a vital role in preserving the quality of your canned products.
If you encounter any of these warning signs, handle those jars with care to stay safe. Safely discarding compromised jars protects you from exposure to harmful bacteria.
In instances where jars appear intact but raise concerns, consulting safety guidelines is necessary to ensure the well-being of consumers.
Frequently Asked Questions
-
1. How to restore mistakes in canning if I accidentally use the wrong type of jar?
If you realize you’ve used the wrong type of jar for canning, don’t panic. You can easily fix this mistake by transferring the contents to a new jar and resealing it. For more guidance, check out our troubleshooting common canning problems.
Just make sure to properly clean and sterilize the new jar before transferring the contents.
-
2. Can I still restore mistakes in canning if the lids don’t seal properly?
Yes, there’s still a chance to salvage your canned goods if the lids don’t seal properly. Try reheating the jars and lids in a water bath, and then resealing them.
If this still doesn’t work, store the canned goods in the refrigerator and consume them within a few weeks.
-
3. What should I do if I accidentally add too much salt or sugar to my canned goods?
Don’t worry, this mistake can be easily fixed by diluting the excessive salt or sugar. Add more liquid to the canned goods, such as water or broth, until the desired taste is achieved.
-
4. How to restore mistakes in canning if I forget to add lemon juice to my canned goods?
If you’ve forgotten to add lemon juice, you can still fix this mistake by reheating the jars and adding the appropriate amount of lemon juice. Just make sure to follow the correct processing time for the type of food being canned.
-
5. Is it possible to restore mistakes in canning if I accidentally overfill the jars?
Yes, you can still fix this mistake by removing some of the contents from the jar. For more detailed guidance, check out common canning mistakes and ensure you do this carefully to avoid contaminating the canned goods.
Use a clean utensil to remove the excess contents and then reseal the jar.
-
6. How can I fix mistakes in canning if my jars break during processing?
If your jars break during processing, transfer the contents to a new jar and reprocess them. Properly clean and sterilize the new jar before transferring the contents.
You can also use this opportunity to check for any signs of spoilage before canning the food again.
Now that you know how to store and check canned goods, put these tips into practice and enjoy your home-canned foods safely and deliciously!
