How to Remove Air Bubbles in Canning?
Canning is a cherished method for preserving fruits, vegetables, and various foods. However, it presents its own set of challenges, one of the most common being those troublesome air bubbles.
These annoying pockets of air not only compromise the aesthetic of your jars but can also contribute to spoilage and raise safety concerns. In this article, we will explore the reasons behind air bubble formation, offer effective techniques for their removal, and share best practices to prevent them altogether.
We highlight frequent missteps and provide solutions to ensure your canning process is as seamless as possible. Immerse yourself in this guide to elevate your confidence as a canner!
Contents
Key Takeaways:
- Remove air bubbles to ensure food safety.
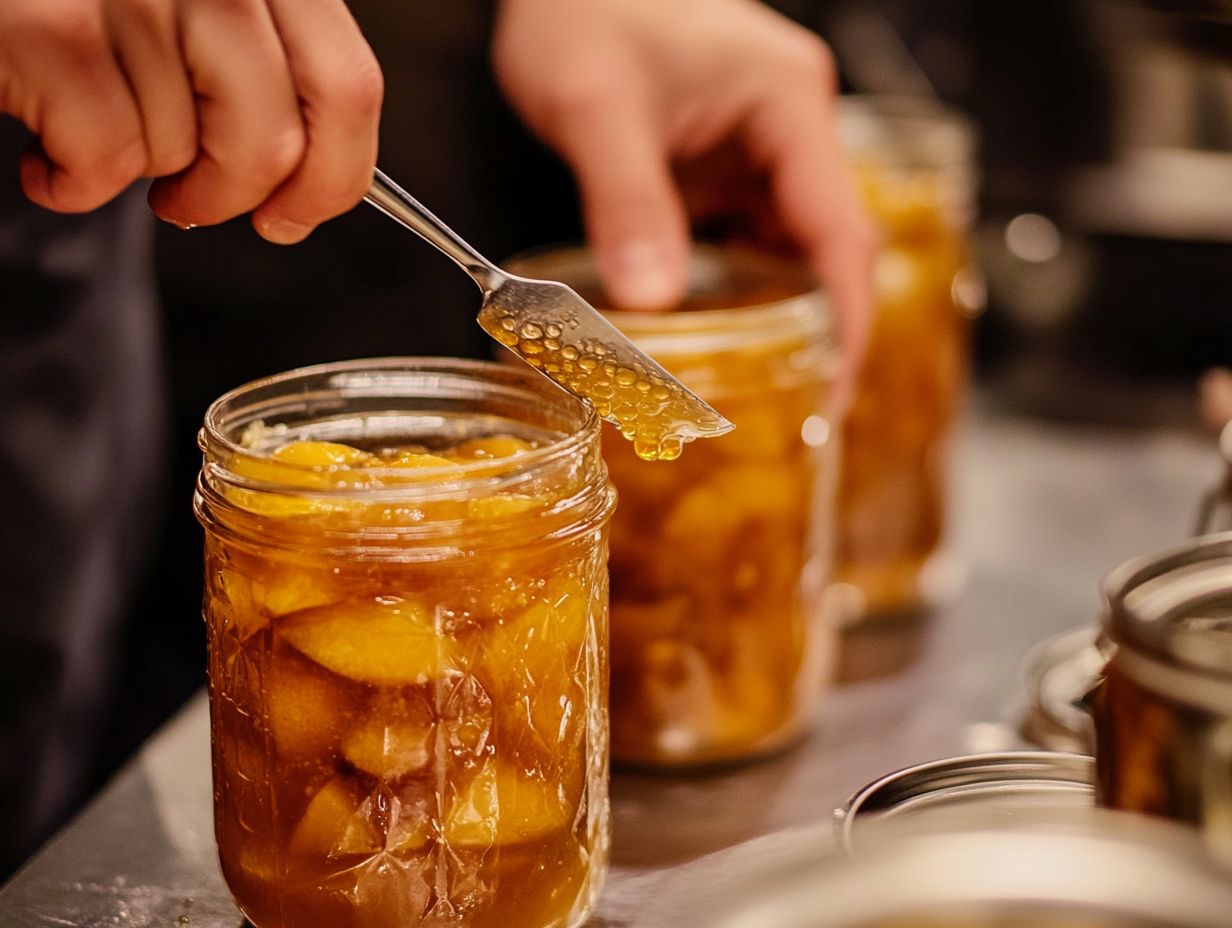
- Use proper tools, like a rubber spatula, for effective bubble removal.
- Follow best practices such as proper headspace to prevent air bubbles.
What is Canning and Why Do Air Bubbles Occur?
Canning is your go-to method for preserving food, sealing it in glass jars to keep it fresh and prevent spoilage and fermentation. One common challenge is pesky air bubbles, which can arise from trapped oxygen and improper headspace management.
These bubbles can lead to sudden changes in temperature, ultimately affecting the quality of your canned goods and possibly causing discoloration and off-flavors. Understanding the origins of these bubbles is key to achieving a tight vacuum seal and ensuring the safety and longevity of your preserved foods.
When filling your jars, remember to leave the right amount of headspace typically about one inch from the top. This space is crucial as it allows for food expansion and ensures that a proper seal can form. Overfilling your jars could trap air, creating troublesome bubbles that compromise the entire canning process.
During the heat treatment phase, it s vital to manage temperatures carefully. Excessive heat can heighten the risk of jar breakage or undesirable changes in the texture and taste of your food. By paying close attention to these details, you can elevate your canning results, preserving your harvests effectively and deliciously.
Why Air Bubbles Need to be Removed
Removing air bubbles from canned goods is essential for preventing spoilage and ensuring the safety of your food. If air bubbles remain trapped during the sealing process, they can jeopardize the vacuum seal, potentially leading to liquid loss and creating a breeding ground for fermentation and spoilage.
This diminishes food quality and raises serious safety concerns. Consumers may encounter off-flavors or risk foodborne illnesses from improperly processed jars. Prioritizing bubble removal is a vital safeguard for your culinary creations.
Potential Spoilage and Safety Concerns
When air bubbles infiltrate canned foods, the risk of spoilage and safety concerns escalates dramatically. Trapped air can trigger fermentation, leading to bubbling jams or other products that might not be safe for consumption. This can result in liquid loss and off-flavors, forcing caution regarding the safety of your canned goods.
Consider fruits preserved in jars; if they ferment improperly, you might end up with a fizzy texture and unpleasant taste that signals spoilage. The presence of air can create a breeding ground for harmful bacteria, posing serious health risks.
Encountering these issues can be frustrating, especially if you re unaware of the telltale signs of spoilage. Recognizing changes in texture and flavor is crucial for ensuring food safety, as consuming spoiled items can lead to foodborne illnesses.
Understanding how trapped air affects the preservation process is essential for maintaining both food quality and your health.
Start checking your jars today to keep your food safe and delicious!
Methods for Removing Air Bubbles
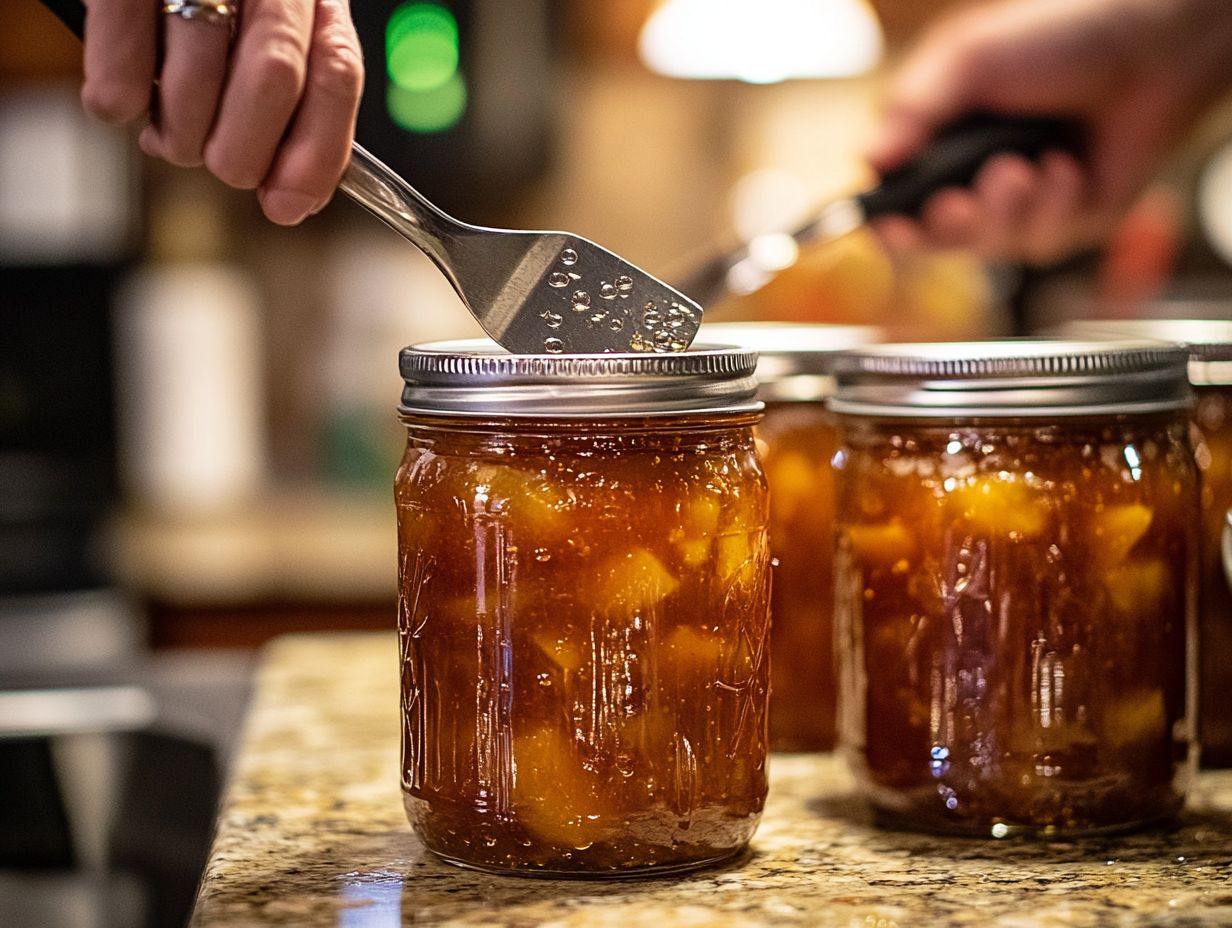
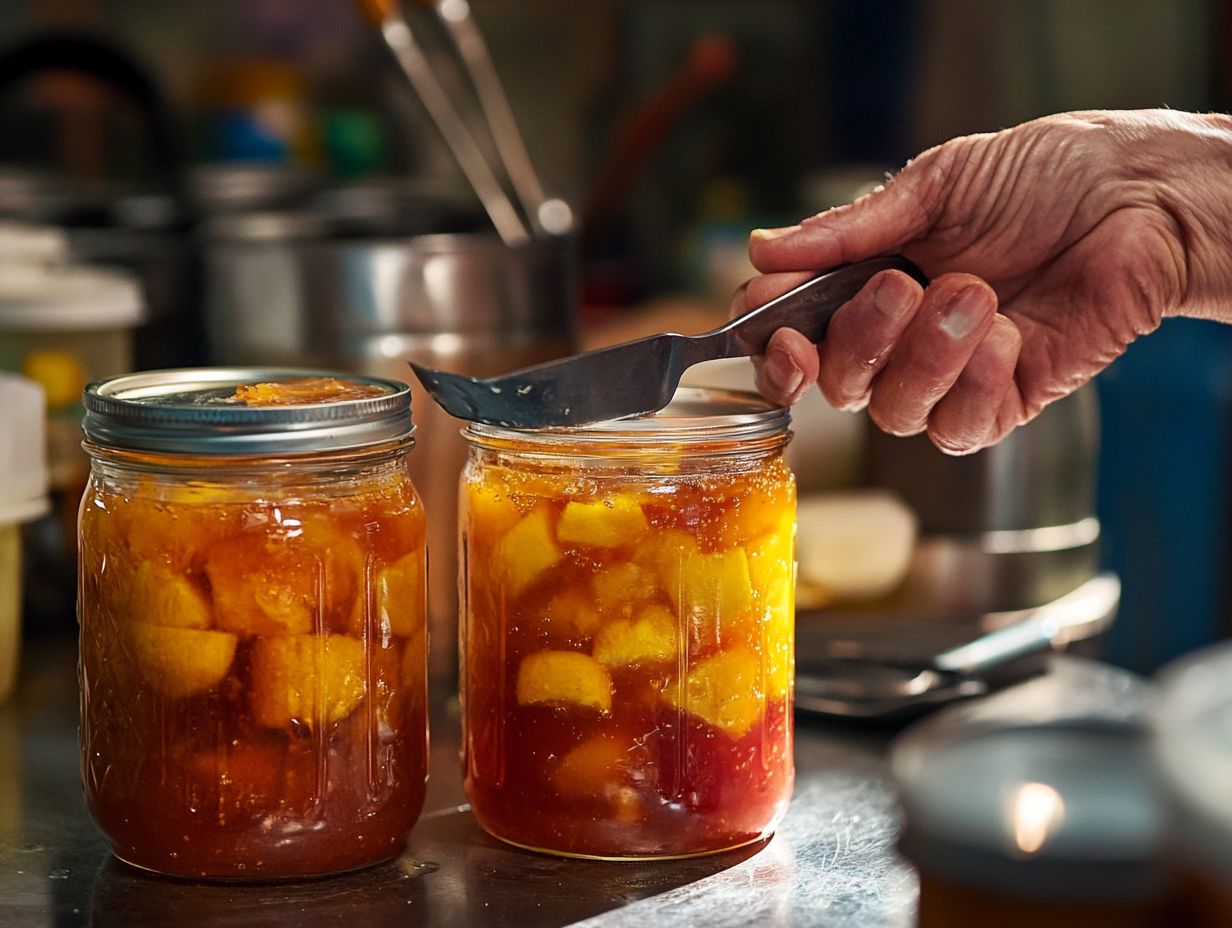
Effective removal of air bubbles is crucial for successful canning. You have several methods at your disposal to achieve this. Using tools like a bubble remover or an air bubble poker is invaluable for managing air bubbles in canning and ensuring your jars are properly de-bubbled before sealing.
Understanding proper headspace is essential. It helps create a strong vacuum seal and allows remaining bubbles to rise to the surface, preventing spoilage and ensuring safe consumption of your canned foods.
Tools to Remove Air Bubbles
To effectively remove air bubbles from jars during the canning process, you can use several specialized tools and techniques. An air bubble poker or bubble remover is perfect for dislodging trapped bubbles. You can also use plastic utensils or even wooden chopsticks to carefully maneuver through the liquids, ensuring air is released without compromising the seal.
Mastering this technique is crucial. Any processing loss due to air bubbles can lead to spoilage or unwanted fermentation in your finished product.
Incorporating a jar lifter is essential for safe handling. This minimizes the risk of introducing new bubbles as you move jars in and out of boiling water. A measuring stick can also be incredibly helpful for achieving the right headspace, reducing the chances of bubble formation as the contents settle.
Using these techniques boosts your seal’s strength and keeps your food fresher. Understanding the right tools, like a magnetic lid lifter for easy access to metal lids, makes canning easier for both novice and seasoned canners.
Tips for Preventing Air Bubbles
Preventing air bubbles during the canning process is essential for guaranteeing food safety and quality. For more insights, including tips on troubleshooting canning liquid separation, follow these best practices to achieve this.
- First, maintaining the correct headspace in your packed jars is vital. It ensures proper food expansion during processing while significantly reducing the likelihood of trapped air.
- Next, pour liquid food slowly and evenly. This helps avoid air bubbles and strengthens the vacuum seal and overall integrity of your canned product.
Best Practices for Avoiding Bubbles in Canning
To achieve a firm seal and eliminate air bubbles during the canning process, stick to established best practices. Start by pre-warming your jars to minimize thermal shock when filling them. This simple step helps prevent the contents from escaping due to sudden temperature changes.
Keep a close eye on the fill level and follow the recommended headspace guidelines. This significantly reduces the chances of air bubbles forming right from the start.
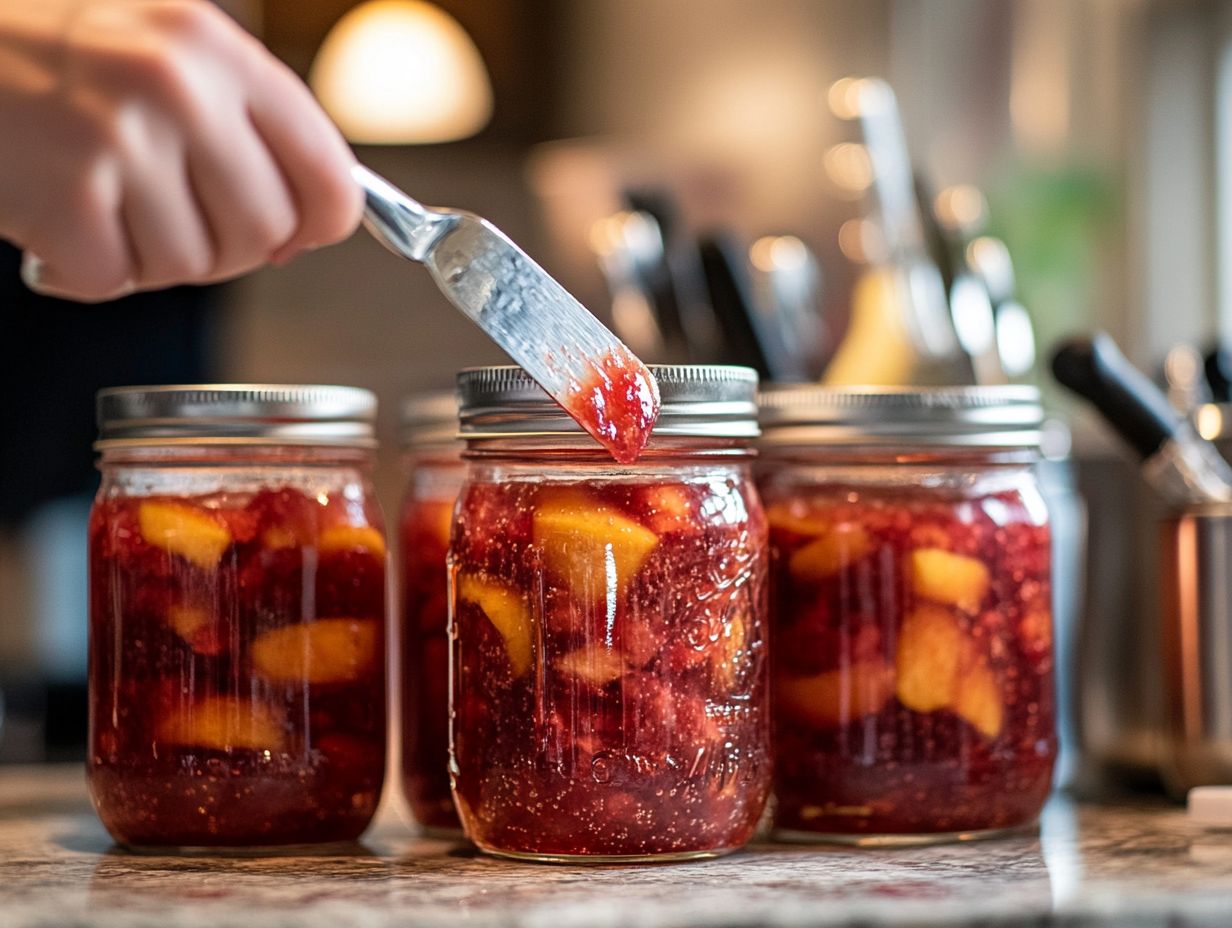
Consider using a bubble popper or a similar tool to release trapped air pockets. This maximizes the space in your jars for preserving. Choosing the right size and type of jar for your specific recipe is also crucial, as it impacts how heat penetrates and helps eliminate air bubbles during processing.
Finally, process your jars at the appropriate temperature for the recommended duration. This is crucial for ensuring the contents reach the right temperature, combating bubble formation, and promoting a tight seal.
Common Mistakes and How to Fix Them
Identifying common mistakes in the canning process is essential for rectifying air bubble issues and ensuring successful food preservation. A prevalent mistake is neglecting to maintain proper headspace, which can result in trapped air and compromised vacuum seals.
By recognizing these errors early, you empower yourself to take corrective measures. Adjust your fill levels and employ bubble removal techniques to enhance the overall quality of your canned goods.
Troubleshooting Air Bubbles in Canning
Troubleshooting air bubbles in your canned goods is vital for food quality and safety. This is especially true for recently canned products.
Trapped oxygen can create bubbles that disrupt the vacuum seal. This can lead to spoilage or fermentation.
Identifying and fixing the source of bubbles helps maintain a firm seal and extend shelf life.
First, recognize signs of spoilage such as bulging lids, off smells, or unusual colors. These signs suggest that air has entered the canister.
Common sources of trapped air include:
- Improper packing of the food
- Insufficient headspace (the space above the food in the jar)
- Using jars that aren t suitable for canning
Also, check your jars for any chips or cracks. These imperfections can compromise the seal.
To minimize air bubbles, re-evaluate your packing method. Ensure you have enough headspace and adjust processing times based on your altitude.
Following these steps will keep your canned contents safe and delicious!
Frequently Asked Questions
What causes air bubbles in canned food?
Air bubbles can occur due to improper packing or incomplete air removal. They may also result from incorrect processing during canning.
Why is it important to remove air bubbles in canning?
Removing air bubbles prevents spoilage and ensures the jar seals properly. This is crucial for food safety.
How can I remove air bubbles in canning?
To remove bubbles, use a plastic or wooden utensil. Gently stir the food and run the utensil along the inside of the jar.
What if I can’t remove all the air bubbles in my canned food?
If bubbles remain, it s safe to consume if the jar is properly sealed and the food was processed correctly.
Can I use a metal utensil to remove air bubbles in canning?
No, avoid metal utensils. They can scratch the inside of the jar and compromise the seal.
How do I prevent air bubbles in my canned food?
Prevent bubbles by packing food properly, removing all air before sealing, and following correct canning procedures.
