How to Test Your Canning Equipment for Safety
Testing your canning equipment is essential for ensuring food safety and maintaining the quality of your home-canned goods. Whether you opt for a pressure canner or a water bath canner, understanding the nuances of each method and conducting regular tests can significantly enhance your results.
Discover the essential tools and tips for safe canning in this article! It provides a comprehensive overview of various types of canning equipment, complete with step-by-step instructions for testing your canners and invaluable tips for their upkeep. It also highlights common safety issues and how to prevent them, allowing you to approach your canning endeavors with confidence and ease.
Dive in to uncover the secrets of safe and effective canning practices!
Contents
- Key Takeaways:
- Types of Canning Equipment
- Testing Your Pressure Canner
- Testing Your Water Bath Canner
- Common Safety Issues with Canning Equipment
- Maintaining Your Canning Equipment for Long-Term Safety
- Frequently Asked Questions
- Why is testing your canning equipment so important?
- When should I test my canning equipment for safety?
- How do I test my canning equipment for safety?
- What are some common signs that my canning equipment may not be safe to use?
- Can I still use my canning equipment if it fails the safety test?
- Are there any precautions I should take when testing my canning equipment for safety?
Key Takeaways:
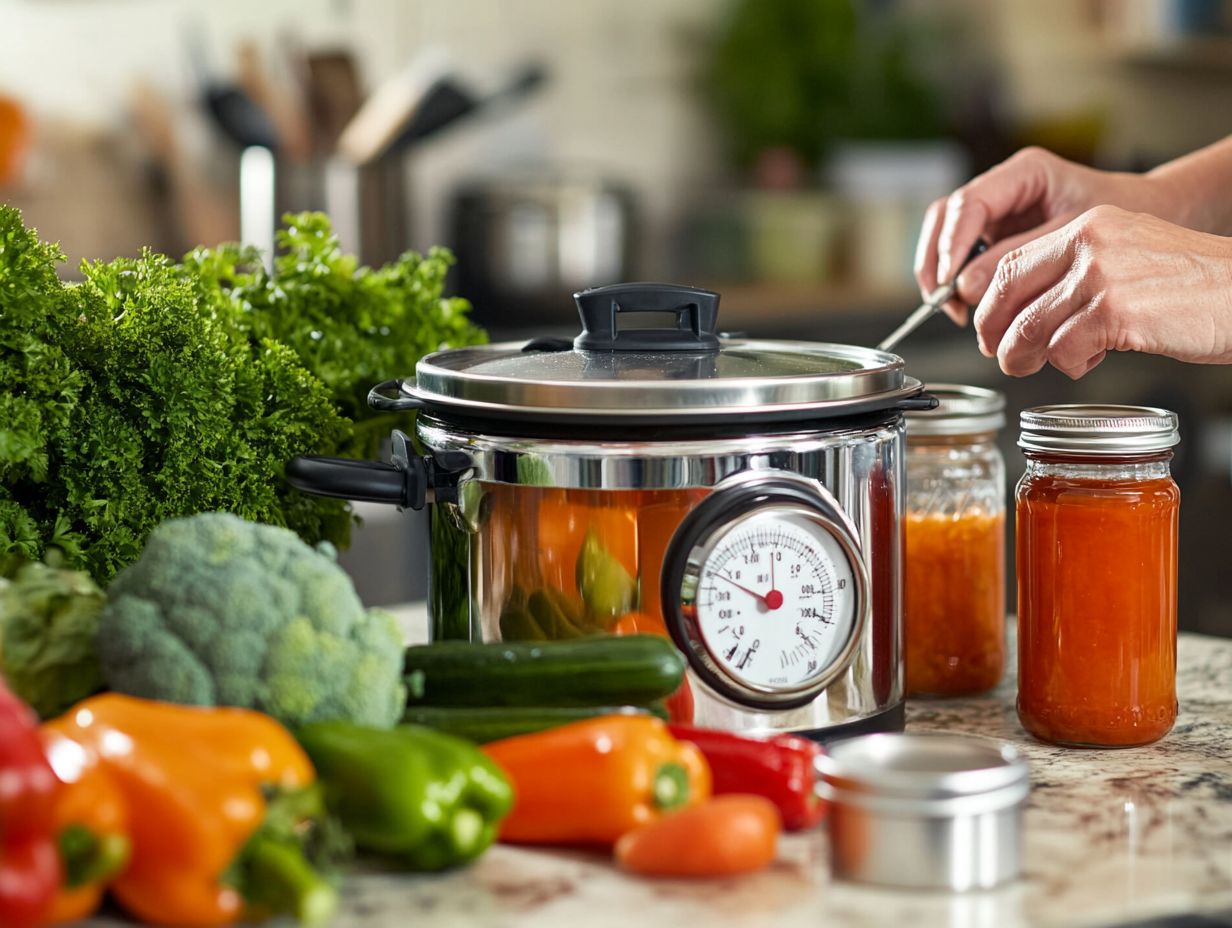
- Regularly test your canning equipment to ensure safe food preservation.
- Learn specific testing methods for pressure canners and water bath canners.
- Keep your equipment in top condition to prevent accidents.
Why It’s Important to Test Your Equipment
Testing your canning equipment is crucial for ensuring food safety and preventing issues like seal failure and food contamination. By employing proper testing methods, you can avoid serious food poisoning from improperly sealed canned goods, including understanding how to use your pressure canner safely, which helps prevent harmful bacteria that can cause serious illness.
Regular checks align with USDA guidelines and boost food preservation efforts at home, offering peace of mind for dedicated gardeners and preservation enthusiasts.
Routine assessments should focus on various key aspects, such as the effectiveness of your vacuum sealing techniques and the condition of your jars and lids. Inspecting the seals is essential; they should be intact and free from any defects.
Following USDA guidelines protects you from spoilage and illness. Consistently verifying the integrity of your canning process allows you to maintain a safe environment for preserving seasonal produce while enjoying the fruits of your labor without the nagging fear of contamination.
Types of Canning Equipment
Understanding the different types of canning equipment is essential for achieving successful food preservation and maintaining safe canning practices. From pressure canners to boiling water baths, each tool plays a vital role in the canning process, catering to specific needs.
Key items such as jar lifters and canning jars with well-designed lids can greatly influence the results of your home canning efforts, ensuring that your food remains both safe and delicious.
Overview of Different Canning Methods
Various canning methods are available, each designed to cater to different types of foods and preservation needs. The two primary approaches are pressure canning for low-acid foods and boiling water bath canning for high-acid foods. Understanding these methods is essential for ensuring food safety and maximizing your food preservation efforts.
Choosing the right method impacts the quality and safety of your finished product. Pressure canning is ideal for vegetables, meats, and poultry, as these items can harbor dangerous bacteria that necessitate higher temperatures for elimination.
On the other hand, boiling water bath canning is particularly effective for fruits, pickles, and jams, which possess natural acidity, allowing them to be safely processed at lower temperatures.
By selecting the appropriate method, you can preserve the nutritional value and flavor of your food while minimizing the risk of spoilage or foodborne illness. Making informed decisions is crucial in the canning process, ensuring that your efforts yield delicious and safe results.
Start your canning journey today and enjoy safe, delicious results!
Testing Your Pressure Canner
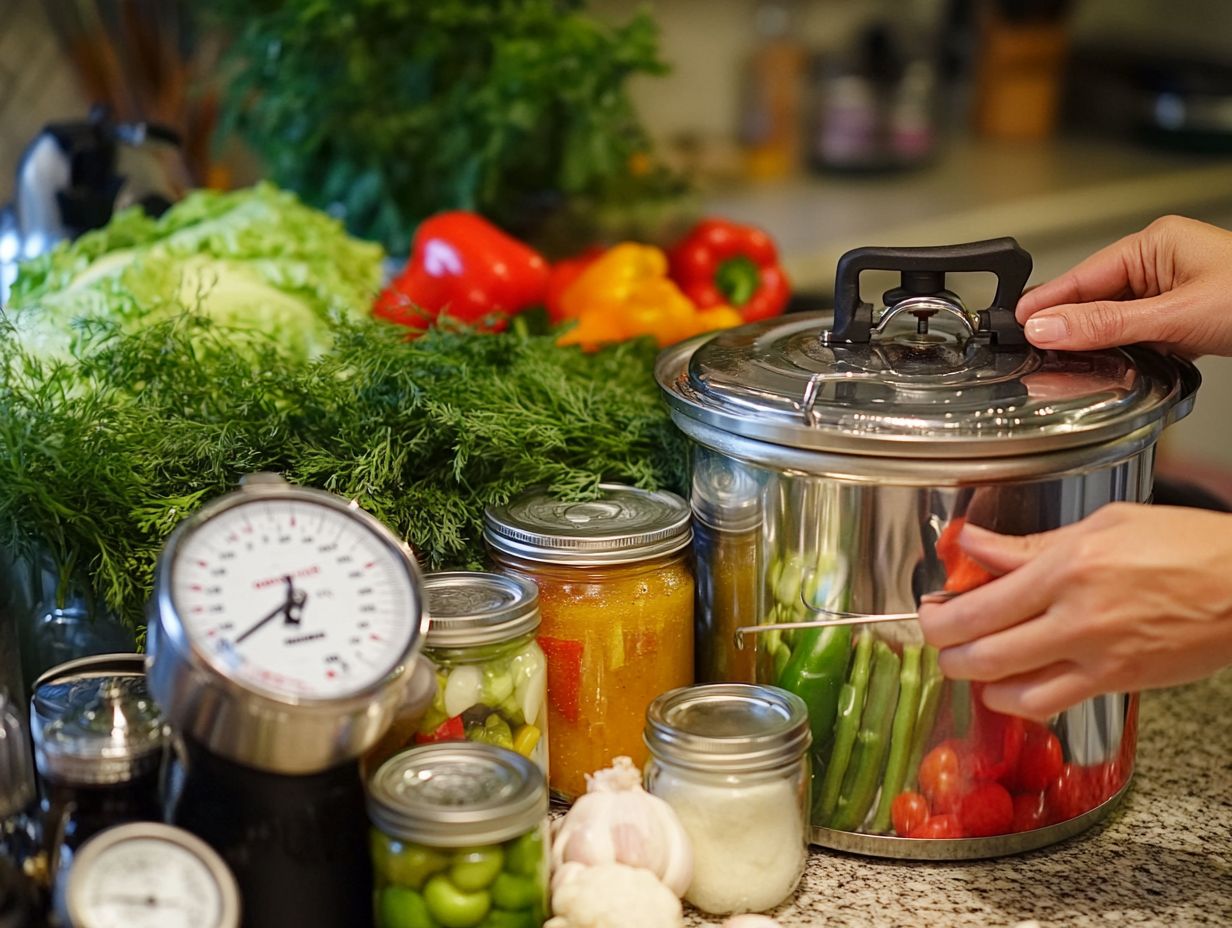
Testing your pressure canner is vital for safe food preservation!
Failing to conduct proper testing could mean not cooking enough or cooking too much your jars, putting the safety of your food at risk.
It s crucial to regularly check both dial gauges (which measure the pressure inside the canner) and pressure gauges (which provide readings on the pressure level). This diligence maintains optimal canning conditions and safeguards against potential food safety concerns.
Step-by-Step Instructions
Following these step-by-step instructions for testing your pressure canner is essential for maintaining food safety and avoiding contamination during the canning process, as highlighted in our guide on understanding canning equipment ratings and safety.
First, gather all the necessary tools, including a specialized gauge for checking pressure accuracy. It’s also important to understand canning jar safety standards by regularly inspecting the canner’s sealing ring for cracks, as this greatly enhances food preservation.
Before you begin, wash your jars thoroughly with hot, soapy water and rinse them well. This eliminates any residue that could jeopardize your food safety efforts.
By adhering to these guidelines, you not only protect the integrity of your home-canned goods but also ensure that every batch is safe and delicious, aligning with best practices in food preservation.
Testing Your Water Bath Canner
Testing your water bath canner is absolutely essential for effective food preservation, especially for high-acid foods. To ensure your canning process is safe, follow tips for safe canning practices such as checking the boiling temperature and ensuring you have adequate headspace (the empty space at the top of the jar) in your jars.
This attention to detail prevents seal failures and food contamination. By following this systematic approach, you adhere to crucial food safety guidelines necessary for successful home canning.
Step-by-Step Instructions
Step-by-step instructions for testing your water bath canner are essential for ensuring food safety and achieving successful canning results. It’s also crucial to know what safety measures to take in canning.
These guidelines enable you to manage jar sealing effectively and handle cooling jars correctly to prevent seal failures or contamination.
- Begin by thoroughly cleaning your canner and jars to eliminate any residues that could compromise food quality.
- Next, fill your water bath canner with enough water to cover the jars by at least an inch, then bring it to a rolling boil.
- Carefully insert the filled jars, ensuring there s adequate headspace for proper sealing.
- When the timer signals the end of the designated processing time, gently remove the jars and place them on a cooling rack.
- Let the jars cool undisturbed for 12 to 24 hours. This crucial step promotes proper sealing and helps create the vacuum effect necessary for preservation.
- After cooling, inspect the seals by pressing the center of each lid. If it pops back, that jar hasn t sealed correctly, and you ll need to take further action.
Common Safety Issues with Canning Equipment
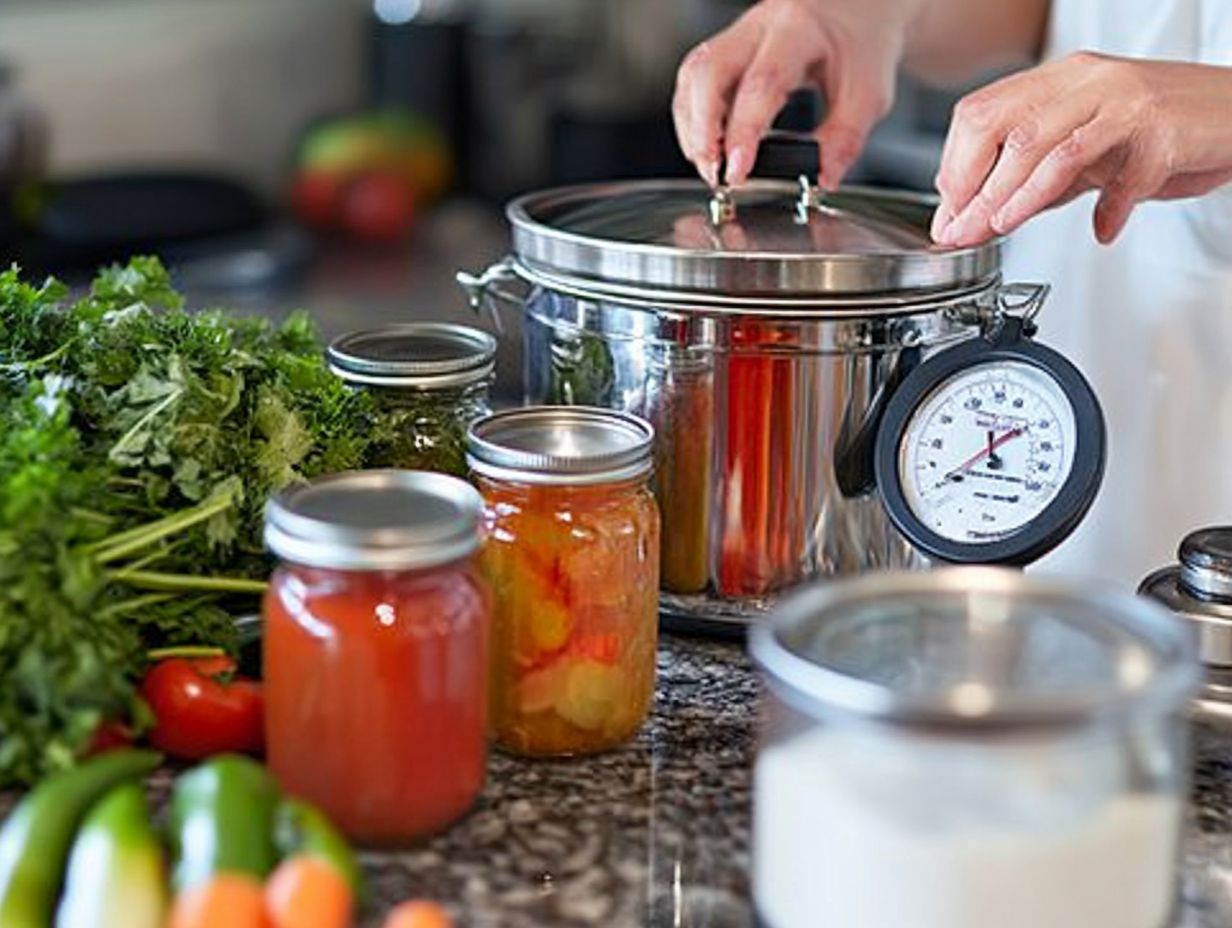
Common safety issues with canning equipment can lead to serious consequences, including seal failure and food contamination. To navigate these challenges effectively, you must address them proactively!
Regularly conducting lid inspections and maintaining a diligent cleaning routine for jars are vital steps in ensuring the safety and integrity of your food preservation efforts.
How to Address and Prevent Them
Addressing and preventing common safety issues with your canning equipment requires regular maintenance and strict food safety guidelines. Regularly cleaning jars and conducting thorough inspections of your equipment can effectively mitigate risks and extend the lifespan of your canning gear.
Stay informed about the latest safety protocols and ensure all sealing lids are in good condition to prevent contamination and spoilage. Regularly checking for any signs of rust or damage in your equipment enhances safety and reliability.
Set up a dedicated space for your canning supplies and equipment. This aids in maintaining organization and cleanliness, which are crucial for effective and safe canning. Combining these steps significantly contributes to a safe home canning environment, safeguarding the quality of your preserved food.
Maintaining Your Canning Equipment for Long-Term Safety
Maintaining your canning equipment is essential for safe food preservation, and you can learn more about this in the essential guide to canning safety to prevent any risk of contamination.
By regularly cleaning and properly storing your jars, and diligently following the sterilization process, you can safeguard your canning efforts and enjoy the fruits of your labor for years to come.
Tips for Proper Cleaning and Storage and Canning
Properly cleaning and storing your canning equipment is essential for maintaining food safety. Pay special attention to components like the rubber gasket. Neglecting this detail can lead to seal failures that compromise the effectiveness of your canning efforts.
To achieve optimal results, employ specific cleaning techniques. Use hot, soapy water and avoid abrasive cleaners that could damage surfaces. Consider soaking metal components to loosen stubborn residue before giving them a thorough wipe-down.
After cleaning, dry everything completely to prevent rust and mold.
Store your equipment in a cool, dry place, away from extreme temperature fluctuations, to extend its lifespan. Regularly inspect for wear and tear, and schedule periodic deep cleaning sessions.
Frequently Asked Questions
Why is testing your canning equipment so important?
Canning equipment testing is the process of checking and evaluating the functionality and safety of your canning equipment. It is crucial for ensuring that your equipment is in good working condition and can effectively preserve food. For specific issues, refer to the troubleshooting canning jar preparation guidelines to minimize any risks to your health.
When should I test my canning equipment for safety?
Test your canning equipment before each use, especially if it has been sitting unused for a long time. Regular testing helps identify potential issues, and knowing the signs you’re using faulty canning equipment can prevent them from causing harm during the canning process.
How do I test my canning equipment for safety?
Start by thoroughly cleaning and sanitizing your equipment according to the manufacturer’s instructions. Inspect all parts for any damage or wear. Finally, conduct a trial run using water to test the pressure and temperature settings, ensuring the seals are working properly.
What are some common signs that my canning equipment may not be safe to use?
Look out for rust or corrosion on the equipment, dents or cracks in the canner, and damaged or missing parts. If you notice any of these issues, it’s important to either repair or replace the equipment before using it for canning.
Can I still use my canning equipment if it fails the safety test?
No, never use canning equipment that fails a safety test. It poses serious risks to your health. To ensure your safety, be aware of the signs your canning equipment needs replacement and address the issue by either repairing or replacing the equipment before using it for canning.
Are there any precautions I should take when testing my canning equipment for safety?
Always follow the instructions from the maker when using your canning tools. Handle hot equipment with care!
Check the expiration date on your canning supplies, like jar lids and seals. Expired supplies may not keep your food safe!
