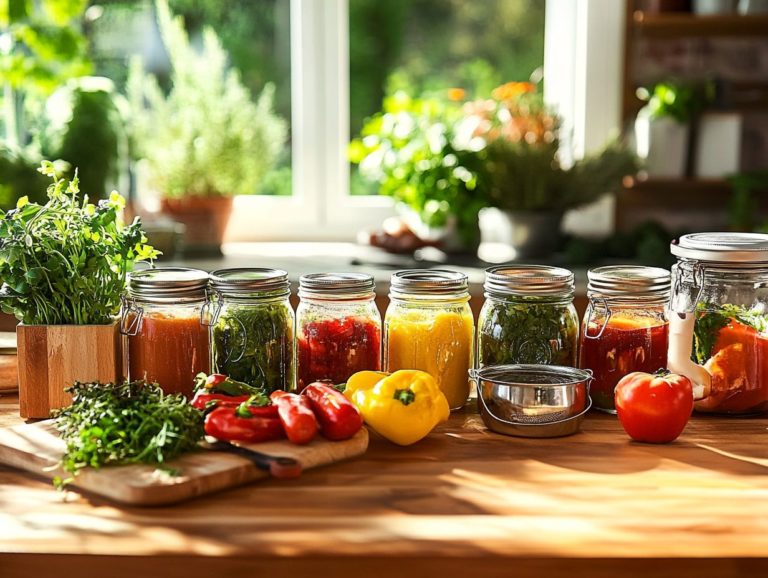
How to Properly Clean Canning Equipment
When preserving your favorite fruits and vegetables, the cleanliness of your canning equipment is of utmost importance.
Neglecting proper cleaning practices can pose serious health risks, jeopardizing both your hard work and your family s safety.
This guide will walk you through essential cleaning steps, from basic techniques to in-depth sanitization methods, ensuring your canning equipment is immaculate and primed for use.
You ll also discover tips for maintaining cleanliness, which will help ensure your canning process remains smooth and safe!
Contents
- Key Takeaways:
- Why Proper Cleaning is Essential for Canning Equipment
- Basic Cleaning Steps for Canning Equipment
- Deep Cleaning and Sanitizing Canning Equipment
- Maintaining Clean Canning Equipment
- Frequently Asked Questions
- What equipment do I need to properly clean canning equipment?
- Why is it important to properly clean canning equipment?
- How often should I clean my canning equipment?
- What is the best way to clean canning equipment?
- Can I put my canning equipment in the dishwasher?
- What should I do if my canning equipment has rust or stains?
Key Takeaways:
- Proper cleaning of canning equipment is essential to avoid potential health risks from bacteria and contamination.
- Gather necessary supplies and thoroughly clean equipment with hot water and soap before rinsing and drying to maintain cleanliness.
- Regularly deep clean and sanitize canning equipment using recommended methods to ensure safe and effective preservation of food.
Why Proper Cleaning is Essential for Canning Equipment
Properly cleaning your canning equipment is essential for ensuring safe and effective food preservation. Additionally, knowing how to test your canning equipment for safety prevents potential health risks associated with contamination, especially when using methods like water-canning.
This process involves sterilizing jars and ensuring that all your canning supplies are free from any residues that could impact food safety.
Adhering to USDA guidelines is critical; improper cleaning can foster the growth of harmful bacteria or spoilage, jeopardizing both the quality of your food and the health of those who will consume it. Therefore, you must prioritize cleaning as a fundamental step in your home canning process.
Potential Health Risks of Improper Cleaning
Improper cleaning of your canning equipment can expose you to significant health risks, including the growth of harmful bacteria and potential contamination of your preserved foods.
When you don t thoroughly sanitize your canning supplies like jars and lids you allow bacteria such as Clostridium botulinum, a bacteria that can cause a serious illness called botulism, to multiply. This nasty bacteria thrives in low-oxygen environments, such as improperly sealed jars, and can lead to severe neurological symptoms if ingested.
Salmonella and E. coli are also common offenders lurking on unclean surfaces, potentially resulting in foodborne illnesses.
To avoid contamination risks, meticulously wash and sterilize jars and all your canning tools and equipment before use. Boiling jars for at least 10 minutes and ensuring that all surfaces are spotless can significantly boost food safety during your home canning endeavors.
Basic Cleaning Steps for Canning Equipment
Basic cleaning steps for your canning equipment are crucial for ensuring that all your tools and supplies are primed for safe food preservation. To ensure proper sealing, start by gathering the necessary supplies and following an effective cleaning routine, including how to properly seal your canning jars.
This process involves not only selecting the right cleaning solutions but also safeguarding the integrity of essential equipment like glass jars, jar lids, and canning kits. By committing to these fundamental practices, you can protect your food from spoilage and contamination, ensuring a successful canning experience.
Gather Necessary Supplies
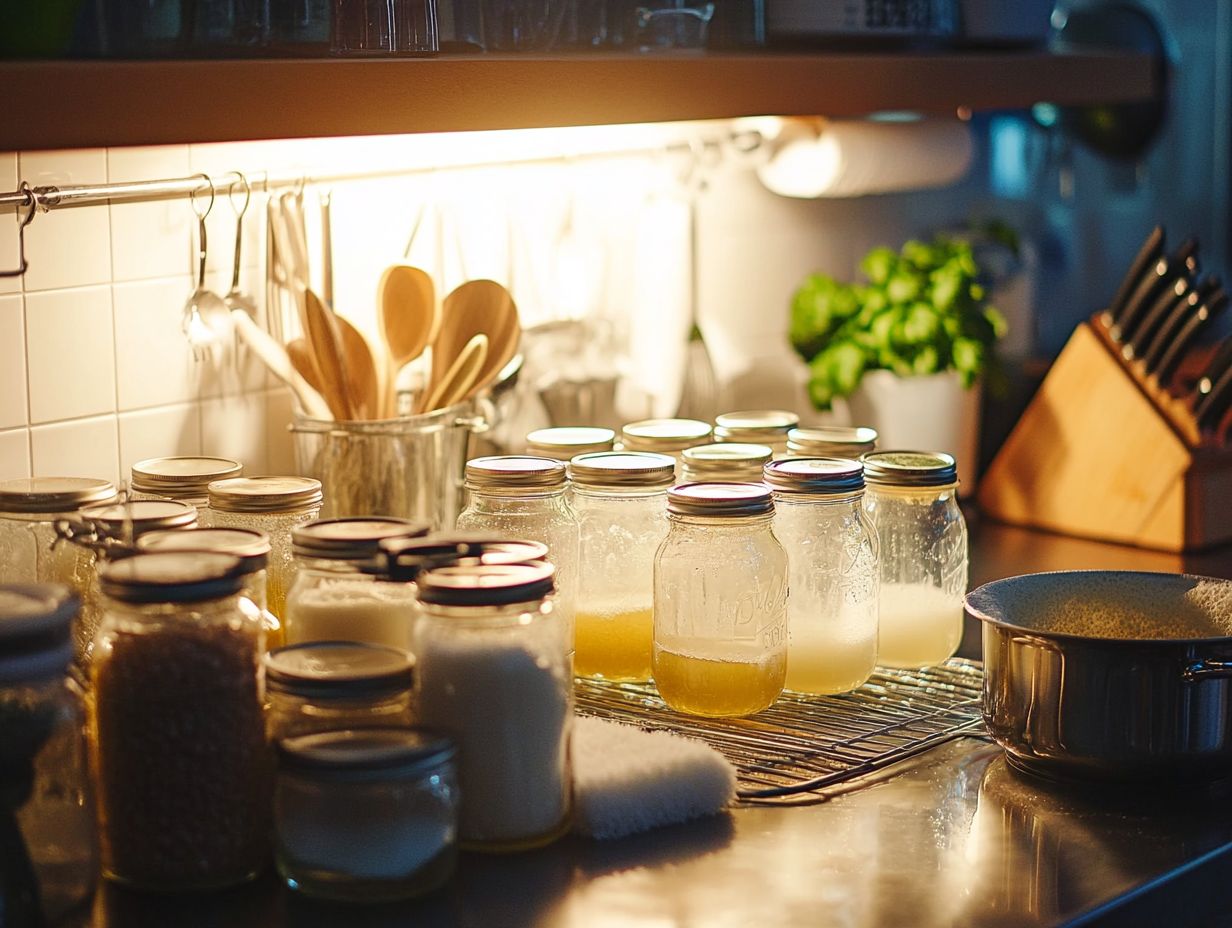
Gathering the necessary supplies is your first step in the cleaning process for canning equipment. This includes hot water, soap, and those specialized cleaning solutions designed for glass jars and jar lids.
Having a dedicated canning kit can significantly streamline this preparation. These kits typically include essential tools like jar lifters, funnels, and sterilizing racks, all of which help you maintain a hygienic workspace.
Choosing the right cleaning solutions is crucial; they should be gentle yet effective to ensure that no harmful residues are left behind. By utilizing these cleaning supplies, you can enhance the longevity and performance of your canning equipment. A thorough clean not only safeguards food safety but also creates a more organized and efficient canning experience.
Disassemble and Pre-Rinse Equipment
Disassemble your equipment to access all parts of your canning apparatus. Ensure no food particles remain, as they can harbor germs that threaten your next batch.
Before starting, consult your equipment manual for guidance on removing parts like lids and jars. Carefully unscrew or unclamp each section while noting how they fit together for easy reassembly.
A gentle pre-rinse with warm water works wonders, loosening stubborn residues and prepping surfaces for a more thorough cleaning.
For those of you who frequently engage in canning, adopting a systematic approach to disassembly will ensure every nook and cranny is attended to, ultimately leading to enhanced preservation and flavor retention.
Use Hot Water and Soap to Clean
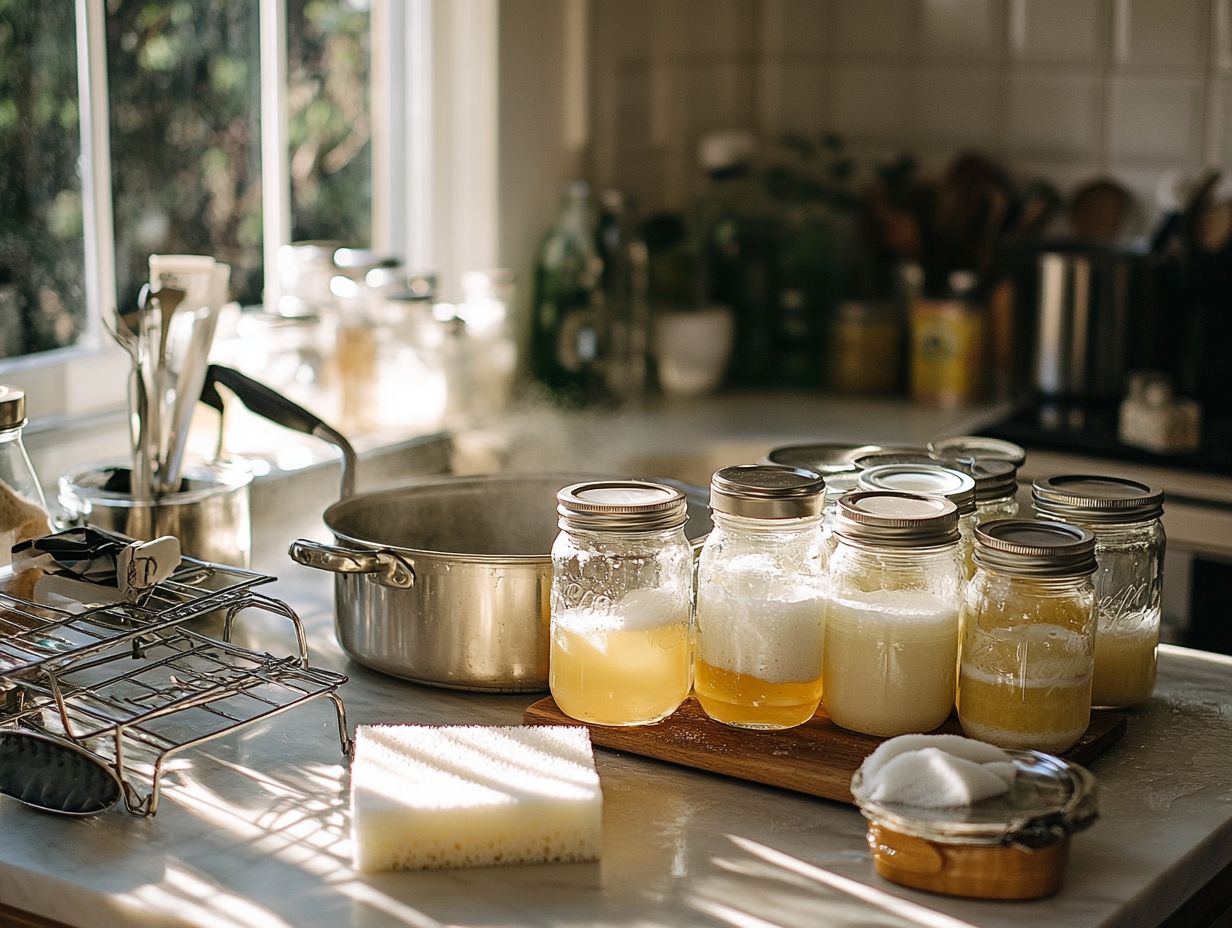
Hot water and soap are your best friends for cleaning canning equipment. The heat dissolves grease and residues that cling to jars and tools.
This combo boosts your cleaning power and eliminates harmful germs, creating a safe food environment. Choose a mild dish soap that cuts grease without harmful residues.
To put this method into practice, fill a basin with hot, soapy water and let your items soak for a few minutes. Afterward, gently scrub them with a soft sponge or cloth. Rinse thoroughly to ensure no soap lingers, keeping your equipment safe and ready for its next use.
Rinse and Dry Thoroughly
Rinsing and drying your canning supplies is crucial. This step ensures no soap lingers and your equipment dries completely before use.
Rinse thoroughly to remove any detergent, preserving the integrity of your jars and lids. Air drying is best as it avoids lint and contamination from towels.
For optimal results, store your supplies in a cool, dry place, ideally in a container that shields them from dust and pests. Arranging everything systematically will also make for easy access and maintain the cleanliness necessary for your future canning endeavors.
Deep Cleaning and Sanitizing Canning Equipment
Deep cleaning and sanitizing your canning equipment is essential for food safety. It’s particularly important after canning different types of foods that can introduce germs, and understanding the lifespan of canning equipment can help ensure your tools remain effective.
A spotless setup safeguards both your preserves and the health of your family. Always follow reliable canning instructions from places like Penn State University.
When to Deep Clean and Sanitize
Knowing when to deep clean and sanitize your canning equipment is key for effective food preservation. After canning acidic foods like tomatoes, give everything a thorough cleaning.
This prevents cross-contamination and protects against harmful germs. If you ve used your equipment multiple times without cleaning, residues can lead to off-flavors in your next batches.
By consistently maintaining a clean canning environment, you position yourself to enjoy the rewards of preserving high-quality produce, ensuring that each jar bursts with flavor and safety for months ahead.
Methods for Deep Cleaning and Sanitizing
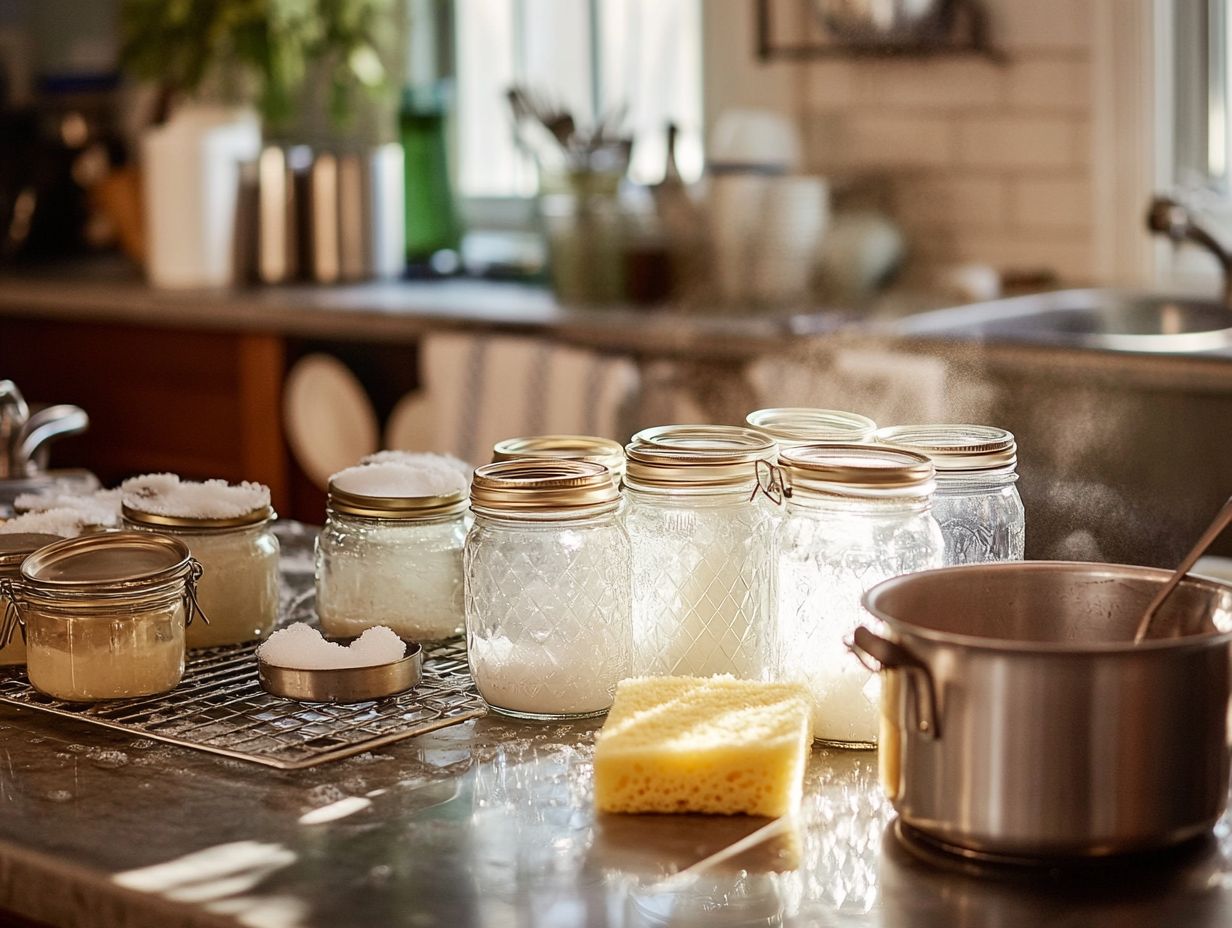
There are several methods available for deep cleaning and sanitizing your canning equipment. You can use a pressure canner, which is a special pot that cooks food under high pressure, for effective sterilization. For more detailed guidance, check out sterilizing jars: best practices for canning. Alternatively, you can employ specific cleaning agents like white vinegar or commercial sanitizers. Make sure your rubber sealing rings and jar lids are thoroughly cleaned.
Each approach has its own advantages and disadvantages. For instance, a pressure canner is excellent at killing bacteria due to the high temperatures it generates. However, it requires careful monitoring to prevent overcooking. In contrast, vinegar serves as a natural disinfectant and is environmentally friendly, although it may not eliminate all types of pathogens.
When considering chemical agents, commercial sanitizers provide a higher level of effectiveness against various microorganisms. However, they often contain harsh chemicals that need careful handling, especially when used alongside cream of tartar for cleaning.
Temperature also plays a crucial role in this process. Utilizing boiling water can significantly enhance your cleaning efforts, making it a reliable option for thorough sanitization.
Maintaining Clean Canning Equipment
Maintaining pristine canning equipment is vital for the long-term success of your home canning endeavors. Create a cleaning schedule to ensure that all supplies from glass jars to canning kits stay in optimal condition and are ready to deliver great results.
Regular Cleaning Schedule and Tips
Creating a cleaning schedule and following maintenance tips is essential for ensuring the longevity and effectiveness of your canning equipment. This structured approach can enhance your overall canning experience, making it smoother and more efficient.
Align your cleaning routine with your canning schedule. This way, you can guarantee that all your tools and containers are primed and ready when the season’s bounty reaches its peak. Don t wait! Clean your jars, lids, and equipment immediately after your canning sessions to avoid contamination.
Regularly inspecting and sanitizing these supplies enhances food safety and preserves their quality over time. Make quick cleanups between canning days a priority. This proactive step can reduce spoilage and contamination, ensuring your next batch of preserves is just as delicious and safe as the last.
Frequently Asked Questions
What equipment do I need to properly clean canning equipment?
To properly clean canning equipment, you will need hot water, dish soap, a clean cloth, and vinegar or bleach for sanitizing. Additionally, understanding the importance of proper canning equipment storage can help maintain your tools in excellent condition.
Why is it important to properly clean canning equipment?
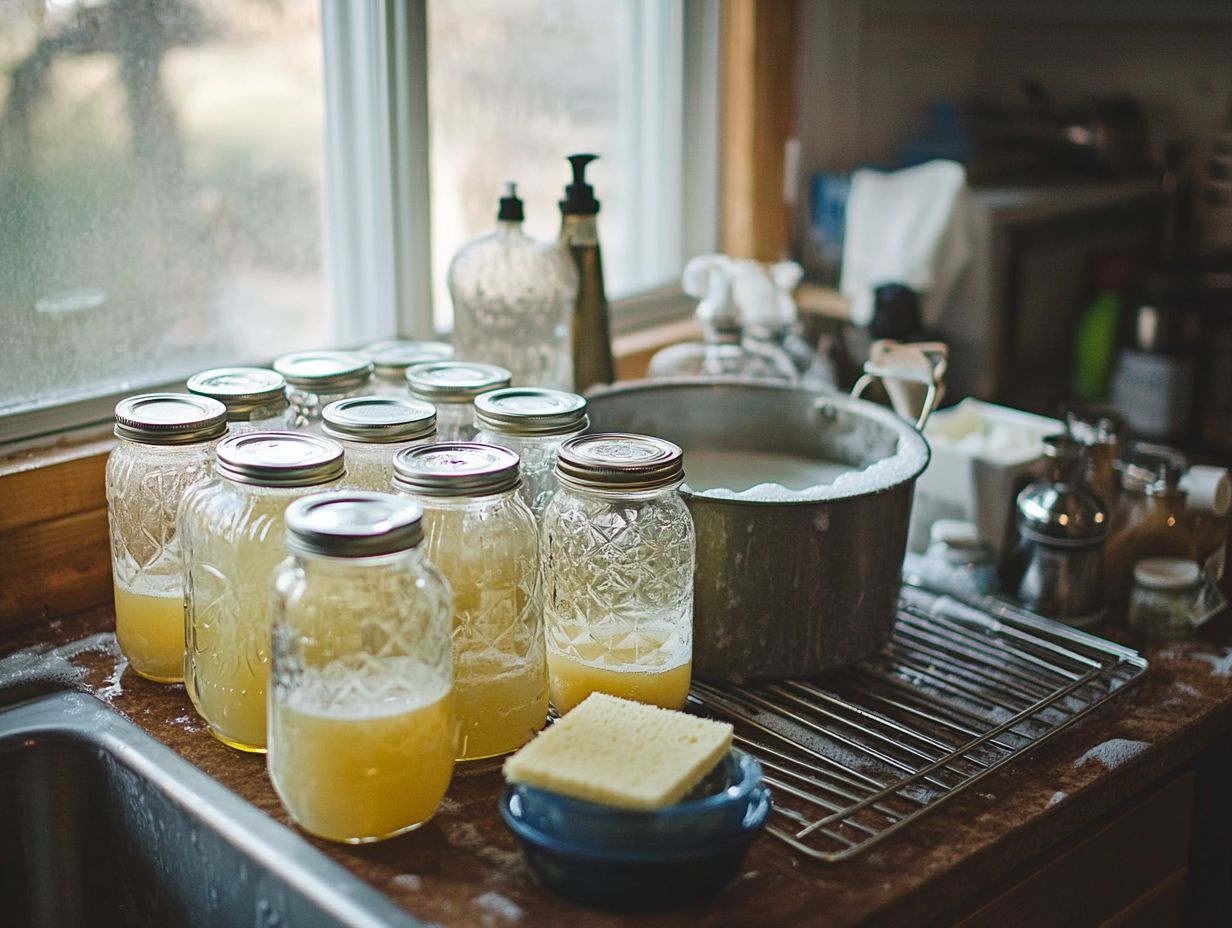
Properly cleaning canning equipment is crucial for food safety. Understanding the importance of sterilizing canning equipment ensures that any residues or bacteria left on the equipment do not contaminate the food and potentially cause foodborne illness.
How often should I clean my canning equipment?
Canning equipment should be cleaned after each use and before each use. Regular cleaning prevents build-up and ensures the equipment is ready for safe and effective use.
What is the best way to clean canning equipment?
The best way to clean canning equipment is to start by washing it with hot water and soap. Scrub all surfaces thoroughly, paying special attention to any crevices or hard-to-reach areas. After cleaning, if you encounter issues, refer to this guide on repairing common canning equipment. Rinse with hot water, then sanitize with either vinegar or bleach solution. Let it air dry before use.
Can I put my canning equipment in the dishwasher?
Avoid using the dishwasher for canning equipment. The high heat and harsh detergents can damage the equipment and may not effectively remove all residues.
What should I do if my canning equipment has rust or stains?
If your canning equipment has rust or stains, try using a paste of baking soda and water to scrub the affected areas. For tough stains, soak the equipment in a mixture of hot water and vinegar or bleach before scrubbing. Make sure to thoroughly rinse and sanitize afterwards.
Start your canning preparation today for the best results!
