How to Organize Your Canning Kitchen
Setting up your canning kitchen is an exciting and rewarding journey. Whether you’re a seasoned pro or a newcomer, having the right tools and a solid kitchen organization system is crucial for making the most of your food preservation experience.
This guide offers essential equipment insights, effective storage solutions, and clever tips for creating a canning schedule that maximizes efficiency. From prepping your ingredients to troubleshooting common hiccups, you ll discover everything necessary to preserve your favorites and elevate your home-canned skills.
Get ready to dive into the exciting world of canning!
Contents
- Key Takeaways:
- Setting Up Your Canning Kitchen
- Organizing Your Canning Supplies
- Creating a Canning Schedule
- Properly Preparing Your Ingredients
- Step-by-Step Canning Process
- Storing and Preserving Your Canned Goods
- Troubleshooting Common Canning Issues
- Expanding Your Canning Skills
- Frequently Asked Questions
- What are some basic tips for organizing your canning kitchen?
- How should I store my canning jars and equipment?
- What are some essential tools for organizing a canning kitchen?
- How can I save space in my canning kitchen?
- What should I do with leftover canning supplies?
- Are there any safety measures I should take when organizing my canning kitchen?
Key Takeaways:
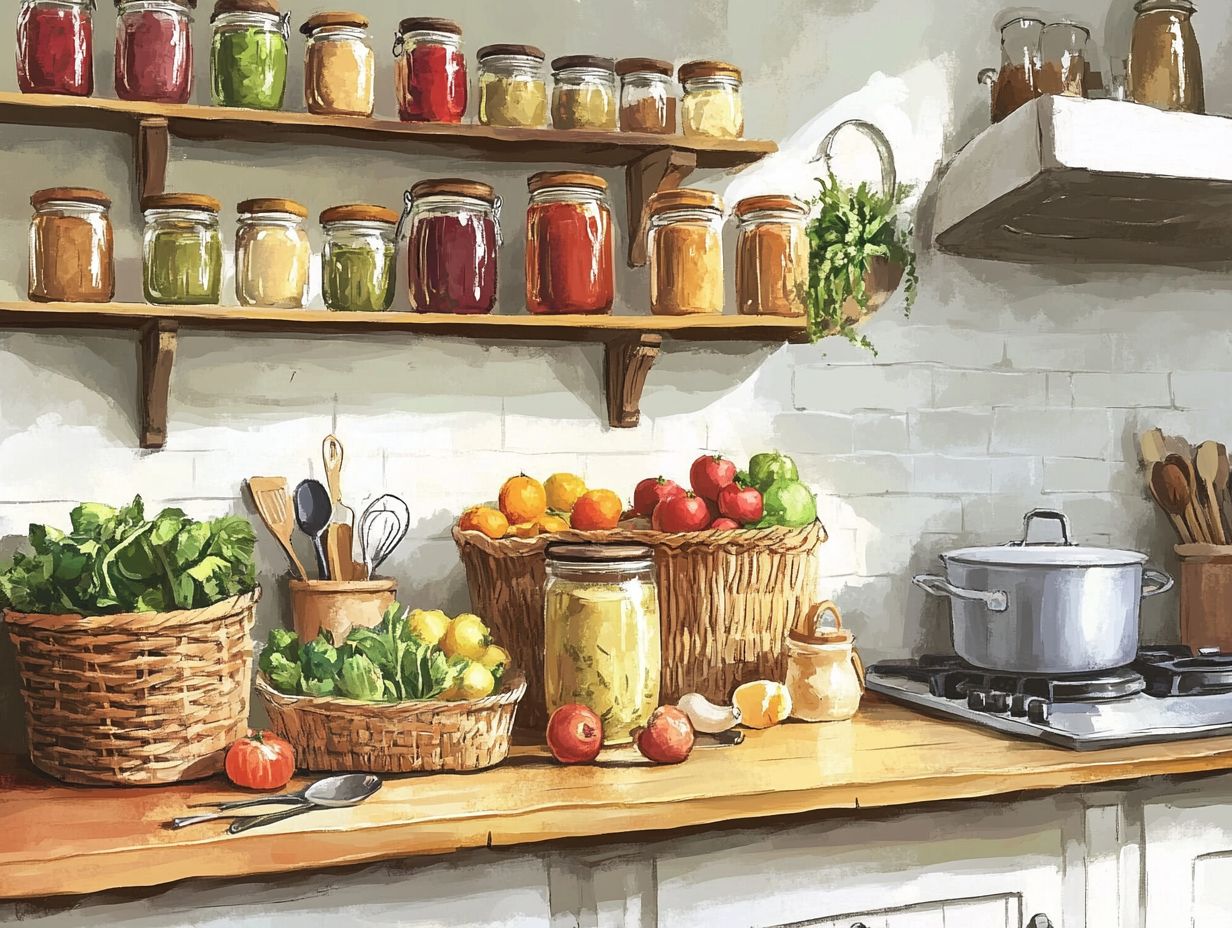
- Create a designated space for your canning kitchen. Invest in essential tools and equipment to make the process smoother, ensuring optimal food storage and access to canned goods.
- Keep your canning supplies organized and easily accessible. Use storage solutions and schedule regular inventory checks to ensure you have everything you need.
- Plan your canning batches efficiently and prepare your ingredients properly. This saves time and produces the best results, incorporating effective pantry organization techniques.
Setting Up Your Canning Kitchen
Setting up a canning kitchen is a crucial first step for anyone eager to preserve food at home. It ensures a space that promotes moisture management and minimizes spoilage. It’s all about creating an organized space that holds your canning supplies and provides easy access to everything you need, including how to upgrade your canning setup, from jars to essential tools.
By dedicating an area for your canning activities, you streamline the process, making it more enjoyable while reducing the risk of spoilage. Whether you’re just starting or you’ve been canning for years, having the best canning equipment for small kitchens can significantly elevate your canning experience.
Essential Tools and Equipment
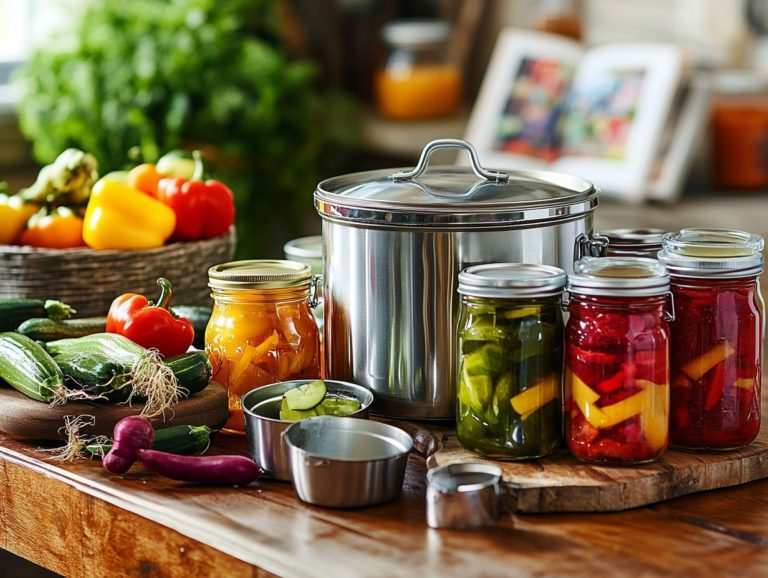
Essential tools and equipment for canning include high-quality canning jars, a reliable pressure canner, and various supplies that ensure both safety and efficiency during your food preservation process.
These jars come in various sizes, typically ranging from half-pints to quarts, providing flexibility based on the foods you’re preserving. Lids are crucial; they create a tight seal to prevent contamination, so using new, undamaged lids each time is vital for successful storage.
When using metal rings, remember to finger-tighten them. This allows gases to escape while still maintaining a secure closure. If you’re preserving low-acid foods, like vegetables or meats, a pressure canner a special pot that helps safely preserve these foods becomes essential to reach necessary temperatures. On the other hand, high-acid foods can usually be processed in a boiling water canner.
Understanding how to properly utilize these essential tools enhances your canning experience and ensures that your food remains safe for consumption long after it s been stored.
Organizing Your Canning Supplies
Organizing your canning supplies is essential for ensuring an efficient canning process and optimizing your kitchen and pantry space. To make the most of your efforts, follow tips on how to plan a canning party. By employing effective pantry organization techniques, you can effortlessly access your canning jars and other vital supplies, minimizing clutter and enhancing your overall canning experience.
Whether you lean toward innovative storage solutions or creative storage, a well-ordered space will streamline your efforts, helping you avoid spoilage and ensuring that your home-canned goods are always safe and ready for use in your food storage room.
Storage Solutions and Tips
Effective storage solutions are vital for preserving the quality of your home-canned goods and ensuring they remain safe for your enjoyment.
To achieve the best results, create a setup that prioritizes optimal conditions. A cool, dark place is your best bet, as exposure to light and heat can compromise the contents of your jars.
Managing moisture levels is equally important; too much humidity can lead to mold or spoilage. Simple strategies, like ensuring good airflow around your canned goods, can help you avoid potential issues.
Labeling each jar with clear dates and contents enhances organization and assists you in tracking freshness, making it easier to use older items first. This is a key aspect of labeling jars and labeling contents effectively.
Creating a Canning Schedule
Creating a canning schedule is an invaluable strategy for managing your food preservation. It helps you maximize the bounty of seasonal produce.
By planning your canning activities in advance, you can batch your jars and streamline the process. For detailed guidance, check out how to plan your canning schedule. This prevents last-minute scrambles that often lead to overlooked details.
An organized schedule enables you to keep tabs on what you’ve canned, when to process new batches, and ensures a consistent supply of healthy, home-canned goods throughout the year. Additionally, understanding the importance of proper canning equipment storage enhances your efficiency and elevates your canning experience to new heights.
Efficient Batch Planning
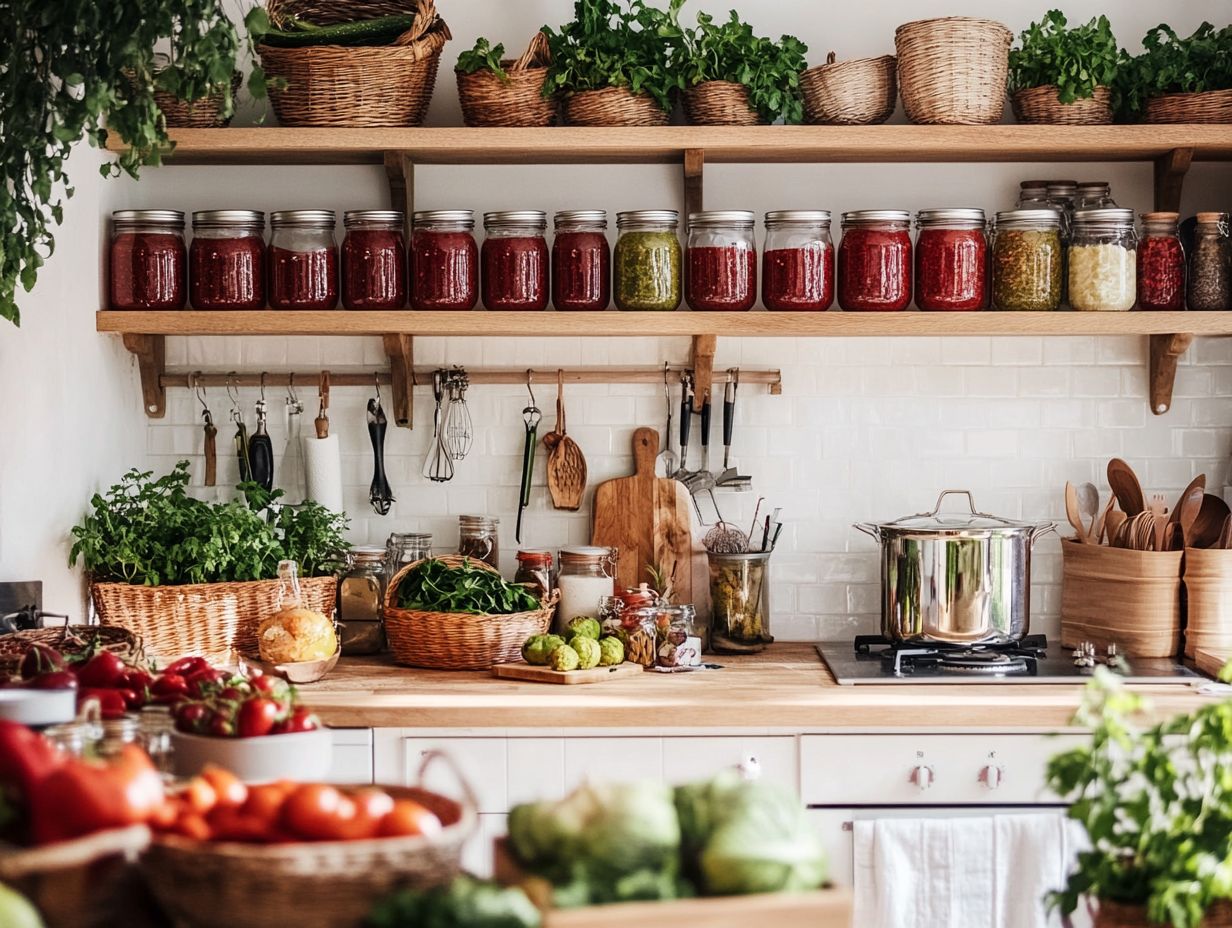
Efficient batch planning is essential for maximizing your canning efforts. It ensures food safety throughout the process.
Grouping similar items together, like tomatoes for salsa or cucumbers for pickling, simplifies preparation. This minimizes the time spent juggling different fruits and vegetables.
Using a water bath for high-acid foods and pressure canning for low-acid options preserves both freshness and quality.
Strict food safety standards are crucial. Ensure all equipment is sanitized, use jars free of chips or cracks, and follow recommended processing times.
Properly Preparing Your Ingredients
Preparing your ingredients before canning is crucial for food safety. It also preserves the quality of your homemade preserves.
Thoroughly clean and prep your produce. Remove any dirt and check for ripeness and overall quality.
This meticulous process enhances flavor and texture. It also minimizes the risk of spoilage.
Cleaning and Prepping Produce
Cleaning and prepping your produce ensures your final canned goods are safe to eat. This step is vital for bursting with flavor.
Select fresh, high-quality ingredients for the best results. Wash your fruits and vegetables thoroughly under running water to remove dirt and residues.
Inspect your produce for signs of bruising or spoilage. Minor blemishes can impact the integrity of your final product.
Use a clean, sanitized cutting board and knife. This helps ensure food safety and preserves the nutritional value of your canned goods.
Step-by-Step Canning Process
The step-by-step canning process is vital for anyone aiming to preserve food effectively and safely at home. Each phase demands your attention to detail.
Following these steps ensures your homemade canned goods are safe for consumption. This maximizes your shelf life and space.
By adhering to proper canning methods, you can enjoy homemade preserves without worrying about spoilage or foodborne illnesses.
Instructions for Successful Canning
Following proper canning instructions is essential to ensure your preserved foods retain their quality and safety for long-term storage.
As you embark on your canning journey, start with canning jars free from cracks or chips. Even the tiniest imperfection can compromise the seal.
Before you fill those jars, make sure they re sterilized to prevent any unwanted bacteria. Once your canned goods cool, listen for that satisfying pop sound this means your jars are sealed!
Store your jars in a cool, dark place to extend their shelf life. Don t forget to label each jar with the date to keep track of freshness.
By following these tips, you can transform canning into a rewarding experience!
Storing and Preserving Your Canned Goods
Storing your canned goods correctly is essential for ensuring their quality and safety over time. Being aware of shelf life and ideal conditions for storage can greatly influence the flavor and nutritional value of your homemade items.
Follow these tips for proper storage: place jars in a cool, dark location and routinely check for signs of spoilage. This way, you can savor your delightful canned creations for months or even years!
Storage Guidelines and Shelf Life
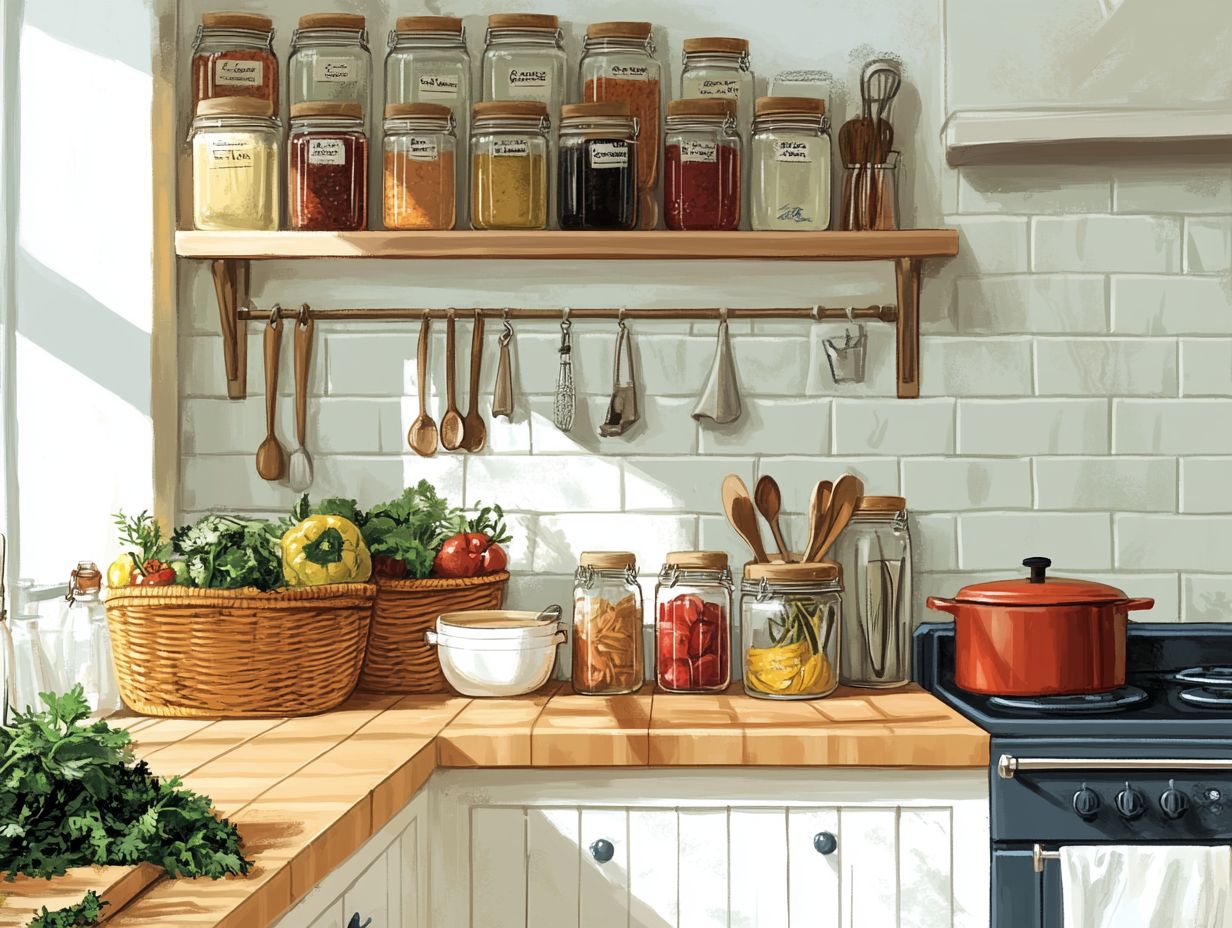
Understanding storage guidelines and shelf life for canned goods is crucial for ensuring both food safety and quality. Following these tips can minimize the risk of illnesses caused by contaminated food.
Store your canned goods in a cool, dry location, away from direct sunlight. Excessive heat or moisture can compromise the integrity of the can and its contents.
Most canned foods boast a shelf life of two to five years. However, factors like acidity levels and storage conditions can influence this timeline.
Low-acid foods, such as vegetables and meats, typically have a longer shelf life than high-acid options, like tomatoes and fruits, which require closer monitoring for freshness.
Troubleshooting Common Canning Issues
Troubleshooting common canning issues can save you time, effort, and resources, all while ensuring the safety and quality of your preserved foods.
By familiarizing yourself with typical challenges, you can take proactive measures to avoid problems like spoilage or compromised seals.
How to Fix Common Problems
Knowing how to tackle common issues in canning can save you from waste while ensuring your home-canned goods are safe to enjoy.
Follow these straightforward steps to troubleshoot problems like unsealed jars or discoloration.
- Inspect the sealing surface for any debris before processing; remember, a clean seal translates to a secure seal.
- If you notice any discoloration, it may indicate a processing time or temperature issue. Sticking to recommended guidelines is crucial for both quality and safety.
- Regularly checking jar seals and using fresh, high-quality ingredients will further minimize complications.
Ultimately, these actionable steps will elevate your canning skills and protect your health!
Expanding Your Canning Skills
Expanding your canning skills opens the door to a more rewarding and diverse experience in food preservation. You can explore advanced techniques and innovative recipes.
By looking into various canning methods and embracing creative preservation practices, you have the opportunity to elevate your home canned goods. Stepping beyond traditional recipes enhances your culinary repertoire and deepens your appreciation for the art of preserving food.
Advanced Techniques and Recipes
Advanced techniques in canning open up a world of possibilities for food preservation that transcend the basics, enabling you to craft unique and flavorful canned creations.
By embracing methods like fermentation and pressure canning, you can improve your cooking skills while ensuring your ingredients retain their freshness for the long haul.
Fermentation is a process that uses good bacteria to preserve vegetables and enhance flavor. It not only boosts the taste of your vegetables but also infuses them with probiotics that promote gut health.
Pressure canning is a safe and effective method to preserve low-acid foods. This is essential for anyone eager to capture the essence of seasonal produce.
Get ready to explore these innovative canning techniques! This article features recipes that spotlight these approaches think zesty fermented pickles and hearty pressure-canned chili inviting you to embark on your own preservation journey!
Frequently Asked Questions
What are some basic tips for organizing your canning kitchen?
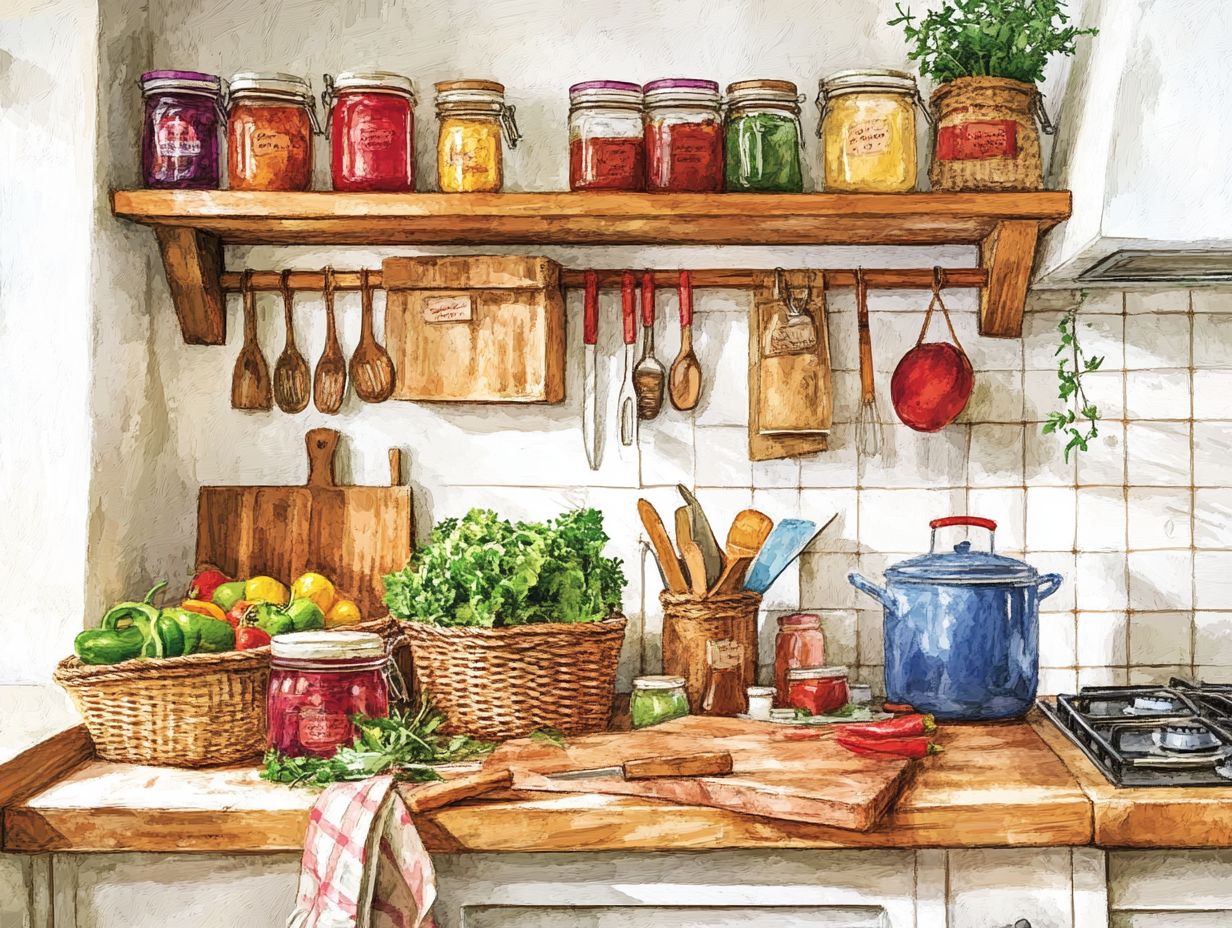
Some basic tips include:
- Declutter regularly.
- Utilize storage containers and bins.
- Label everything to easily find ingredients and tools.
How should I store my canning jars and equipment?
Store your jars in a cool, dry place for the best results. Consider using a designated shelf or cabinet to keep everything organized and easily accessible.
What are some essential tools for organizing a canning kitchen?
Essential tools include:
- A canning rack
- A jar lifter
- A magnetic lid lifter
- A funnel
These tools will make the canning process easier and more efficient!
How can I save space in my canning kitchen?
Invest in stackable storage containers or shelves. You can also utilize wall space by installing shelves or hanging hooks for pots and pans.
What should I do with leftover canning supplies?
If you have leftover supplies, consider:
- Donating them to a local food bank or community organization.
- Repurposing them for other kitchen or crafting projects.
Are there any safety measures I should take when organizing my canning kitchen?
Yes! It’s important to:
- Store canned goods in a cool, dry place.
- Regularly check for signs of spoilage.
- Wash and sanitize all canning equipment before and after use to prevent contamination.
