Sterilizing Jars: Best Practices for Canning
Canning presents an excellent opportunity to preserve your favorite fruits and vegetables. The secret to success rests in the finer details particularly when it comes to sterilizing your jars.
Proper sterilization is crucial for preventing spoilage and contamination, ensuring food safety and flavor in your canned goods.
This article explores methods for sterilizing jars, best practices to follow, and common pitfalls to avoid. It also covers alternative canning techniques like pressure canning and freezing, as recommended by USDA guidelines.
Get ready to dive into the exciting world of canning!
Contents
- Key Takeaways:
- Why Sterilizing Jars is Important for Canning
- Methods for Sterilizing Jars
- Best Practices for Sterilizing Jars
- Common Mistakes to Avoid
- Alternative Methods for Canning
- Frequently Asked Questions
- What is the purpose of sterilizing jars for canning?
- What are the best methods for sterilizing jars?
- How long should jars be sterilized for?
- Can I reuse jars without sterilizing them?
- Do I need to sterilize jars if I am using a pressure canner?
- What should I do if my jars break during the sterilization process?
Key Takeaways:
- Sterilizing jars is essential for safe and successful canning to prevent spoilage and contamination.
- Boiling water, oven, and dishwasher methods are effective for sterilizing jars. Follow proper cleaning and timing guidelines.
- Seal and store your jars correctly to avoid common canning mistakes. Consider methods like pressure canning or freezing, outlined in USDA recommendations.
Why Sterilizing Jars is Important for Canning
Sterilizing jars is an essential step in the canning process. It ensures that the glass jars used for preserving your fruits and vegetables are free from harmful bacteria and contaminants that could compromise your food. Understanding the importance of sterilizing canning equipment further enhances food safety.
By following USDA guidelines, you can maintain food safety while extending the shelf life of your homemade canning recipes. This also effectively prevents spoilage and contamination.
Proper sterilization creates a seal that keeps air out to preserve food, which is vital for maintaining the quality and taste of your contents. This allows you to store them safely for future enjoyment, especially when using rubber sealing rings.
Preventing Spoilage and Contamination
Preventing spoilage and contamination is critical for your canning success. Ensuring airtight seals with rubber sealing rings is a key factor in this, especially when you prepare the lids properly.
These seals are vital for maintaining the integrity of your contents. They create a barrier that blocks air and potential contaminants. Vacuum caps effectively draw out air during the sealing process, significantly reducing oxygen levels inside the jar. This technique preserves freshness and nutritional value while minimizing the risk of mold or bacterial growth.
Proper sterilization of jars and lids before sealing eliminates existing microorganisms that could lead to spoilage. For detailed guidance, refer to using jars: choosing the right size for canning. By following these steps, you can ensure your canned goods remain safe and flavorful for an extended period.
Methods for Sterilizing Jars
You have several effective methods at your disposal for sterilizing jars, including boiling water, hot soapy water, and dishwasher sterilization. Each method provides a distinct approach to keeping your canning jars free from bacteria and contaminants.
Consider these options:
- Boiling water (the boiling point of water at sea level)
- Boiling water canners
- Pressure canners
- Dishwasher sterilization
- Hot soapy water
Choose the method that best suits your needs, and rest assured knowing your jars will be impeccably prepared for canning.
Start canning today to experience the joy of preserving your favorite foods!
Boiling, Oven, and Dishwasher Methods
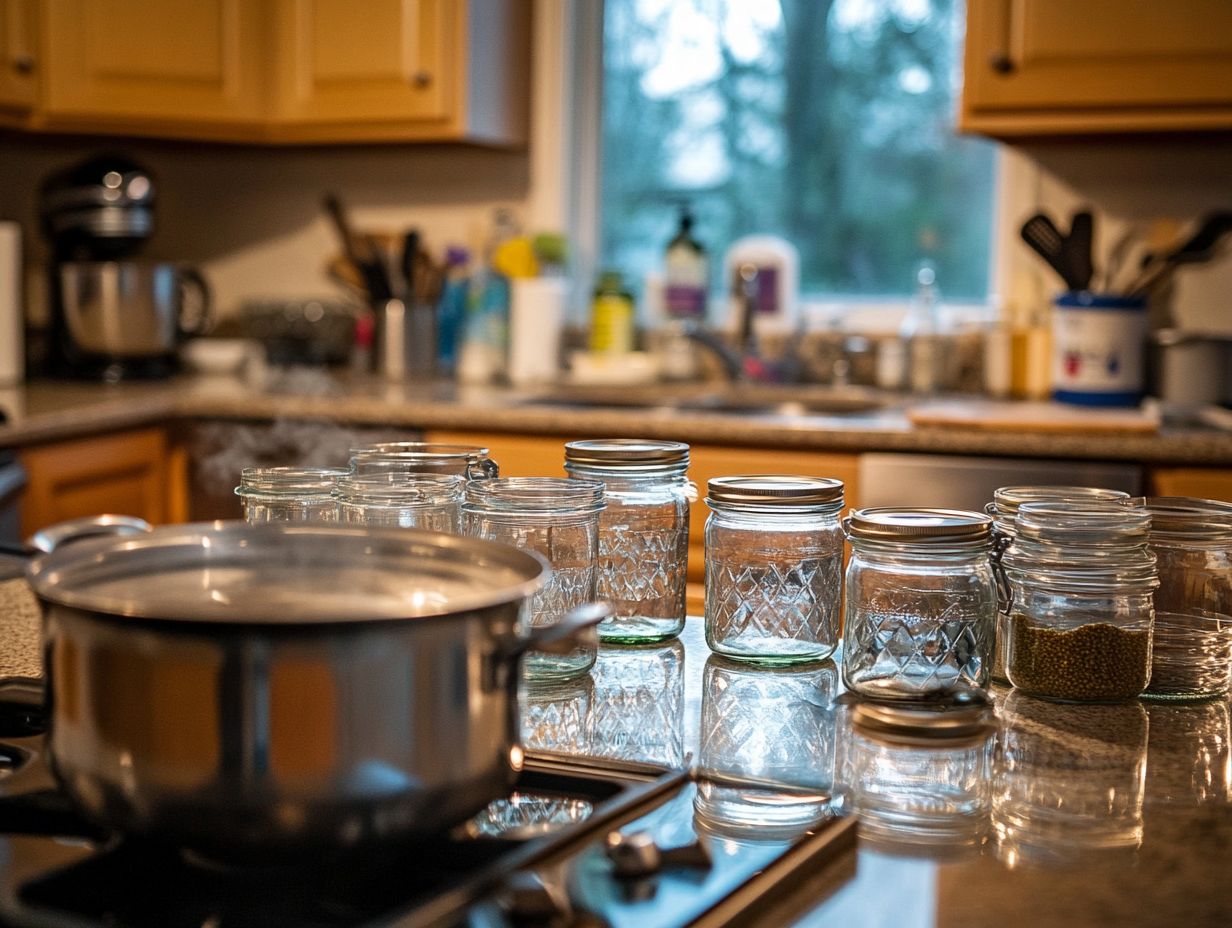
Boiling water, simmering water, oven sterilization, and dishwasher methods are popular techniques for sterilizing jars. Choosing the best approach depends on your needs and resources.
Each method has distinct advantages and disadvantages. Boiling water is one of the simplest; however, it requires constant attention to avoid burns.
In contrast, oven sterilization efficiently dries jars, but maintaining a consistent temperature may not be practical for everyone.
Dishwashers offer convenience and a thorough rinse cycle. However, you should monitor cycle duration and detergent residue. When deciding among these methods, consider ease of use, effectiveness, and safety.
Using tempered glass jars enhances durability and ensures they can withstand heat from the sterilization techniques. This makes them a reliable staple in your kitchen for years, especially when using kitchen tongs for safe handling.
Best Practices for Sterilizing Jars
Adhering to best practices for sterilizing jars is crucial for food safety and extending the shelf life of your preserved items. This includes ensuring a pristine surface, preparing the lids meticulously, and using jar lifters for safe handling throughout the process, as outlined in tips for safe canning practices.
By following these steps, you enhance the quality and safety of your preserves. This gives you peace of mind in your culinary endeavors and ensures the long-term storage of your canned goods.
Cleaning and Preparing Jars
Cleaning and preparing your jars is a foundational step in the canning process. Use hot, soapy water to remove any residue, ensuring your lids are also properly prepared for a secure seal.
This step is vital for your success! It enhances the hygiene of your preserved food and significantly reduces the risk of spoilage.
Thoroughly rinsing the jars is equally important; even a trace of soap can alter the taste of your canned goods. Sterilizing the lids is essential for creating a reliable vacuum seal, vital for long-term storage.
Using jar lifters during this process is highly recommended. These handy tools ensure safe handling, minimizing the chance of burns or drops. Incorporating these techniques elevates your canning game, resulting in safe and delicious preserved foods that you can take pride in.
Timing and Temperature Considerations
Timing and temperature are crucial in the canning process. Improper handling can lead to insufficient sterilization and jeopardize food safety.
Don t risk your hard work get the timing right! Follow established guidelines to ensure your canned goods are safe and maintain their quality.
For instance, the boiling point of water is 212 F at sea level, but this changes with altitude. If you’re canning at higher elevations, you need to adjust processing times. At 1,000 feet, add about 15 minutes to your processing time. If you re above 6,000 feet, pay even closer attention.
When canning green beans, recipes typically suggest using a pressure canner for 20-25 minutes. On the other hand, tomatoes can require anywhere from 40-50 minutes, depending on whether you’re canning them whole or crushed, which relates to proper processing time.
By adhering to these precise guidelines, you ensure that all potential microorganisms are effectively neutralized. This not only promotes safety but also extends the shelf life of your delicious creations.
Common Mistakes to Avoid
Avoiding common mistakes in the canning process is vital for ensuring both the safety and quality of your preserved foods. Pay close attention to proper sealing methods and effective storage techniques.
These factors play a crucial role in the longevity and reliability of your canned goods.
Proper Sealing and Storage Techniques
Proper sealing and storage techniques are essential for maintaining the integrity of your canned goods. Vacuum caps, or special caps that create a tight seal, and rubber sealing rings are crucial in preventing spoilage by minimizing exposure to air and moisture two culprits that can lead to bacteria growth and degrade food quality.
Placement is just as important. Store your jars in a cool, dark area to protect them from heat and sunlight, which can compromise their contents. Keeping jars upright is also key to preventing contamination from spills or leaks.
Regularly check those seals before use. This practice ensures that the food you consume is fresh and safe, vital for anyone looking to extend the shelf life of homemade preserves. Discover how to keep your homemade preserves fresh!
Alternative Methods for Canning
When traditional canning methods fall short, consider alternative approaches like pressure canning and freezing. These methods effectively preserve fruits and vegetables while maintaining the highest standards of food safety.
Pressure Canning and Freezing Options
Pressure canning and freezing offer you two excellent methods for preserving food at home, each tailored to different types of produce while ensuring food safety through proper techniques.
Understanding how to use these methods effectively can significantly enhance the flavor and nutritional value of your food. Pressure canning is especially advantageous for low-acid foods like vegetables and meats, as it requires higher temperatures to eradicate harmful bacteria. In contrast, freezing is perfect for a diverse array of fruits and vegetables, allowing you to maintain their taste and texture without extensive preparation.
To achieve delicious and safe results for your family, it s crucial to adhere to specific safety precautions. This includes using tested recipes, ensuring that seals are tight, and monitoring pressure levels during the canning process.
Frequently Asked Questions
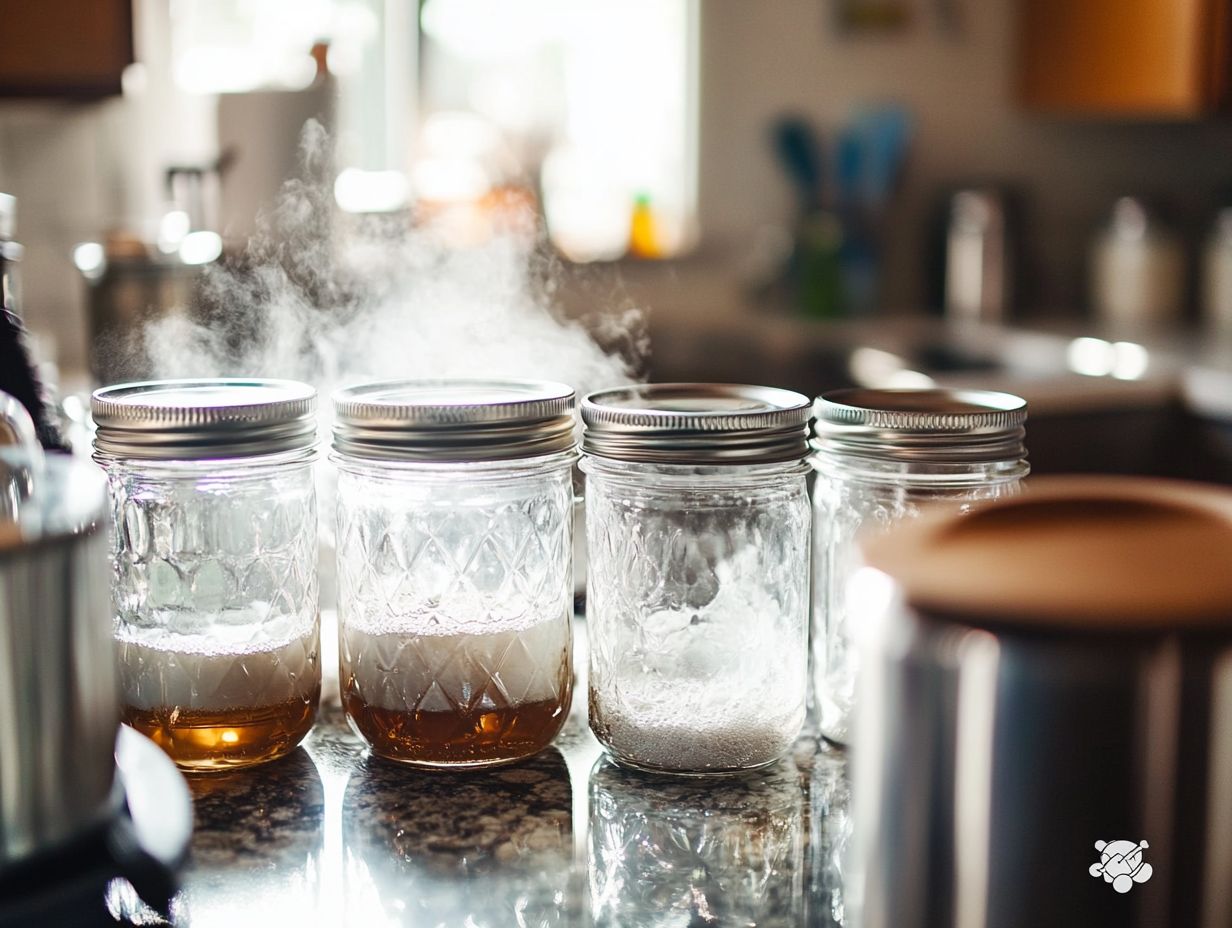
What is the purpose of sterilizing jars for canning?
Sterilizing glass jars removes any potential bacteria that could spoil or contaminate your canned goods. This ensures food safety and longevity for your preserved food, following USDA guidelines.
What are the best methods for sterilizing jars?
The most common and effective methods for sterilizing jars include boiling them in water, using a dishwasher sterilization method, or microwaving them. For those looking to enhance their canning experience, check out the best utensils for successful canning. Each method has its advantages, so choose one that works best for you.
How long should jars be sterilized for?
The recommended processing time for sterilizing jars varies depending on factors like altitude and the method used. Generally, boiling jars in water for 10 minutes, using a dishwasher on the sanitize setting, or microwaving on high for 2-3 minutes is sufficient.
Can I reuse jars without sterilizing them?
Do not reuse jars without cleaning them first; they may contain bacteria that could spoil your canned goods.
Do I need to sterilize jars if I am using a pressure canner?
If you are using a pressure canner, you do not need to sterilize jars beforehand; the high heat during the canning process effectively kills any bacteria present in the jars.
What should I do if my jars break during the sterilization process?
If a jar breaks, throw it away and start fresh with a new jar, ensuring it has a clean surface to prevent contamination. Do not attempt to use the broken jar or its contents, as they may be contaminated, especially if you were canning vegetables or other perishable items.
