How to Can Sauces and Salsas
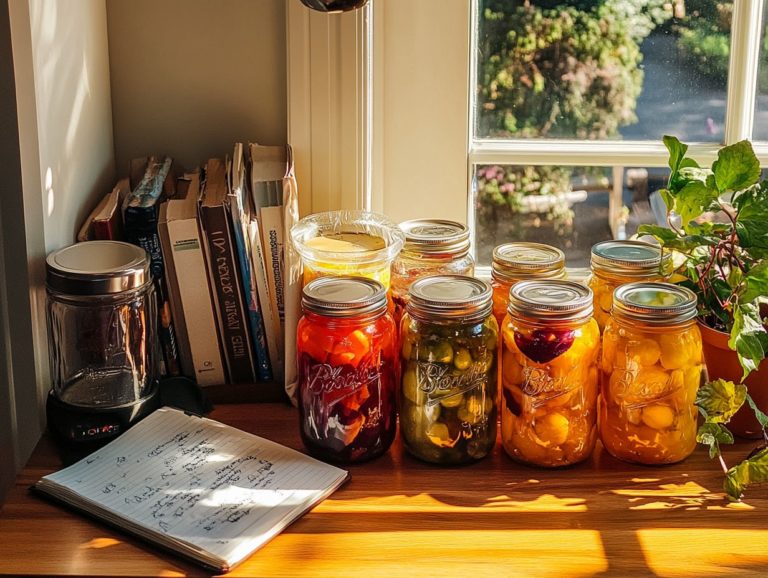
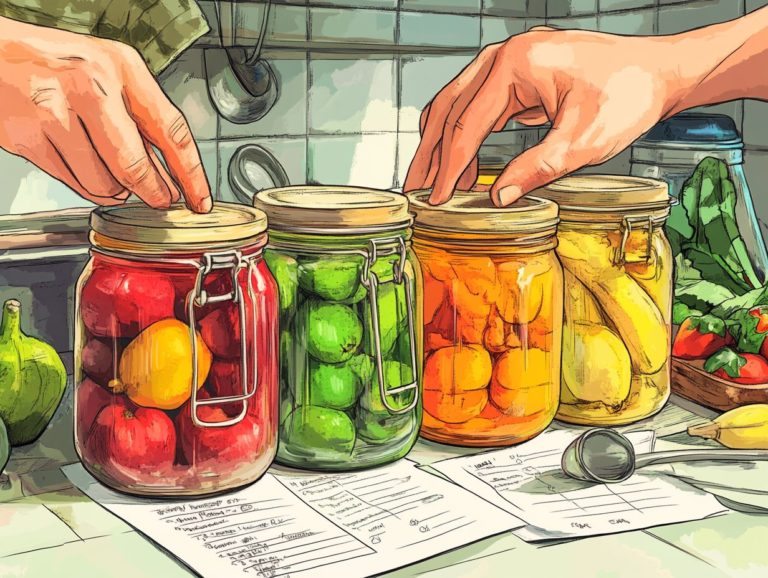
Canning sauces and salsas is an exceptional method to preserve the vibrant flavors of fresh produce. This allows you to savor homemade ingredients throughout the year.
This guide explores the many benefits of canning, such as saving a lot of money and the joy of capturing seasonal goodness at its peak.
You ll find everything you need to know, from essential equipment and supplies to a comprehensive step-by-step canning process. Plus, there are valuable tips for effectively storing your creations.
Don t forget to explore delightful ideas for incorporating your canned treasures into everyday meals!
Contents
- Key Takeaways:
- Benefits of Canning Sauces and Salsas
- Equipment and Supplies Needed
- Step-by-Step Guide to Canning
- Storing and Using Canned Sauces and Salsas
- Frequently Asked Questions
- What is canning and why is it important for sauces and salsas?
- What equipment do I need to can sauces and salsas?
- Can I reuse the jars and lids for canning?
- Do I need to add preservatives to my sauces and salsas before canning?
- How long can I store canned sauces and salsas?
- Is it safe to can sauces and salsas at home?
Key Takeaways:
- Canning is a method of preserving food that involves sealing it in airtight jars.
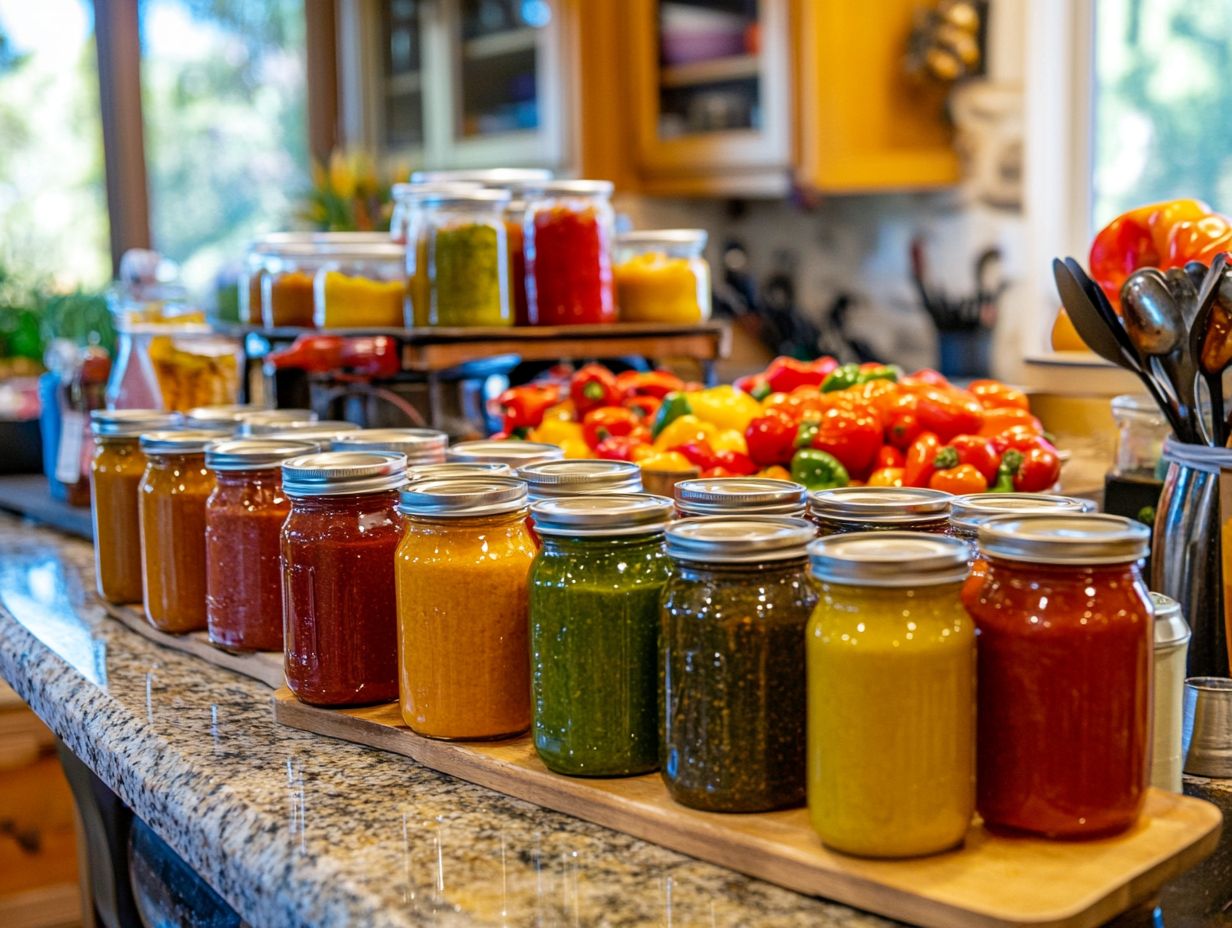
- Canned sauces and salsas preserve fresh produce, offering convenience and cost savings.
- To can sauces and salsas, you will need essential tools such as jars and lids. Following a step-by-step guide will ensure safe and successful results.
What is Canning?
Canning is a brilliant way to preserve food. It allows you to store fruits, vegetables, and sauces for extended periods, letting you enjoy seasonal produce all year round.
You ll place your food in jars or containers, seal them, and heat them to eliminate spoilage organisms and deactivate enzymes. Understanding the canning process is essential for crafting delightful homemade salsa using fresh ingredients like tomatoes, vinegar, and jalape os. This ensures food safety and quality through reliable canning supplies from trusted brands like Ball.
The origins of canning trace back to the early 19th century when French chef Nicolas Appert pioneered this method to provide food for the military. There are two primary canning techniques you should know:
- Water bath canning is perfect for high-acid foods like fruits and pickles.
- Pressure canning is necessary for low-acid foods such as green beans and meats to eliminate harmful bacteria.
It’s crucial to add tangy ingredients, like lime juice, as they create a safe environment for preservation. Not only does canning extend the shelf life of fresh produce, but it also allows you to enjoy homegrown flavors throughout the year. This reduces waste and fosters self-sufficiency in your kitchen.
Benefits of Canning Sauces and Salsas
Canning sauces and salsas offers a wealth of benefits. You can preserve fresh produce, enrich your pantry, and save money while enjoying the delightful flavors of homemade creations.
By using a trusted salsa recipe featuring high-quality ingredients like ripe tomatoes, zesty jalape os, and fragrant fresh herbs, you can craft a canned salsa that surpasses anything you d find on store shelves.
Canning is a sustainable way to savor seasonal produce. It enables you to capture the essence of summer tomatoes and other vegetables for enjoyment throughout the year, while reducing food waste.
Preserving Fresh Produce
Preserving fresh produce through canning allows you to capture the essence of seasonal fruits and vegetables. You can transform them into delectable canned salsa and other preserves.
By selecting fresh ingredients like San Marzano or Roma tomatoes and combining them with vinegar, lime juice, and herbs, you can create a vibrant salsa that highlights the flavors of your local farmer’s market.
The canning process locks in these delightful flavors, delivering a taste of summer in every jar. It s ready to elevate your meals throughout the year.
Choosing the best produce for canning is essential. Seek out ingredients at their peak ripeness; this greatly enhances both the flavor and texture of your final product.
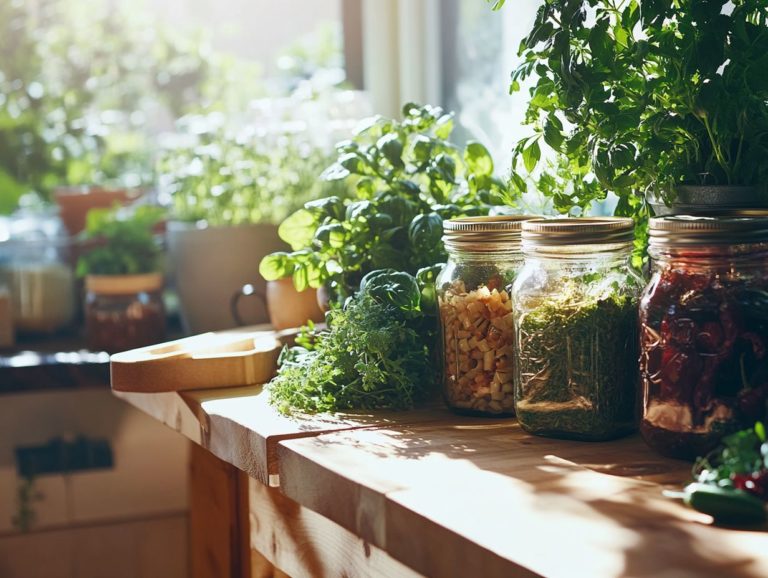
Fresh herbs, such as cilantro or basil, can elevate your recipes with their aromatic presence, perfectly complementing the tanginess from your vinegar or citrus juice.
Whether you’re making pickles, jams, or salsas, understanding the role of acidity is vital. It brightens flavors and helps maintain the integrity of the produce.
Your culinary adventures can span a variety of recipes, from zesty peach chutneys to tangy cucumber relishes. This allows you to experiment with different combinations throughout the harvest season.
Convenience and Cost Savings
Canning provides convenience and cost savings. You can create your own pantry essentials, such as salsa made from fresh ingredients. When you make salsa yourself, you save money compared to frequently purchasing store-bought jars that often come packed with preservatives and steep price tags.
The simplicity of grabbing a jar of your homemade salsa not only saves time during meal prep but also makes it a go-to for quick snacks or flavorful enhancements to your dishes.
This method reduces grocery expenses and enables you to take charge of the ingredients, ensuring freshness and avoiding artificial ingredients found in many commercial products. By dedicating a little time in the kitchen, you can stock up on a variety of homemade delights, transforming your pantry into a treasure trove of culinary possibilities.
Having these ready-to-use products on hand simplifies meal planning considerably. You can make quicker decisions about what to serve no more frantic last-minute trips to the supermarket.
This approach also encourages creativity in your kitchen, turning simple meals into personalized culinary adventures.
Equipment and Supplies Needed
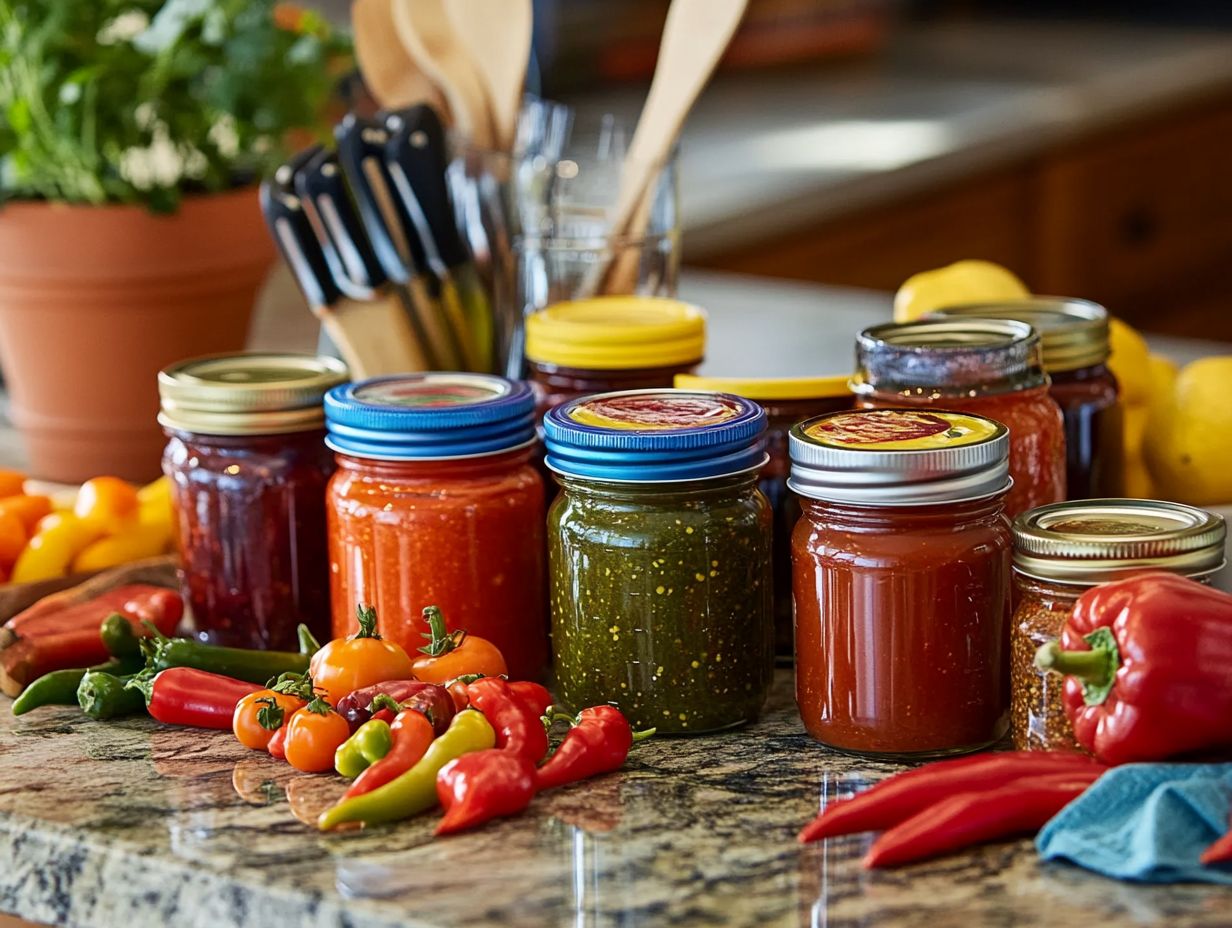
To enjoy canning your sauces and salsas, you need the right equipment, which ensures food safety and prolongs the shelf life of your preserved goods.
Your basic canning toolkit should include these essentials:
- Jars
- Lids
- Canners (including both water bath and pressure canning types)
- Essential tools, such as a stockpot for boiling, a jar lifter, and a funnel for filling jars neatly
Whether you decide to go with water bath canning for high-acid foods, like fruits and tomatoes, or pressure canning for low-acid options, such as vegetables and meats, having the appropriate equipment will elevate your canning experience and the overall quality of your homemade salsa.
Essential Tools for Canning
When embarking on your canning journey, having the right tools is essential for a smooth and successful process. Key tools you ll want to have include:
- A sturdy stock pot for cooking your salsa
- A jar lifter for safely handling those hot jars
- A funnel to fill jars without making a mess
- A canner designed for either water bath or pressure canning
These tools enhance your efficiency and ensure your safety, allowing you to confidently preserve fresh salsa and other foods while minimizing the risk of spoilage or contamination.
To level up your canning skills, consider investing in a digital kitchen thermometer. This handy gadget will help you monitor temperatures with precision, ensuring that your preserves reach the proper heat for food safety. A bubble remover tool can also be invaluable; it eliminates air bubbles that could compromise your seals.
As you shop whether at local kitchen supply stores or reputable online retailers always prioritize quality over price. Reading reviews and seeking recommendations will guide you to trustworthy brands, making your canning experience not only enjoyable but also highly productive.
Don t miss out on the chance to create your own delicious homemade salsa! Get started on your canning journey today and transform your meals!
Types of Jars and Lids
Choosing the right jars and lids is crucial for canning success. They ensure your homemade salsa and other foods stay sealed and safe to eat.
Glass jars come in various sizes. Picking the right one depends on how much salsa or sauce you want to store.
Lids need to match your jars perfectly, creating a seal that keeps air out and preserves the rich flavors of your creations.
Understanding the differences between regular and wide-mouth jars can also shape your canning approach.
You ll find jars categorized into types like pint, quart, and half-gallon containers, tailored to fit different recipes or storage needs.
Selecting the right material for lids is equally important; you can choose between metal and plastic. Metal lids are generally preferred for their durability and ability to create a tight seal, while reusable plastic lids offer a convenient option for lighter storage.
Proper preparation is key: clean the jars and lids, check for any cracks or damage, and sterilize them to eliminate bacteria. This ensures the longevity and safety of your canned salsa.
Paying close attention during the sealing process will help minimize the risk of spoilage, leading to a rewarding canning experience with your delicious homemade salsa.
Step-by-Step Guide to Canning
A step-by-step guide to canning enables you to craft your own delicious salsa. This guide helps you navigate the canning process with precision for both safety and flavor retention.
Start with a trusted salsa recipe. Gather fresh ingredients like ripe tomatoes, jalape os, garlic, and vinegar. Prepare your workspace with all the necessary canning supplies.
Every step from preparing the ingredients to processing and sealing the jars using your preferred method demands your careful attention to detail. This diligence ensures that your salsa is preserved perfectly, ready for you to savor later.
Preparing the Ingredients
Preparing the ingredients is key to making your salsa. Select ripe tomatoes like San Marzano or Roma, wash, and peel them thoroughly.
Enhance the flavor by adding fresh jalape os, garlic, onion, and vinegar. This balance helps preserve your salsa.
Once the tomatoes are peeled, it s crucial to seed them to avoid excess liquid in your salsa. Simply slice them in half, gently squeeze out the seeds, and chop the flesh into small, manageable pieces.
For the garlic, grab a few cloves, smash them with the flat side of a knife to make peeling a breeze, and then mince finely to unleash their robust flavor.
Regarding jalape os, don t forget to wear gloves; their heat can stick around on your skin. Remove the stems and seeds, then finely chop them to match your desired spice level. If you prefer a milder kick, consider adding fresh herbs like cilantro.
Dice the onion small for even distribution, enhancing both taste and texture. Each of these steps is vital in crafting a fresh and delightful salsa that can elevate any dish to gourmet status.
Processing and Sealing the Jars
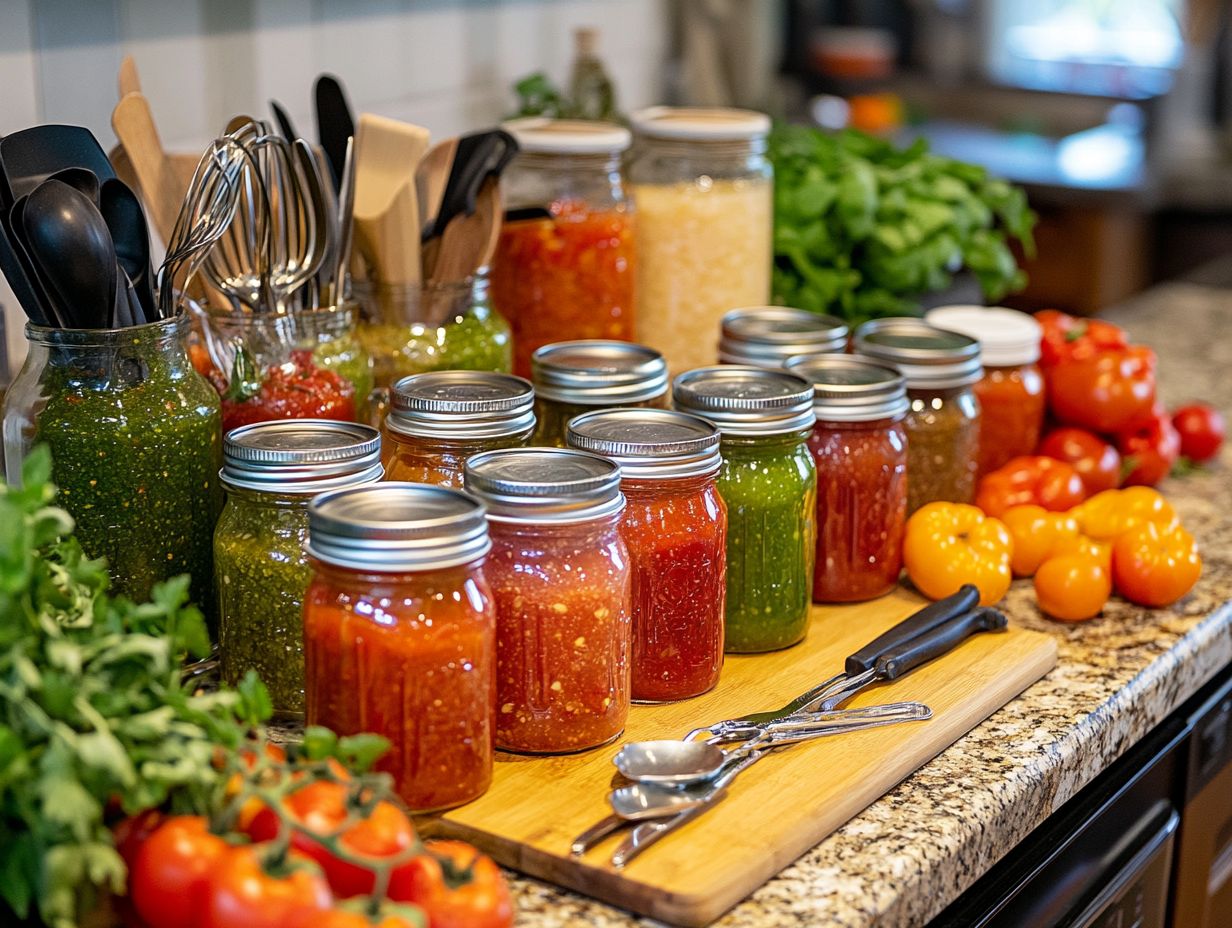
The processing and sealing of jars are crucial in the canning process. This ensures your homemade salsa stays safe for long-term storage. Depending on the acidity of your salsa, you can choose between water bath canning or pressure canning.
For high-acid salsa recipes, which include vinegar and tomatoes, water bath canning is the ideal method. If you re working with low-acid options, pressure canning is necessary. It s vital to follow precise timing and temperature guidelines during this stage. This creates a proper seal that preserves the quality and flavor of your canned goods.
To begin, gather your jars, lids, and bands. Make sure everything is clean and sanitized.
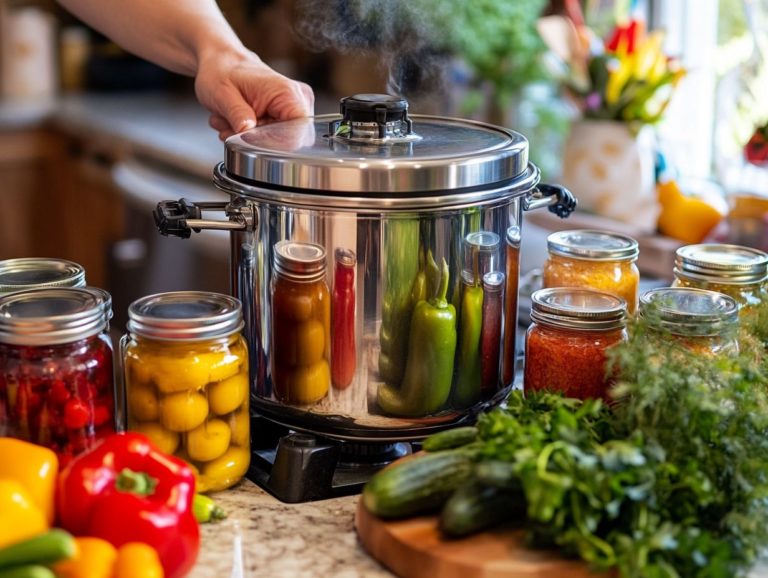
- For water bath canning, fill a large stock pot with enough water to cover the jars. Bring it to a rolling boil and process the jars for the recommended time in your recipe typically around 15 to 30 minutes.
- For pressure canning, you ll need a pressure cooker. Set the appropriate pressure level based on your altitude and process your jars for the specified duration.
Once processing is complete, carefully remove the jars and let them cool on a towel or rack. Check for proper seals by listening for that satisfying ‘pop’ sound, which indicates a secure closure. Press the center of each lid if it doesn t flex, the seal is intact. Ensuring a secure seal keeps your salsa fresh and safe to enjoy!
By following these steps of the canning process, you ll ensure the preservation of your delicious culinary creations.
Storing and Using Canned Sauces and Salsas
Properly storing and using your canned sauces and salsas is vital for maximizing their shelf life and flavor. This allows you to savor your homemade creations long after the canning process.
After canning your salsa, store the jars in a cool, dark place preferably at room temperature to prevent spoilage. Label your jars with the date and contents. This not only helps you track freshness but also ensures you enjoy your canned salsa and sauces before they reach their optimal shelf life.
Proper Storage and Shelf Life
Understanding the right storage techniques and the shelf life of canned salsa is crucial. When stored properly in a cool, dark place away from direct sunlight and temperature fluctuations, canned salsa can last for up to a year or more. Label your jars with the canning date and contents. This helps you stay organized and serves as a reminder to enjoy your homemade creations before they lose their charm.
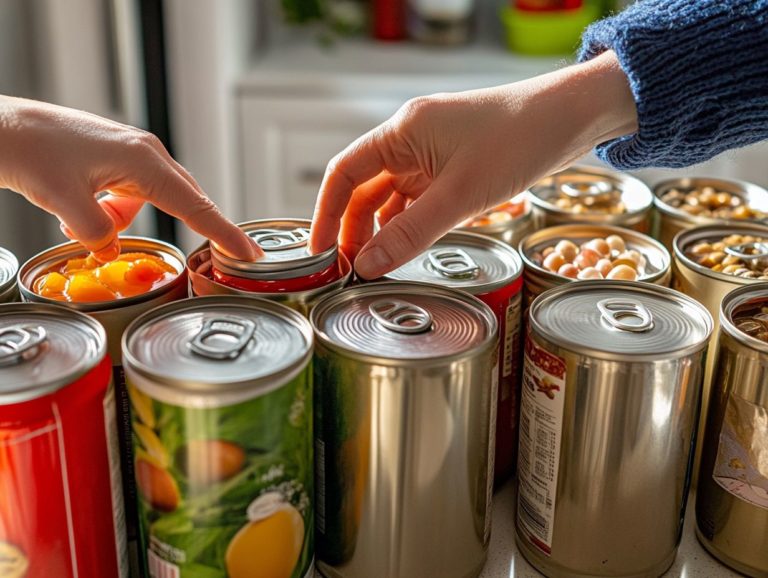
This careful storage approach protects the quality of vital nutrients. Be vigilant and regularly check your cans for signs of bulging, rust, or leaks. These red flags indicate spoilage and should prompt you to dispose of them immediately. Keep in mind that different canned products have varying shelf lives; for instance, tomatoes and other acidic ingredients may last closer to a year, while low-acid foods could endure much longer.
To maximize the longevity of your canned salsa, store it in a pantry with consistent, stable temperatures. This way, you can maintain its freshness and flavor for as long as possible.
FAQs
Q: How can I tell if my canned salsa is safe to eat?
A: Always check for proper seals, and inspect for signs of spoilage like bulging or rust before consuming.
Q: How long can I store my canned salsa?
A: When stored correctly, canned salsa can last for up to a year or more.
Q: What is the difference between water bath canning and pressure canning?
A: Water bath canning is for high-acid foods, while pressure canning is essential for low-acid foods to ensure safety.
Ideas for Using Canned Sauces and Salsas
There are countless creative ways for you to enjoy canned sauces and salsas, including fresh salsa. You can enhance your meals with vibrant flavors and unique textures!
Canned salsa makes a great topping for grilled meats, a dipping sauce for chips, or even a tasty base in dishes like chili or pasta sauces. You can transform canned salsa into a zesty hot sauce by blending it with extra spices. Consider adding it to soups and stews to elevate the taste of your meals!
With a touch of creativity, you can incorporate canned enchilada sauce into breakfast burritos, giving your morning meals a delightful kick. For appetizers, a dollop of robust canned pasta sauce over baked brie creates an impressive centerpiece that s incredibly easy to prepare.
Exploring different canned salsas opens up exciting variations for your tacos or quesadillas. Even your seafood dishes can benefit from a sprinkle of flavorful canned sauce. It’s all about experimentation! These convenient pantry staples can truly reinvent your culinary creations, fueling your kitchen adventures with minimal effort and maximum flavor.
Frequently Asked Questions
What is canning and why is it important for sauces and salsas?
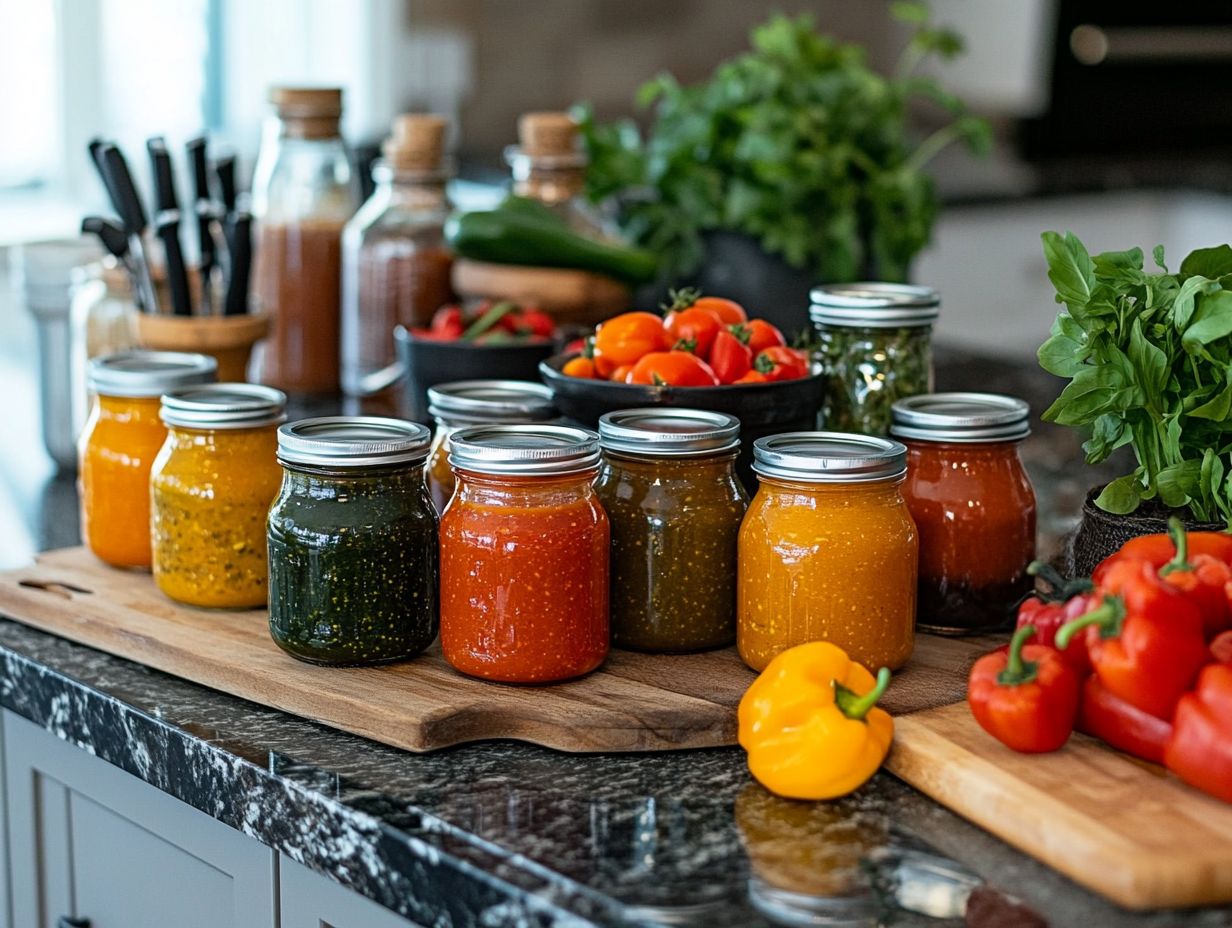
Canning preserves food in airtight containers to prevent spoilage. It is important for sauces and salsas because it extends their shelf life, allowing you to enjoy them throughout the year.
What equipment do I need to can sauces and salsas?
You will need a large pot, canning jars, lids, bands, a canning funnel, a jar lifter, and a ladle. It’s also recommended to have a canning rack, kitchen towels, and a timer!
Can I reuse the jars and lids for canning?
Jars and bands can be reused as long as they are in good condition. However, lids should not be reused as they may not create a proper seal and can lead to food spoilage.
Do I need to add preservatives to my sauces and salsas before canning?
No, you do not need to add preservatives. The canning process itself is enough to preserve the food. However, using high-acid ingredients like vinegar or lemon juice can help prevent bacterial growth.
How long can I store canned sauces and salsas?
If canned properly, sauces and salsas can last for up to a year in a cool, dark place. It is recommended to consume them within 6-8 months for the best quality.
Is it safe to can sauces and salsas at home?
Yes, it is safe to can sauces and salsas at home as long as you follow proper canning techniques and guidelines. Use high-quality ingredients and sanitize all equipment before use!
Try these ideas today and transform your meals!

