Canning Techniques for Beginners: Avoiding Pitfalls
Canning transcends mere preservation; it offers a fulfilling opportunity to save seasonal produce, minimize food waste, and savor delicious flavors throughout the year. Whether your goal is to save money or master the art of food preservation, understanding the benefits and techniques of canning is crucial.
This guide will lay out the fundamentals, spotlight common pitfalls to avoid, and provide you with step-by-step instructions for canning success, ensuring that your creations are both safe and delightful.
Contents
- Key Takeaways:
- Benefits of Canning
- Common Pitfalls of Canning
- Types of Canning Methods
- Step-by-Step Guide to Canning
- Troubleshooting Common Canning Problems
- Frequently Asked Questions
- What are some common pitfalls to avoid when starting out with canning?
- How can I ensure that my canned goods are safe to eat?
- Do I need any special equipment to start canning?
- Can I use any type of jar for canning?
- How long can I store canned goods for?
- What are some ways to avoid common canning mistakes?
Key Takeaways:
What is Canning?
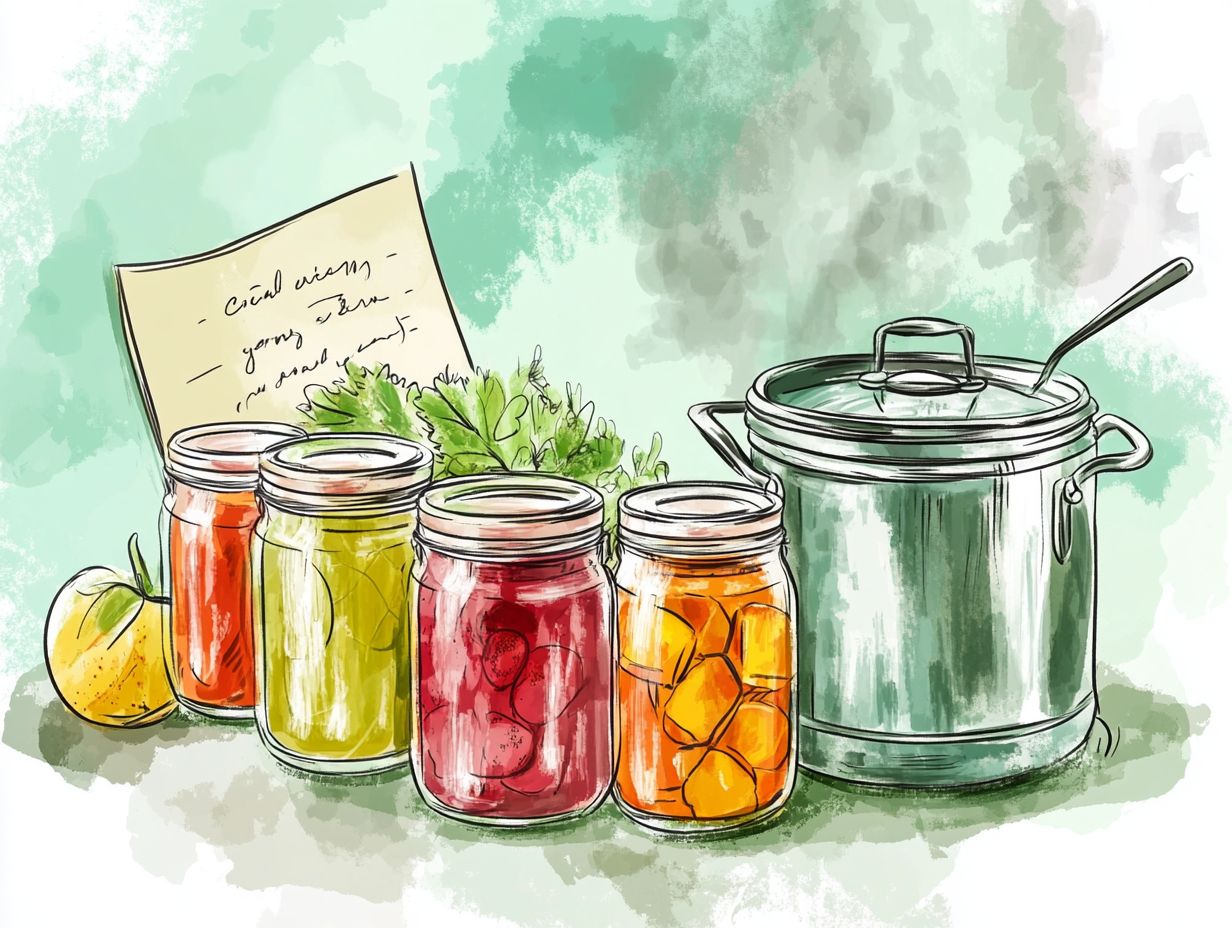
Canning is a remarkable method of food preservation that allows you to seal high-acid foods, such as fruits and vegetables, in sterilized jars to keep them fresh and extend their shelf life. This time-honored technique, championed by pioneers like Nicolas Fran ois Appert, John Mason, and Alexander Kerr, has become an essential part of the homesteading experience. It opens the door to creating delightful gifts, including refrigerator pickles, canned jams, and even savory canned beef and chicken.
Over the years, canning has transformed, integrating modern safety practices that ensure your food remains safe to enjoy. You can preserve a variety of foods everything from tomatoes and green beans to soups and sauces using this technique. Just remember to use sterilized jars and follow the recommended pressure and water-bath canning methods.
Proper sealing and processing times are vital for preventing bacterial growth, especially the serious illness caused by bacteria in improperly canned food. By following established practices, you can relish a sense of accomplishment and sustainability, all while enjoying the results of your hard work throughout the year.
Benefits of Canning
Canning offers amazing benefits that make food preservation fun and rewarding! Imagine transforming your fresh produce into exquisite jams, crisp pickles, and meals that not only tantalize your taste buds but also serve as thoughtful gifts for your friends and family.
Preserving Food and Saving Money
One of the primary advantages of canning is its remarkable ability to help you preserve food efficiently while saving money. Imagine turning seasonal produce into delicious canned vegetables, black beans, and fruits that can grace your pantry throughout the year.
By purchasing in bulk or using produce from your own garden, you can significantly slash your grocery bills. For instance, buying tomatoes in bulk during peak harvest might cost just $1 per pound, while the price can soar to $3 in the offseason.
This leads to substantial savings, especially for families who enjoy crafting homemade sauces and salsas. Many canning enthusiasts report saving upwards of $500 annually on groceries just by canning their own food.
Integrating a variety of canned foods into your meals not only boosts nutrition but also enhances flavor, ensuring your pantry is stocked with wholesome, home-preserved options. Canning transforms the harvest bounty into practical meals, so you can savor every bit without letting anything go to waste.
Common Pitfalls of Canning
Canning can be a truly rewarding endeavor, but it’s essential to be aware of several common pitfalls that could compromise both the safety and quality of your preserved foods. Understanding how to avoid common canning mistakes is vital for sidestepping serious issues like botulism and other food-borne illnesses that may arise from improper techniques.
Don t miss out on the chance to savor fresh flavors all year round! Start your canning journey today and enjoy the rewards of your labor throughout the year!
Issues to Avoid for Safe Canning
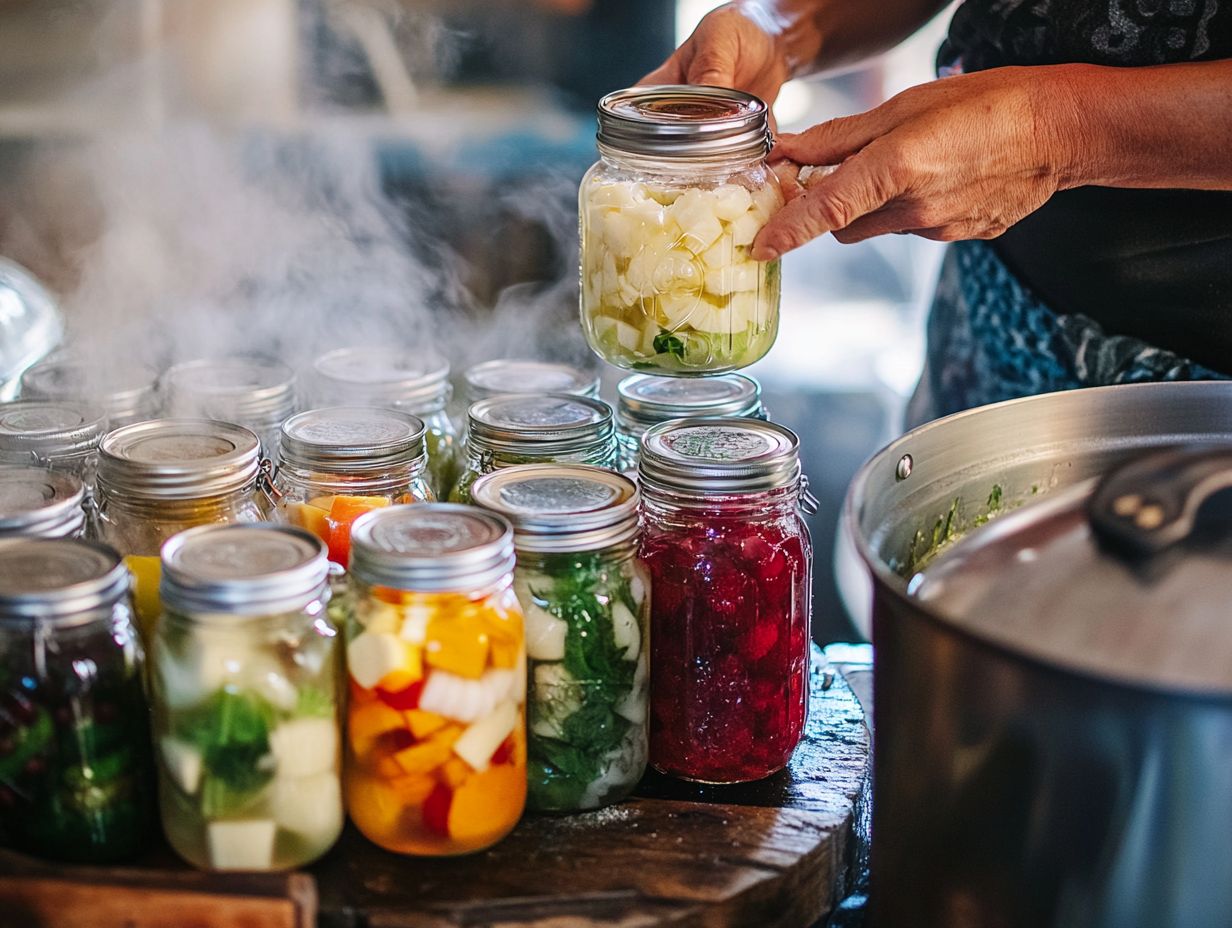
To ensure safe canning practices, you must avoid certain pitfalls like neglecting to use sterilized jars, miscalculating headspace, and overlooking the importance of vacuum-sealed lids. Familiarizing yourself with common canning mistakes and their solutions can significantly impact the quality and safety of your canned foods.
Additionally, using the right tools can be incredibly beneficial. A headspace ruler, which helps you measure the space needed at the top of your jars, ensures optimal sealing. Meanwhile, a lid lifter is a tool that helps you safely handle hot lids without risking burns.
Process your jars in a boiling water bath or pressure canner according to tested recipes, strictly adhering to recommended times and temperatures. This is crucial to prevent spoilage and ensure your preserved foods stay fresh.
By focusing on these techniques and tools, you can effectively minimize the risk of spoilage and ensure a successful canning operation. For more help, check out common canning errors and how to fix them.
Types of Canning Methods
Grasping the various canning methods is essential for achieving successful food preservation. You’ll find that the two primary techniques water bath canning and pressure canning each serve unique purposes.
Water bath canning is perfect for high-acid foods like jams and pickles, while pressure canning is designed for foods that are less acidic, such as meats and vegetables. Understanding these distinctions will enable you to preserve your culinary creations effectively.
Water Bath Canning vs. Pressure Canning
Water bath canning and pressure canning are two distinct methods of food preservation, each with its own characteristics. Water bath canning shines for high-acid foods like fruits and jams, while pressure canning is ideal for safely handling low-acid foods such as vegetables, meats, and soups.
Each method has its own advantages and disadvantages, which will influence your choice of ingredients and equipment. Water bath canning is straightforward and requires minimal gear just a large pot and canning jars making it a perfect option for newcomers to food preservation. It s typically quicker, allowing you to process seasonal fruits in no time. However, it may not effectively eliminate bacteria in less acidic foods, which can pose safety risks.
Conversely, pressure canning demands a specialized pressure canner and a bit more time, but it offers peace of mind by safely preserving a wider array of foods while retaining their nutritional value. Adhering to safety guidelines is essential to prevent any potential foodborne illnesses.
Step-by-Step Guide to Canning
The canning process encompasses several vital steps that guarantee the safety and quality of your preserved foods. It all begins with gathering the appropriate canning supplies think mason jars, a sturdy stock pot for water bath canning, or a reliable pressure canner.
By meticulously adhering to each stage, you set yourself up for optimal results in your canning endeavors.
Don t delay start canning today!
Preparing Jars and Foods
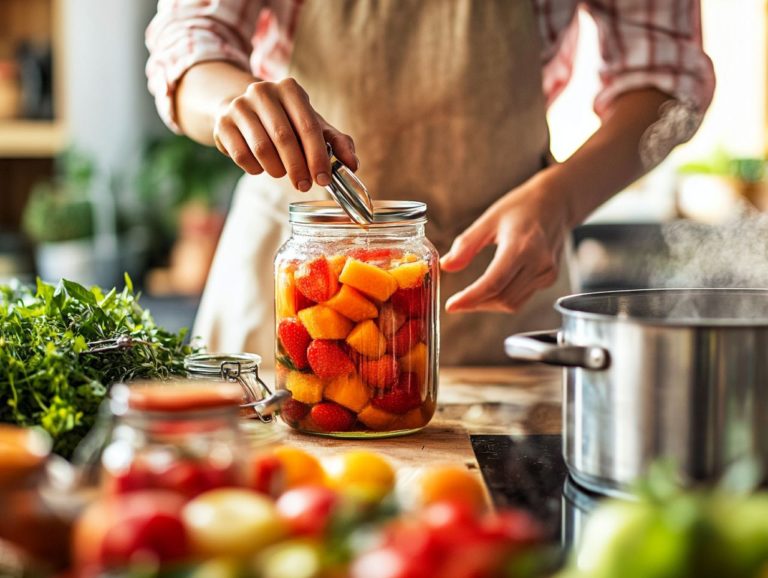
Preparing jars and foods is an essential step in the canning process. You’ll need to thoroughly sterilize the jars while carefully prepping the ingredients. This step is crucial because it prevents spoilage and ensures your preserved foods stay fresh. Don t forget to use key canning tools like a bubble popper to eliminate pesky air bubbles and a headspace ruler to maintain the correct distance from the jar lid.
- First, wash your jars with soapy water and rinse them thoroughly.
- Then, place them in a boiling water bath for at least ten minutes this step is crucial for eliminating any contaminants.
Once the jars have cooled slightly, it s time to prep your ingredients. Whether you’re cutting, peeling, or blanching, this step is vital for preserving both texture and flavor.
As you fill the jars, the bubble popper tool will help release any trapped air. Meanwhile, the headspace ruler ensures there s ample space for the food to expand during processing. This space is key to preventing jar breakage and ensuring a proper seal.
Lastly, using a magnetic lid lifter can make handling those hot lids a breeze, streamlining the process and enhancing safety.
Sealing and Storing
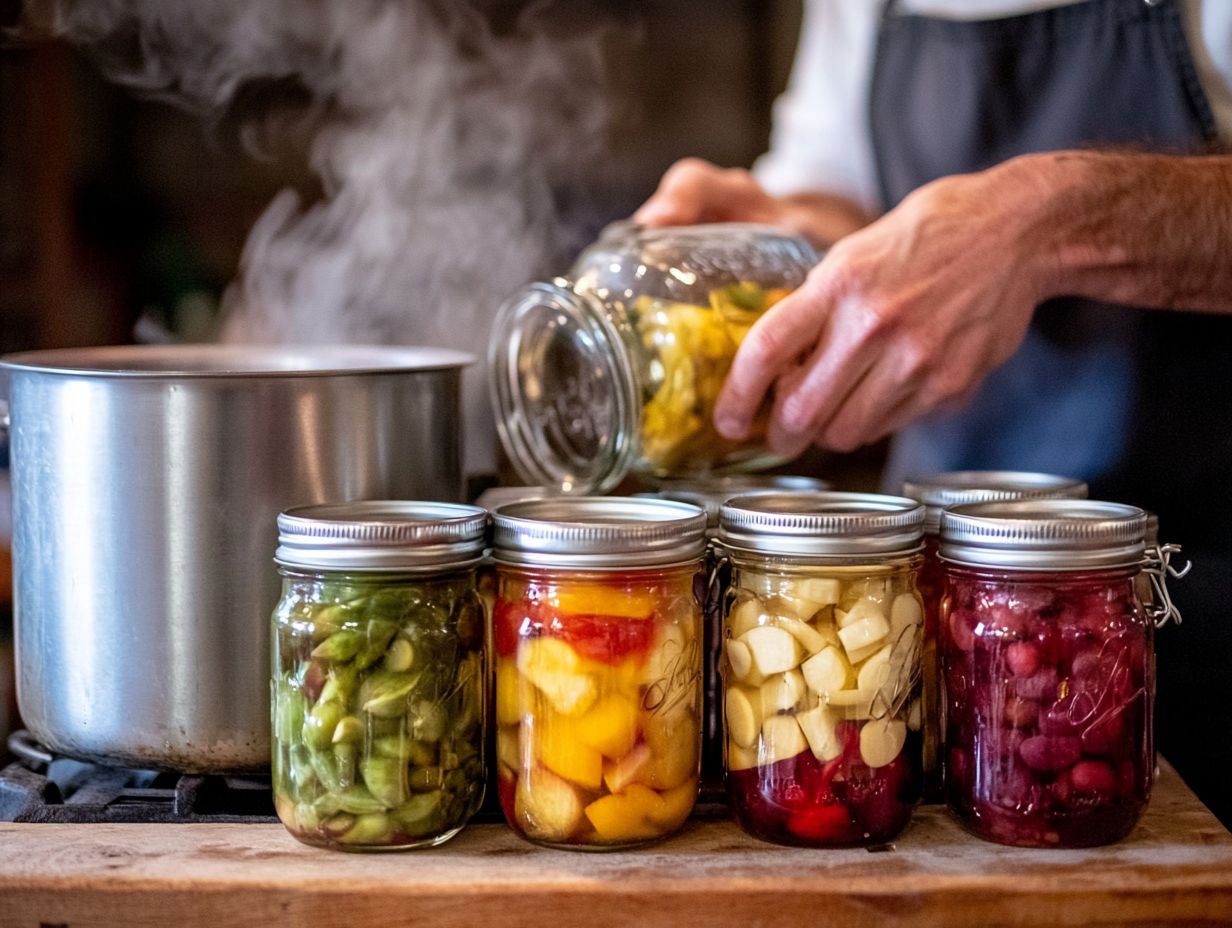
Sealing and storing your canned foods correctly is essential for ensuring their longevity and safety. This means securely placing the lids on your jars and creating a proper vacuum seal.
Making a good vacuum seal is crucial. It preserves the flavor and nutrients of the food and prevents the growth of harmful bacteria. To create this seal, ensure jar rims are clean and free of any residue before applying the lids. Consider using a pressure canner (a device that cooks food at high pressure) or a water bath method (submerging jars in boiling water) based on the type of food being preserved.
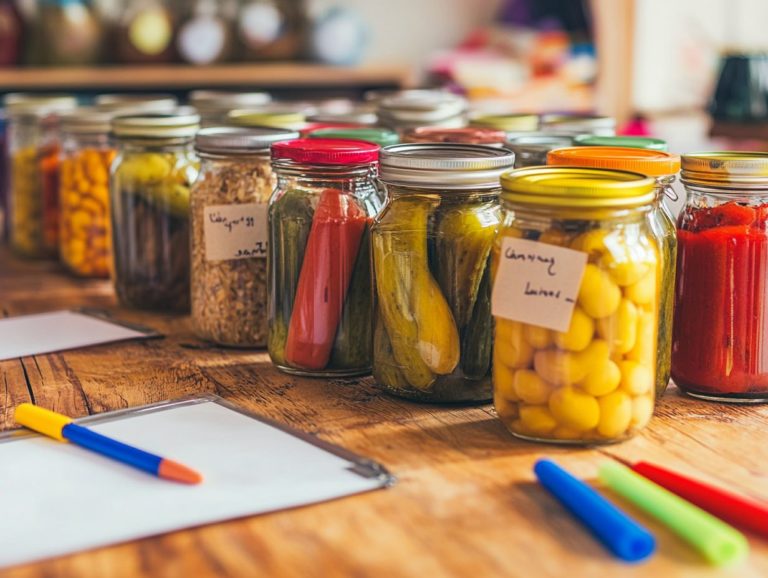
Once the jars are sealed, proper storage can enhance their shelf life. Aim for a consistent temperature below 70 F. If you notice any jars exhibiting signs of spoilage such as cloudiness or bulging lids discard them immediately. If you encounter seal issues, reprocessing or using new lids may be necessary.
Keeping a log of your storage conditions can help troubleshoot future concerns.
Troubleshooting Common Canning Problems
Even with meticulous preparation, canning can sometimes present common challenges. Having a troubleshooting guide is crucial for navigating these issues, ensuring your food preservation efforts are successful and avoiding any canning mistakes that could jeopardize your hard work.
Tips for Fixing Common Issues
To ensure a successful canning experience, familiarize yourself with how to avoid common canning errors, such as sealing problems, under-processing, or the risk of foodborne illnesses that can arise from improper canning practices.
By learning to identify these challenges early, you can take proactive measures. For example, checking the integrity of jar lids before you begin can help prevent pesky sealing problems. To ensure safety and quality, it’s important to understand the canning process, follow tested recipes, and adhere to proper processing times to avoid under-processing. If you’re concerned about foodborne illnesses, using a pressure canner for low-acid foods is critical.
Remember, if you encounter issues, there are reliable resources available, such as local extension services, offering expert guidance on troubleshooting and safe canning practices.
Frequently Asked Questions
What are some common pitfalls to avoid when starting out with canning?
Some common mistakes include using old or damaged canning jars, not sterilizing your equipment properly, and not following recommended processing times and methods as outlined in understanding the canning process: a beginner’s guide.
How can I ensure that my canned goods are safe to eat?
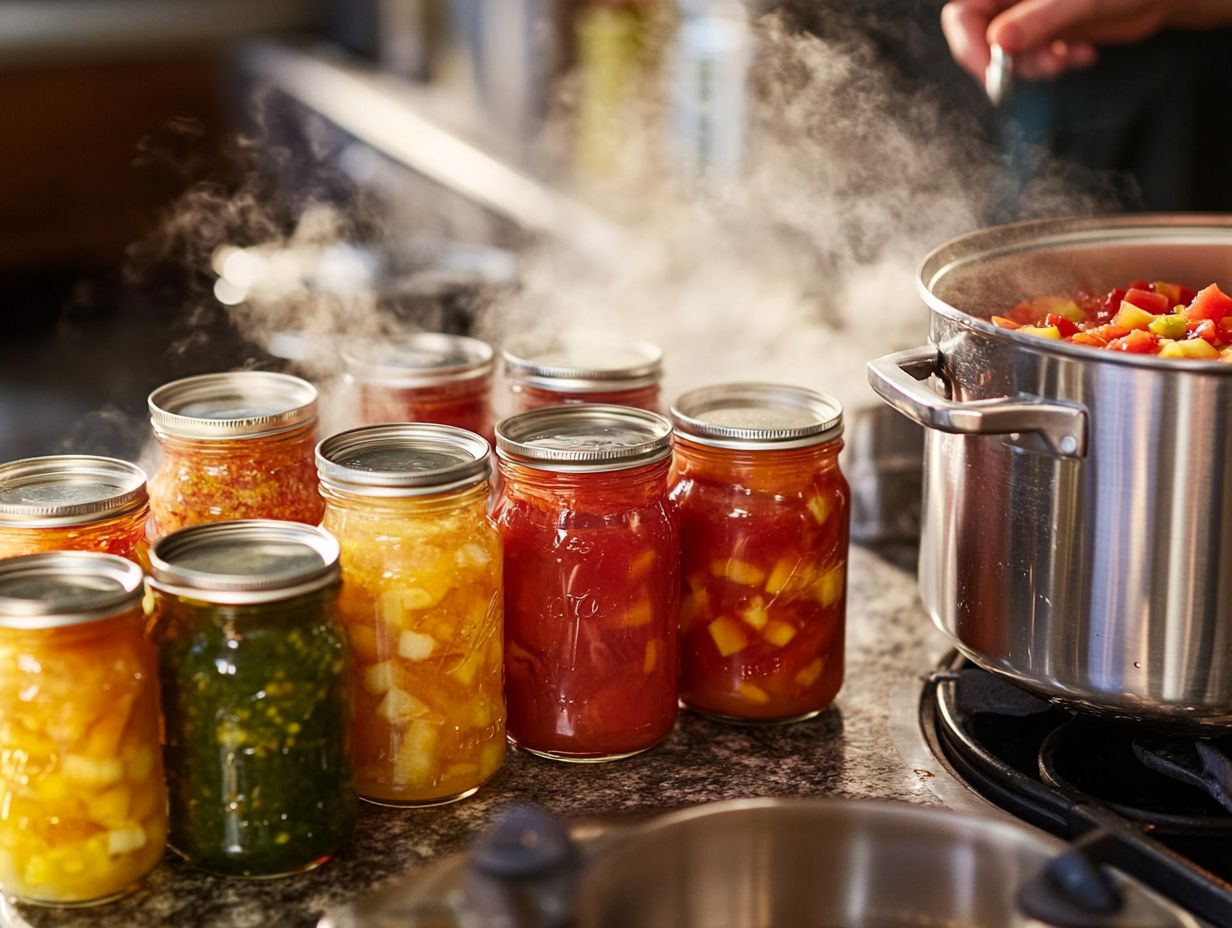
Follow proper canning techniques and recipes, using tested and approved recipes from reliable sources. To avoid errors, be aware of common canning mistakes. Always practice strict hygiene and discard any cans showing signs of spoilage.
Do I need any special equipment to start canning?
While fancy equipment isn’t necessary, basic tools such as a canning pot, jar lifter, and canning funnel are important. You may also want to invest in a quality pressure canner for low-acid foods.
Can I use any type of jar for canning?
No, always use jars made for canning, like Mason or Ball jars. Avoid using old or recycled jars, as they may not withstand high temperatures and pressure during processing.
How long can I store canned goods for?
When properly processed and stored, most canned goods can last a year or more. However, always check for signs of spoilage before consuming and follow proper storage guidelines for each specific food item.
What are some ways to avoid common canning mistakes?
Want to enjoy delicious home-canned goods without the stress? Here’s how you can avoid common canning mistakes!
Carefully follow a trusted canning recipe. Clean your equipment and jars thoroughly, and use fresh, quality ingredients.
Reading about canning techniques can help you a lot. Learn about any risks you should know.
