Canning Techniques for Beginners: A Quick Start
Canning is a timeless technique that allows you to keep food fresh and minimize waste. With this skill, you can savor the flavors of each season throughout the year.
Whether you’re an experienced chef or just starting out, mastering canning opens up a world of healthier eating and creative cooking.
This guide explores the benefits of canning, different methods like water bath and pressure canning, and the essential tools you need to begin.
With clear instructions and practical troubleshooting tips, you’ll be ready to embark on your canning journey.
Ready to transform your kitchen into a preservation powerhouse? Dive in!
Contents
Key Takeaways:
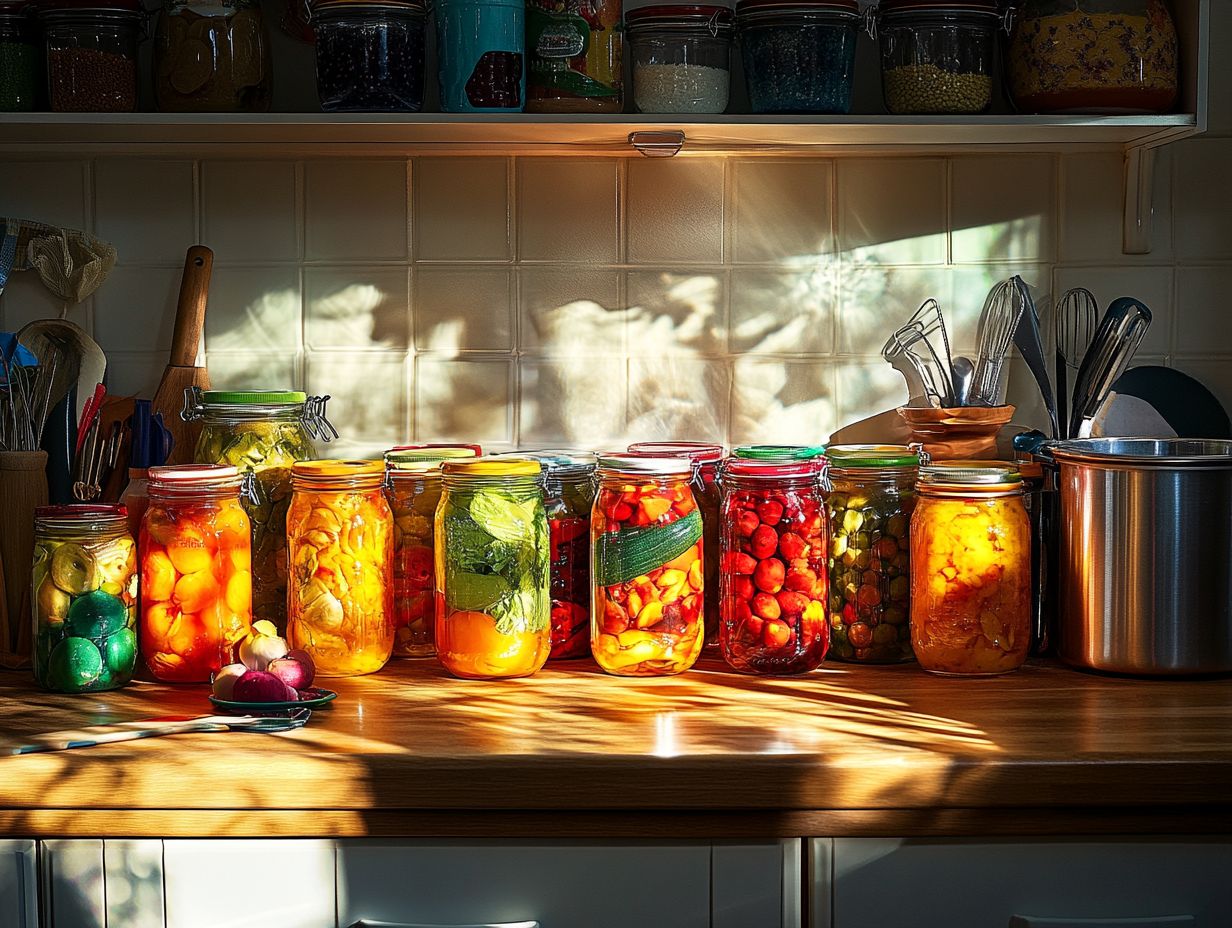
- Canning is an effective way to preserve food, making it a budget-friendly and sustainable option for beginners.
- Water Bath Canning and Pressure Canning are two common methods for preserving food, each with unique benefits.
- Essential tools, proper preparation, and troubleshooting knowledge are key for successful canning. Always follow safety guidelines for a stress-free experience.
What is Canning?
Canning is a method that seals your favorite foods in airtight containers, like mason jars, to keep them fresh and extend their shelf life. This technique, pioneered by Nicolas Fran ois Appert in the early 19th century, enables you to enjoy homemade meals while reducing food waste and minimizing risks like botulism. It’s no surprise that canning has become popular among those pursuing sustainable lifestyles.
The practice of canning emerged from the need for reliable food storage, especially during wars and periods of scarcity. Over the years, techniques have improved, leading to methods like water bath and pressure canning, designed for different food types.
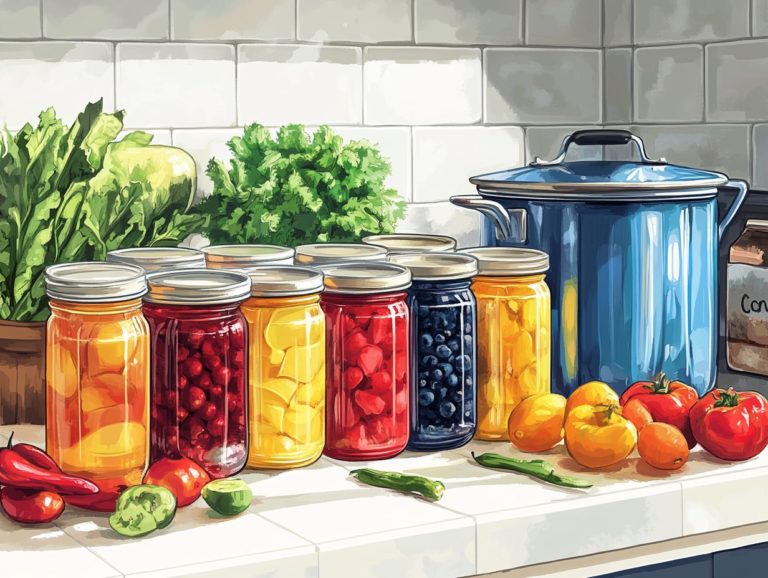
- Water bath canning is ideal for high-acid foods like fruits and tomatoes.
- Pressure canning is essential for low-acid foods such as vegetables and meats, which require higher temperatures to eliminate harmful bacteria.
By preserving seasonal produce, you help reduce waste and support local agriculture. This practice also decreases reliance on processed foods, allowing you to enjoy the fruits of your labor while making a positive impact on the environment.
Benefits of Canning
Canning offers numerous advantages for food lovers and those eager to cut down on kitchen waste. By embracing this art, you can create pantry staples, preserve seasonal bounty from farmers markets, and craft thoughtful homemade gifts that showcase your creativity.
This sustainable practice minimizes food waste and allows you to savor fresh flavors year-round, making it an invaluable skill for any culinary enthusiast.
Start canning today and enjoy delicious homemade treats all year round!
Preserving Food and Reducing Waste
Preserving food through canning is a remarkable way for you to reduce waste and savor the flavors of seasonal produce long after harvest time. By employing techniques such as water bath canning and pressure canning, you can transform fruits and vegetables into delectable jams, pickles, or sauces. This allows you to relish homemade meals throughout the year, all while sidestepping the pitfalls of spoilage.
Embracing this sustainable approach not only helps you save money, but also nurtures a more environmentally-friendly kitchen.
Consider this: nearly one-third of the food produced globally is wasted, which adds up to about 1.3 billion tons annually. This staggering statistic has severe implications, contributing significantly to landfill waste and greenhouse gas emissions. Canning is an effective remedy to combat this loss by extending shelf life.
With the right method, you can preserve everything from juicy tomatoes to crisp green beans, ensuring that no part of your harvest goes to waste.
Both foods that are low in acidity, which necessitate pressure canning, and high-acid foods, ideal for water bath methods, have specific preservation requirements. Follow these guidelines to enhance flavor and nutrition. This also helps ensure food security for you and your community.
Types of Canning Methods
There are various canning methods available, each with its own distinctive processes, benefits, and safety considerations, tailored to different types of foods.
The two primary methods water bath canning and pressure canning serve diverse food preservation needs, ranging from fruits and jellies to low-acid foods like vegetables and meats. Grasping the nuances of these methods is essential for ensuring that your canned goods are both safe and enjoyable, giving you the power to efficiently preserve your homemade meals.
Water Bath Canning
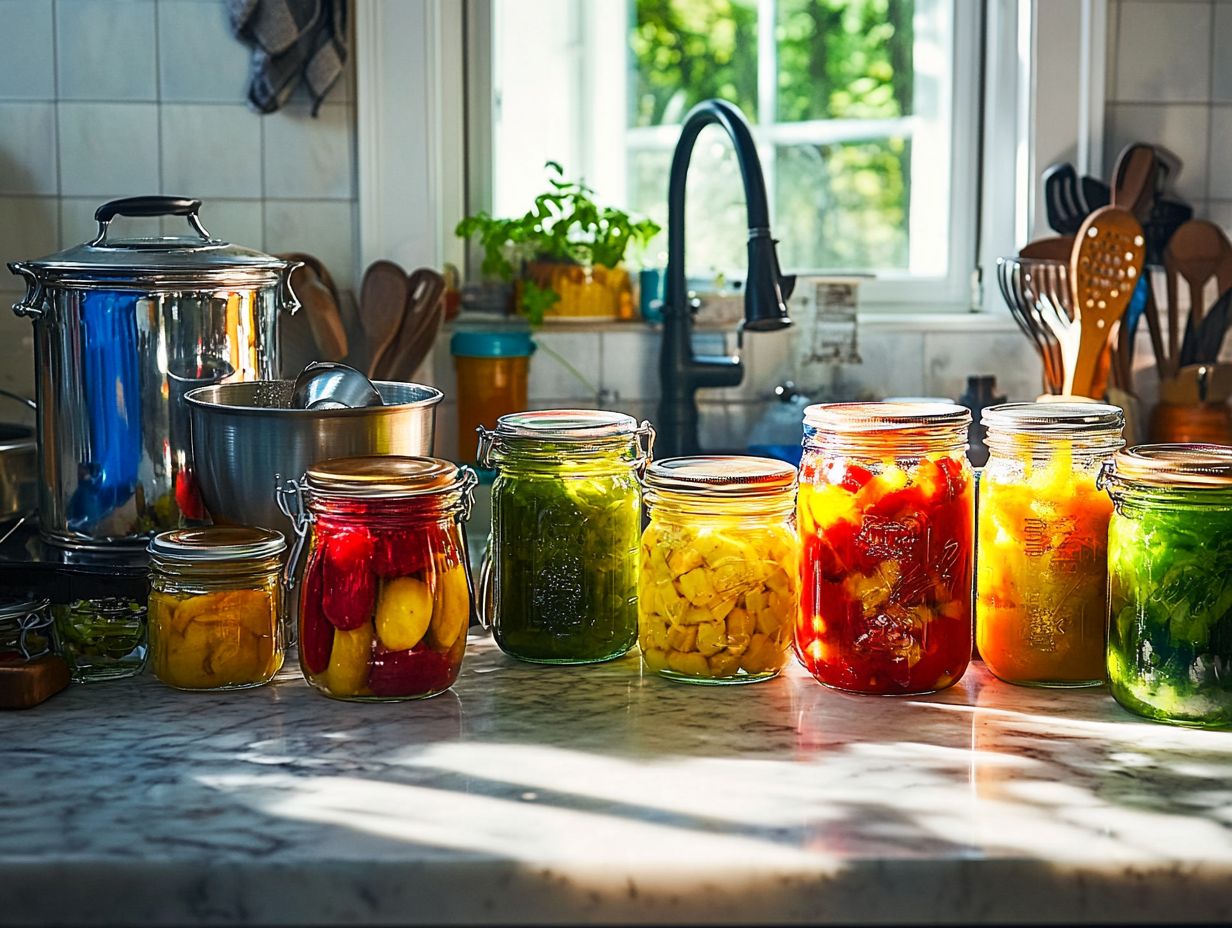
Water bath canning is an elegant method that allows you to submerge filled mason jars in boiling water, sealing them to preserve your homemade meals particularly those delightful high-acid foods like fruits, jams, and pickles. Act now to eliminate bacteria and keep your food safe! This straightforward process not only eliminates bacteria but also ensures your food retains its flavor and texture over time.
It s an ideal starting point for anyone eager to dive into the art of food preservation, letting you enjoy the season s best long after the harvest.
To embark on this rewarding journey, you’ll need a few essential tools, including:
- A large pot with a lid: This is necessary for boiling water.
- A rack or basket to hold the jars: It keeps the jars off the bottom of the pot.
- The jars themselves, along with canning lids and bands: These are crucial for sealing your preserves.
The adventure begins with sterilizing the jars, filling them with your selected produce, and securely sealing them before gently lowering them into the boiling water bath. It s crucial to allow sufficient processing time, ensuring that the contents reach the necessary temperature for proper preservation.
Fruits like peaches and tomatoes, along with homemade salsas and relishes, truly shine with this method, making it not just simple but genuinely enjoyable. With a touch of mindfulness and attention to timing, you ll find that success in water bath canning is well within your grasp, allowing you to savor nature s bounty throughout the entire year.
Pressure Canning
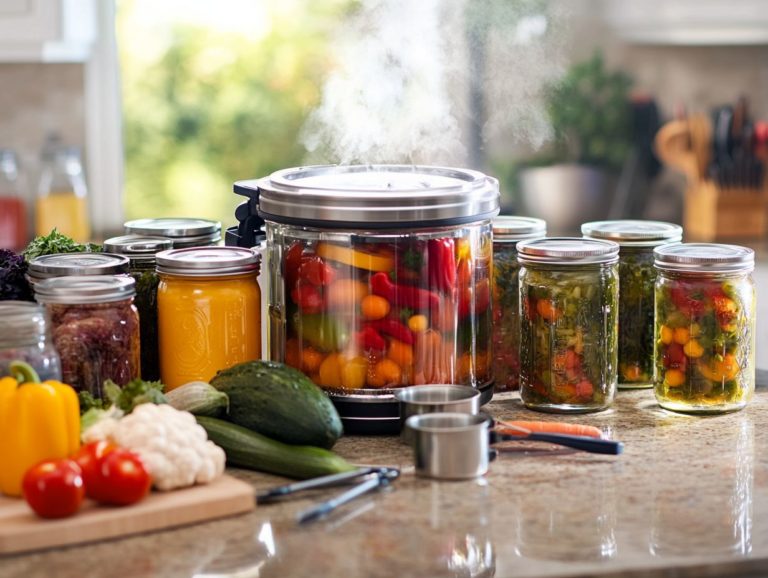
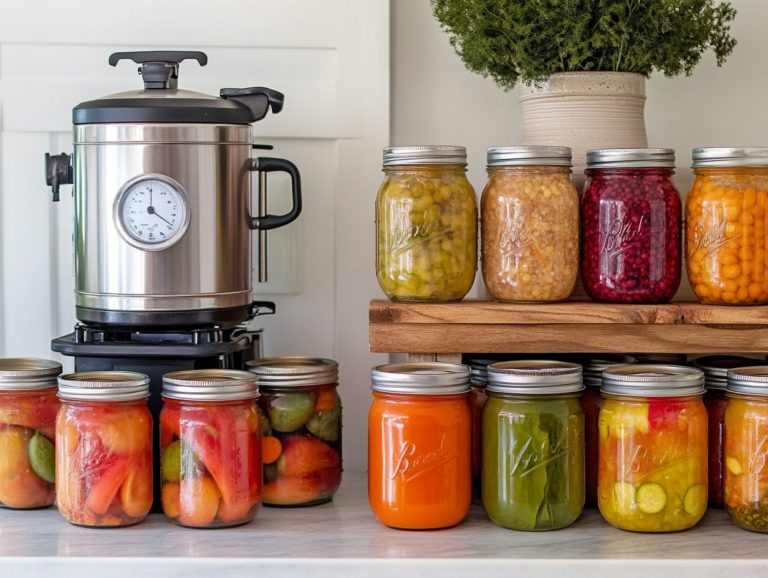
Pressure canning is an essential technique for preserving low-acid foods, such as vegetables, meats, and poultry. It effectively safeguards against harmful bacteria, including botulism, a serious foodborne illness. By employing a specific pressure canner, you can create mouthwatering canned beef or chicken that retains its flavor and nutritional value an invaluable asset for your pantry.
This method is crucial for maximizing food preservation, especially after a bountiful harvest or during bulk cooking sessions.
To embark on your pressure canning journey, you ll need to grasp the necessary equipment, which includes:
- Pressure canner
- Jars
- Lids
- Jar lifters
- Funnels
Do not overlook safety precautions, such as checking for jar seals and maintaining the correct pressure throughout the process. These are vital to prevent spoilage or contamination.
The foods that shine with this preservation technique include robust vegetables like green beans, starchy varieties such as potatoes, and protein-packed items like chicken and beef.
Pressure canning has many advantages; it significantly extends the shelf life of these foods and helps you make the most of surplus produce. This offers a practical solution for preserving flavors and nutrients for long-term enjoyment.
Supplies and Equipment Needed
Having the right supplies and equipment is essential for a successful canning experience, whether you opt for water bath canning or pressure canning. Key items include:
- Canning jars
- Pressure canner or a sturdy stock pot
- Various tools for sealing and processing your jars
By investing in high-quality canning supplies, you guarantee the safety of your preserved foods and elevate the overall efficiency and enjoyment of your canning endeavors.
Essential Tools for Successful Canning
Essential tools for successful canning ensure safe and effective canning and enhance your kitchen experience. With the right equipment, preserving seasonal produce becomes a joyful and rewarding endeavor, turning fresh fruits and vegetables into cherished pantry staples.
Among the most vital items is a canning lid lifter, which prevents burns by securely grasping hot lids while you seal your jars. A jar lifter is also important, allowing you to safely handle hot jars as you place them in and out of boiling water. A funnel aids in ensuring that liquids flow smoothly into jars, minimizing spills.
Find high-quality supplies at local kitchenware stores or browse online retailers that specialize in canning products. Always sterilize your jars before use and follow trusted recipes to ensure safety throughout the canning process.
Step-by-Step Guide to Canning
A step-by-step guide to canning offers you invaluable insights, whether you’re just starting or have been honing your culinary skills for years. Understanding the canning process for beginners ensures that your food preservation endeavors are both successful and safe.
By adhering to these clear and concise instructions, you can confidently prepare jars, process your canned goods, and store them effectively for future enjoyment. This step-by-step method not only boosts the quality and safety of your preserved foods but also makes the process fun!
Get started with canning today and enjoy delicious homemade preserves all year round!
Preparing Jars and Ingredients
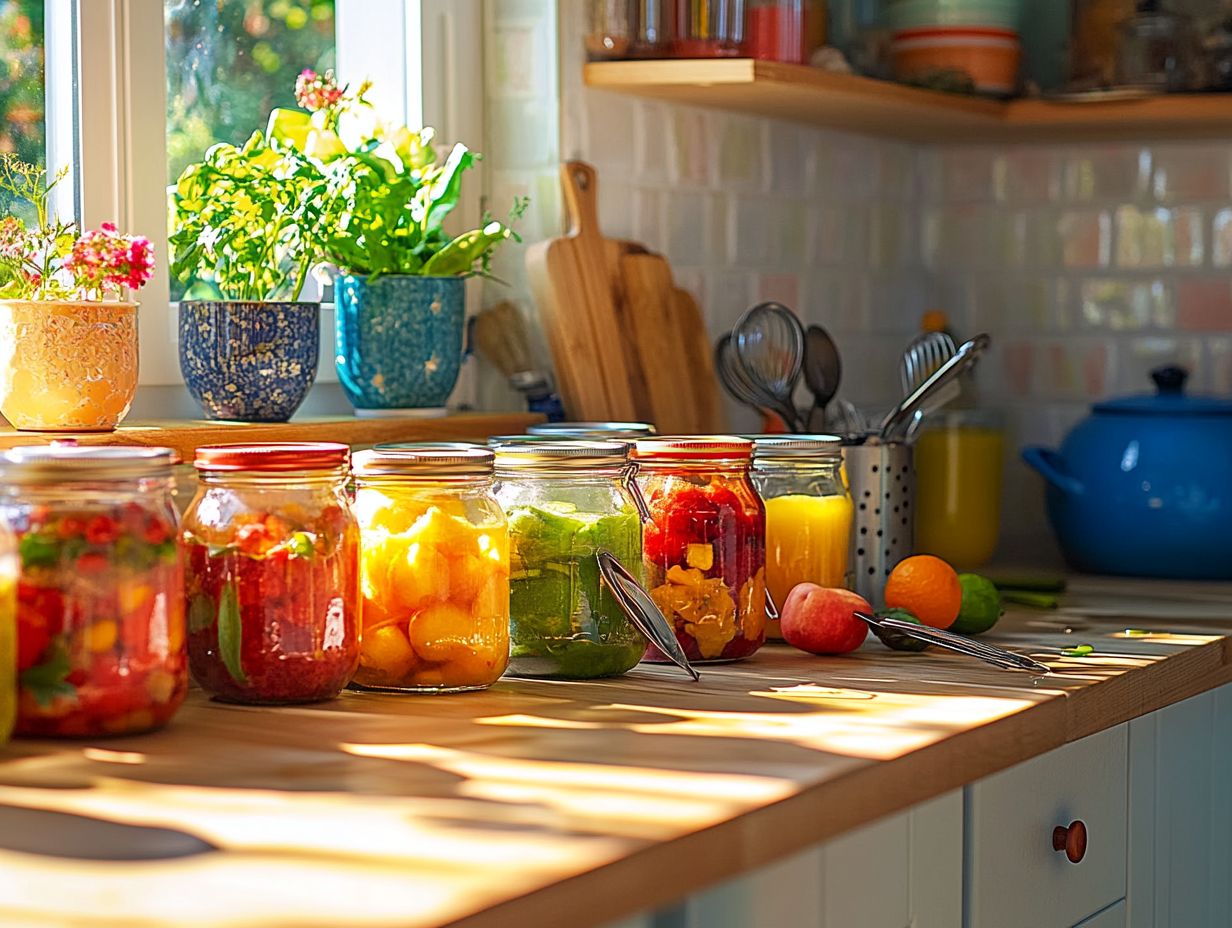
Preparing your jars and ingredients is a crucial first step in the canning process. Clean, sterilized jars help prevent spoilage, while selecting fresh, high-quality ingredients ensures the best flavors in your finished product.
Start by washing your jars in hot, soapy water. Then, sterilize them by immersing them in boiling water for at least ten minutes to eliminate lingering bacteria.
Choose seasonal produce from local farmers’ markets. These are usually fresher and more flavorful. Check for blemishes or bruises to get the best quality.
Freshness is key. Using ingredients that are past their prime can lead to spoilage or dull flavors. Always check that seals are intact before storage for peace of mind.
Processing and Storing Canned Goods
Correctly processing and storing canned goods is vital for safety and quality. Whether using water bath or pressure canning, understanding the right times and techniques is essential.
Store your canned goods in a cool, dark place to extend their shelf life. This way, you can enjoy homemade meals and pantry staples year-round.
Water bath canning works well for high-acid foods like fruits and jams. It usually requires boiling for 5 to 15 minutes, depending on the recipe.
Pressure canning is necessary for low-acid foods such as vegetables and meats to prevent botulism. It involves pressure settings of 10 to 15 psi and canning durations of 20 to 90 minutes.
After canning, allow the jars to cool before storing them upright. Avoid exposing them to light and heat as these can affect their quality.
Maintain a consistent temperature around 50-70 F to enhance flavor and ensure peak safety over time.
Troubleshooting Common Canning Issues
Troubleshooting canning issues is crucial for keeping your home-preserved foods safe and delicious. Identifying problems like spoilage or improper seals allows you to address them effectively.
By understanding factors leading to canning failures, you gain the knowledge to troubleshoot effectively. This gives you peace of mind as you enjoy your homemade meals.
Preventing Spoilage and Other Problems
Preventing spoilage during the canning process is vital for ensuring food safety and maintaining the quality of your preserved items. By following canning safety guidelines and being vigilant about the signs of botulism, you can safeguard your canned goods and enjoy your efforts without concerns.
To effectively prevent spoilage, use high-quality, fresh ingredients and sanitize your jars and equipment before starting the canning process. Filling your jars to the recommended headspace the space between the food and lid ensures a proper seal, which minimizes the risk of bacterial growth.
Store your canned goods in a cool, dark place to extend their shelf life and protect them from light exposure, which can degrade quality. Regularly inspect your jars for seals and signs of spoilage, like bulging lids or discoloration, to identify potential hazards before consuming your preserved items.
Familiarizing yourself with the specific requirements of different food items such as adjusting processing times for low-acid versus high-acid foods makes your canning endeavors safer and more effective.
Tips for Beginners
As you start your canning journey, grasping essential tips and the important dos and don’ts can make the experience enjoyable and successful. Checking out easy canning recipes for beginners can also help you get started.
By prioritizing canning safety and best practices, you can avoid common pitfalls and embrace the rewarding art of food preservation.
Following these guidelines will enhance your enjoyment of your culinary creations and nurture your confidence in your canning skills, whether you’re crafting delectable jams, tangy pickles, or vacuum-sealed meals. For a comprehensive approach, consider mastering water bath canning.
Dos and Don’ts for Successful Canning
Understanding the dos and don’ts of successful canning can enrich your homemade food preservation experience. For added guidance, refer to these canning techniques and troubleshooting tips to ensure your hard work results in delicious and safe outcomes.
Selecting high-quality ingredients at their peak freshness makes a significant difference in flavor and texture. Maintaining the appropriate acidity level is crucial, especially for canning fruits and vegetables, as it helps prevent the growth of harmful bacteria.
A common misstep to avoid is overlooking the importance of adhering to processing times specified in reliable resources. Ignoring these guidelines could compromise food safety. Familiarizing yourself with established practices allows you to enjoy the benefits of canning while minimizing the risks of improper techniques.
Frequently Asked Questions
What is canning and why is it beneficial for beginners?
Canning is a method of preserving food by sealing it in airtight jars or cans. For those interested in this practice, how to get started with home canning can benefit beginners by allowing them to safely store and enjoy fresh produce for an extended period.
What equipment do I need to get started with canning?
To start canning, you’ll need basic equipment like canning jars, lids, and a large pot for boiling water. Investing in a canning kit with tools like a jar lifter and funnel makes handling easier and safer.
What are the different canning techniques for beginners?
There are two main canning techniques for beginners: water bath canning and pressure canning. Water bath canning is used for high-acid foods like fruits and tomatoes, while pressure canning is necessary for low-acid foods like vegetables and meat.
How do I know if my jars are properly sealed?
After processing, you should hear a “pop” sound as the jars cool, indicating they’ve been properly sealed. You can also check the seal by pressing on the center of the lid; if it doesn’t flex, then it is sealed.
Start your canning journey now and enjoy fresh flavors year-round!
Is it safe to reuse canning jars and equipment?
You can safely reuse canning jars and equipment if they are clean and in good shape. Always use new lids for each batch to ensure a proper seal.
Can I can any type of food as a beginner?
Getting started with canning can be thrilling! Begin with easy-to-can foods like fruits and tomatoes. Once you’re comfortable, you can try vegetables and meats. To ensure your safety and success, always follow a trusted guide to the canning process.
