10 Tips for Better Canning Results
Canning and home canning present a rewarding opportunity to preserve the treasures of your garden and savor homemade flavors throughout the year. To ensure delicious and safe results, adhering to safety guidelines and best practices is crucial.
Here are ten essential canning tips for elevating your canning game. We ll cover everything from selecting the optimal methods and ingredients to mastering sterilization and processing times. Whether you re a novice or seeking to hone your skills, these insights will empower you to create perfectly sealed canning jars that remain fresh and flavorful.
Contents
- Key Takeaways:
- 1. Choose the Right Canning Method for Your Food
- 2. Use Fresh and High-Quality Ingredients
- 3. Sterilize Your Canning Equipment
- 4. Follow Proper Canning Techniques
- 5. Leave Appropriate Head Space in Jars
- 6. Use the Correct Processing Time and Pressure
- 7. Check for Proper Seal and Store in a Cool, Dark Place
- 8. Use Tested and Approved Recipes
- 9. Label and Date Your Canned Goods
- 10. Rotate Your Canned Goods to Ensure Freshness
- What Are the Different Types of Canning Methods?
- Frequently Asked Questions
Key Takeaways:
- Choose the right canning method for your food to ensure safety and quality.
- Use fresh and high-quality ingredients for the best results.
- Follow proper canning techniques, including sterilizing equipment and leaving appropriate headspace in jars.
1. Choose the Right Canning Method for Your Food
Choosing the right canning method is key to your success! Different foods demand specific techniques to guarantee safety and maintain quality. This affects everything from processing times to the risk of botulism, a harmful bacteria that can grow in improperly canned foods. It s essential to understand whether to use a boiling-water canner, a pressure canner, or a steam canner for effective food preservation.
High-acid foods, like fruits and jams, are processed differently than low-acid foods, such as vegetables, according to USDA guidelines. Each method offers unique benefits and considerations tailored to various types of produce and the shelf-life you desire, ensuring safe canning practices.
For example, boiling-water canning is perfect for high-acid foods, relying on boiling temperatures to inhibit bacteria. This makes it ideal for items like pickles and salsas. On the other hand, low-acid foods, including green beans and carrots, necessitate a pressure canner to achieve the required temperatures for safe preservation, as these foods are more susceptible to harmful pathogens. Understanding the differences in food types is crucial in the canning process.
Using these methods correctly ensures the quality and flavor of your preserved food and significantly reduces health risks. Following USDA guidelines provides a solid framework, giving you the power to make informed choices for safe and successful food storage in your kitchen.
2. Use Fresh and High-Quality Ingredients
Using fresh, high-quality ingredients is vital in the canning process. The flavor, texture, and safety of your canned goods hinge on the quality of the produce you choose, whether they are fruits or vegetables.
When selecting fruits and vegetables, look for signs of freshness: vibrant colors, firm textures, and a delightful aroma. If you encounter soft spots, discoloration, or an unpleasant smell, it s a clear signal that the produce may be past its prime. This can jeopardize both taste and safety in your canned creations and overall food preservation efforts.
The importance of selecting top-notch ingredients goes beyond immediate satisfaction; it significantly impacts the preservation process. Properly preserved food retains its nutritional value and flavor over time. This ensures a canning experience that allows you to savor the fruits of your labor long after the harvest season has come to a close and to share with family and friends.
3. Sterilize Your Canning Equipment
Sterilizing your canning equipment is absolutely essential for ensuring food safety. After all, improper cleaning can invite harmful bacteria and food spoilage into your carefully preserved goods.
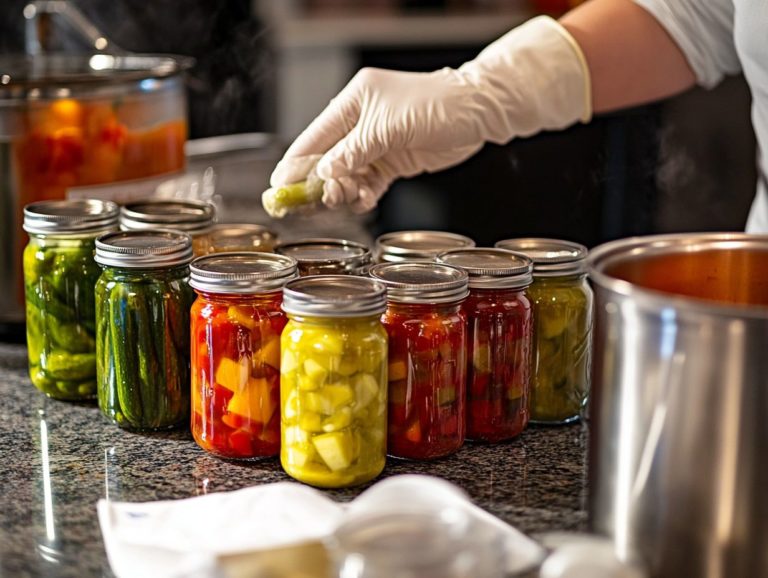
To effectively sterilize your canning jars and utensils, you can use methods like boiling water or your dishwasher s sanitize cycle. Boiling your jars for at least 10 minutes in a pot of water not only wipes out any lingering contaminants but also warms them up crucial before you fill them with hot food. If you have a dishwasher, load your jars and equipment, select the hottest setting, and let the machine work its magic for similar results, ensuring clean jars for the canning process.
Maintaining a rigorous standard of cleanliness throughout the canning process is key! It significantly reduces the risk of foodborne illnesses and enhances the longevity of your preserved foods, ensuring your efforts yield delicious results for months to come and promote food safety.
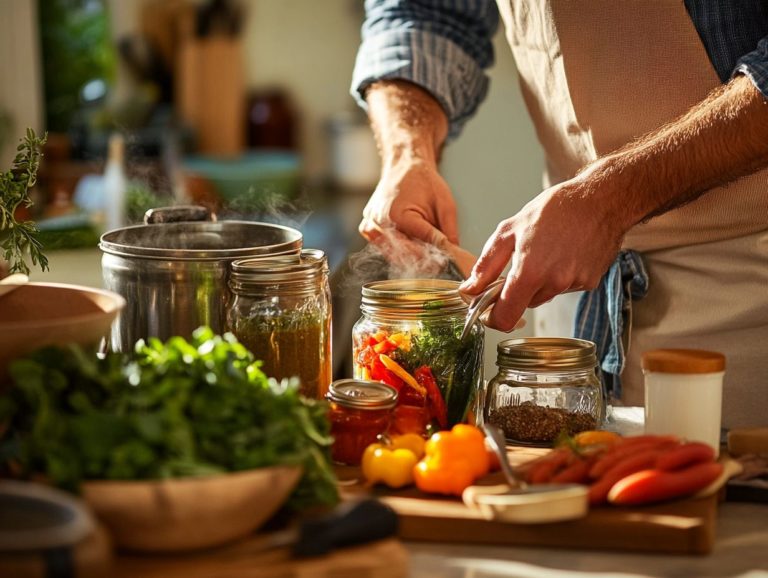
4. Follow Proper Canning Techniques
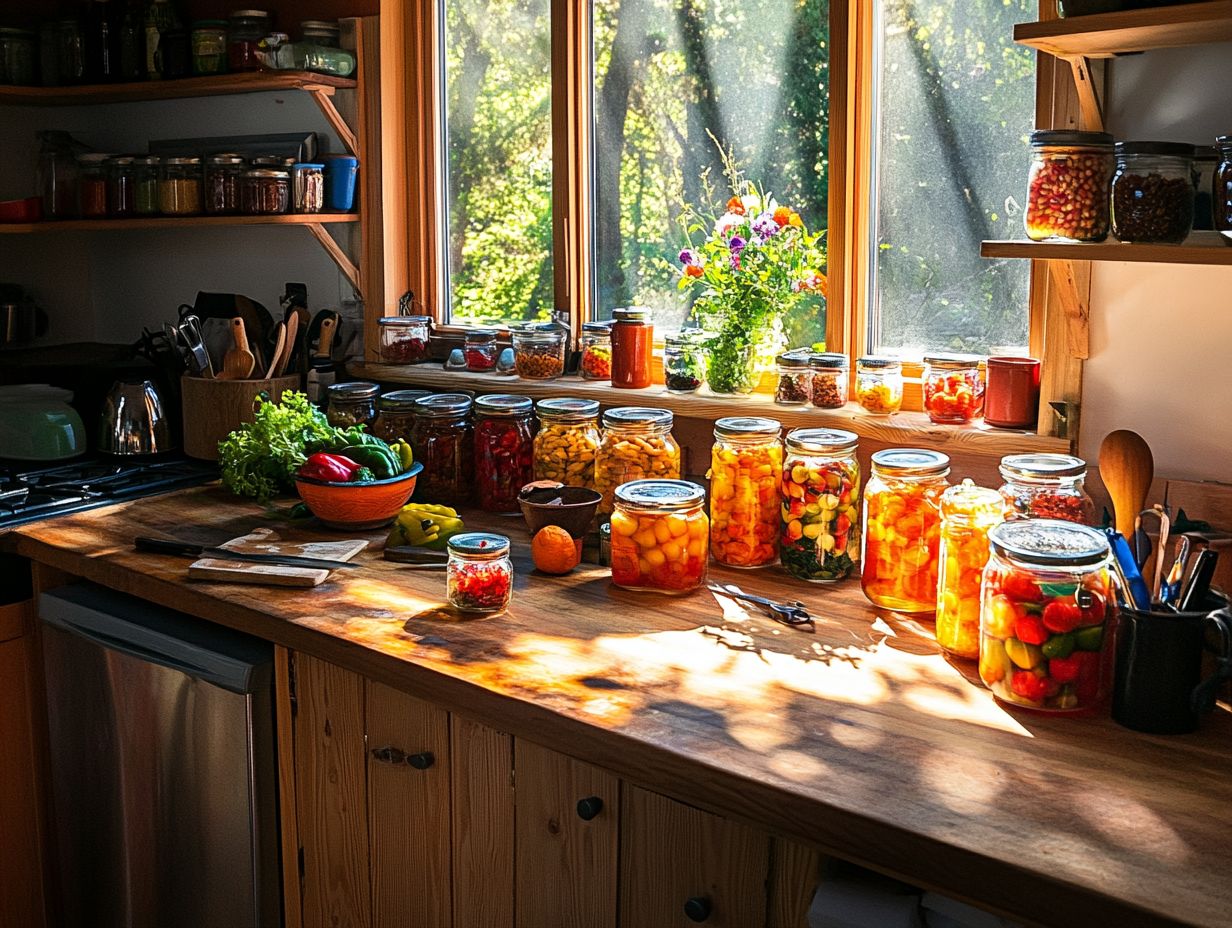
Following proper canning techniques is paramount for safe food preservation. To enhance your skills, check out resources on how to avoid common canning mistakes. Each jar must be processed carefully to prevent spoilage and maintain quality throughout its shelf life, reinforcing the importance of knowledge and research in canning.
To achieve this, focus on crucial aspects like securing a proper vacuum seal, which is vital for keeping air out of the jars and preserving the contents. Adhering to the recommended processing times based on the type and size of the food items is essential. Any deviations can lead to inadequate heating, allowing harmful bacteria to flourish, including the risk of botulism.
Neglecting these measures not only jeopardizes the taste and texture of your preserved goods but also poses serious health risks. Therefore, meticulous attention to detail in the canning process isn t just a suggestion; it s a necessity for ensuring safe and delightful home-canned products that you can share with your community!
5. Leave Appropriate Head Space in Jars
Leaving the appropriate headspace in your jars during the canning process is essential for achieving a proper seal and preventing food spoilage. This space allows the food to expand as it heats up, ensuring the lid tightness is maintained.
Different types of canned goods require specific headspace measurements to ensure effective sealing. For example, fruits and tomatoes generally need about 0.5 inches, while low-acid foods like vegetables may need around 1 inch. Be precise in measuring headspace.
Maintaining a consistent approach to measuring headspace can significantly influence how well the lid adheres, which affects the overall preservation quality. To measure headspace accurately, use a specialized headspace tool or a ruler, ensuring the jar is upright on a flat surface for the best vacuum.
This meticulous attention to detail enhances the safety of your canned goods and promotes their longevity, safeguarding the delightful flavors within and ensuring a successful canning process!
6. Use the Correct Processing Time and Pressure
Using the correct processing time and pressure is essential for safe canning; improper processing can create a welcoming environment for harmful bacteria, including botulism. To ensure safety, learn how to avoid common canning errors—it’s crucial to get this right!
This becomes particularly important when you’re canning low-acid foods like green beans, corn, and meats, which demand pressure canning to achieve the necessary temperatures for safety. For instance, when you pressure can green beans at a minimum of 20 pounds of pressure, you ensure that all potential pathogens are effectively eliminated, protecting your family from foodborne illness.
In contrast, high-acid foods such as tomatoes and pickles can be safely canned using the water bath method. However, even with these, it s imperative to adhere strictly to the specified processing times to prevent spoilage and guarantee shelf stability. By following USDA guidelines and using tested and approved recipes, you not only safeguard your produce but also bolster your confidence in the art of preservation.
Ready to get started? Let’s make some delicious preserved goods together!
7. Check for Proper Seal and Store in a Cool, Dark Place
Checking for a proper seal on your canned goods is essential for preserving food. A faulty seal can lead to spoilage. Storing jars in a cool, dark place enhances their longevity and ensures food safety.
To make sure your jars are securely sealed, gently press down on the center of each lid. If it pops back, the seal isn t intact. Inspect the lid for any bulging or unusual shapes, which can signal spoilage. Handle your jars carefully, avoiding extreme temperatures and direct sunlight, as these factors can compromise their integrity over time and affect food safety.
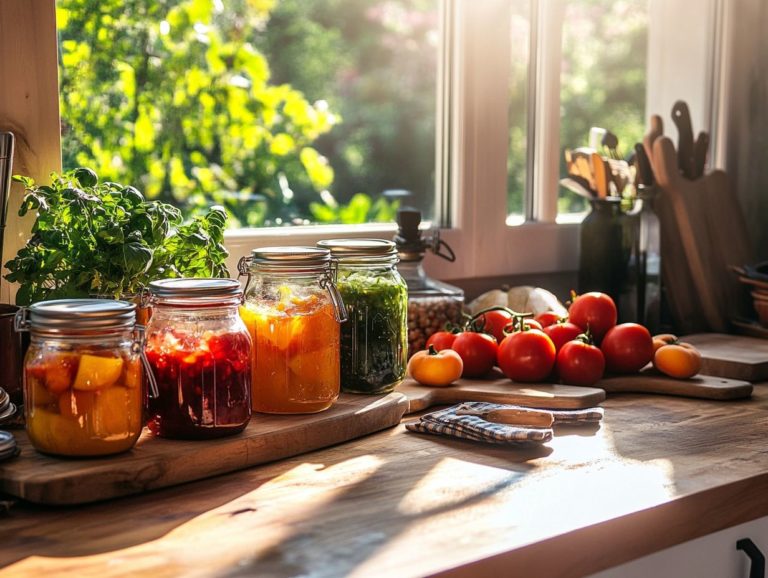
Storing your canned goods properly makes all the difference! Keep your jars in a pantry or cupboard to prolong their shelf life, letting you enjoy those delicious preserves for longer and allowing for better organization in your kitchen.
8. Use Tested and Approved Recipes

Using tested and approved recipes is crucial for safe canning practices. Following canning tips for beginners ensures these recipes are designed to balance acidity and processing times, effectively warding off foodborne illnesses and ensuring the best results in home canning.
For the best outcomes, refer to resources like the National Center for Home Food Preservation and MU Extension. They provide reliable information, complete with step-by-step guides and tips for safe canning practices to enhance your knowledge and skills in handling various fruits and vegetables.
By following these tested recipes, you preserve the delightful flavor and texture of your goods while protecting yourself from harmful bacteria. To ensure safety, consider these essential tips for safe canning, measure your ingredients accurately, and stick to the suggested processing times. Food safety should always be your priority, and relying on expert resources gives you the confidence to embark on your canning adventure!
9. Label and Date Your Canned Goods
Labeling and dating your canned goods is not just a simple task; it’s an essential practice that enhances your organization in the kitchen. This habit allows you to keep track of freshness and ensures you consume items before they spoil, making the canning process more efficient.
Effective labeling saves you both time and money by significantly reducing food waste. For optimal pantry management, include key details such as the purchase date, expiration date, and contents. Clear, legible designs help anyone in the household identify items quickly.
Consider categorizing your labeled goods by type think vegetables, sauces, and soup to streamline the retrieval process. By adopting these strategies, you transform pantry organization into a seamless aspect of your meal preparation.
10. Rotate Your Canned Goods to Ensure Freshness
Rotating your canned goods is crucial for ensuring freshness and preventing food spoilage. Use older items before newer ones to maintain their optimal quality.
To achieve effective rotation, organize your pantry so that older cans are easily accessible. The FIFO (First In, First Out) method works wonders: place newly purchased goods behind older items. You might also find labeling shelves or using clear bins helpful for identifying which products need to be consumed first.
Regularly check expiration dates and conduct a quick inventory to enhance your stock management. By prioritizing older canned goods, you minimize waste and create a well-organized and efficient kitchen space.
Ready to start canning? Check your supplies, gather your ingredients, and dive into the joy of preserving delicious food!
What Are the Different Types of Canning Methods?
Understanding the various canning methods is essential for your food preservation success. Each method has unique advantages and applications tailored to different food types and safety concerns.
Take boiling-water canning, for example. It’s perfect for high-acid foods like jams, jellies, and pickles. The boiling water effectively eliminates bacteria, preserving the delightful integrity of these treats.
On the flip side, pressure canning is your go-to for low-acid foods like meats and vegetables. The higher temperatures involved work to destroy harmful bacteria, ensuring your food is safe to enjoy.
Then there’s steam canning, which uses steam to process jars instead of submerging them in boiling water. This method offers a faster alternative suitable for both high and low-acid foods. However, it s crucial to follow specific guidelines to maintain safety.
Grasping these nuances helps you ensure your food remains safe to consume while maximizing its flavor and nutrition.
What Are the Best Foods for Water Bath Canning?
Water bath canning is the perfect technique for high-acid foods, making it an excellent choice for preserving fruits, jams, and jellies. The natural acidity of these foods helps prevent spoilage and ensures safety.
Consider foods such as tomatoes, pickles, and citrus fruits. Their pH levels typically fall below 4.6, a crucial factor for safe preservation. For instance, a classic strawberry jam showcases vibrant fruit flavors while benefiting from its inherent acidity. When you use vinegar for pickling vegetables like cucumbers or beets, you’re harnessing high acidity to keep bacteria at bay.
By choosing high-acid foods, you guarantee that the water bath process achieves optimal heat penetration. This preserves both flavor and quality while extending shelf life.
What Are the Best Foods for Pressure Canning?
Pressure canning stands as the gold standard for low-acid foods. It reaches the high temperatures necessary to eliminate harmful bacteria and ensure your food is safe to enjoy.
This process is particularly crucial for items like carrots, green beans, and chicken, which can harbor harmful bacteria that thrive in low-acid environments. Unlike high-acid foods, which can be safely canned using a simple water bath, low-acid foods demand temperatures of at least 240 F to effectively destroy these harmful microorganisms.
By employing a pressure canner, you create a sealed environment that consistently achieves these elevated temperatures. This technique is essential for safely preserving these items. Not only does it enhance their shelf life, but it also allows you to enjoy the flavors of summer throughout the year!
How Can You Tell If Your Canned Goods Have Spoiled?
Identifying spoiled canned goods is essential for your food safety. Consuming spoiled food can pose serious health risks. Therefore, it’s vital to recognize the signs of spoilage.
Common indicators to look out for include:
- Bulging lids: This suggests excessive pressure inside the can.
- Off odors: Any foul or unusual smells when you open the can.
- Discoloration: Any change in the appearance of the contents signifies deterioration.
To ensure your safety, handle canned goods with care. Store them in a cool, dry place and regularly check for these signs. If you suspect spoilage, it s prudent to dispose of the can responsibly wear gloves to avoid direct contact and follow your local disposal guidelines to prevent contamination.
Ready to start canning? Grab your jars and let s preserve some delicious flavors together!
What Are the Benefits of Home Canning?
Home canning presents you with a wealth of benefits, such as the ability to preserve seasonal produce and maintain control over your ingredients. You can also enjoy a fun tradition that brings family and friends together.
Beyond these advantages, it champions sustainability by minimizing food waste and allowing you to utilize surplus fruits and vegetables. You ll save money while enjoying delicious homemade treats instead of expensive store-bought preserves packed with preservatives. Plus, you can add a personal touch when sharing your homemade jars of jam or pickles with loved ones.
The delight of gifting these homemade creations not only strengthens your relationships but also ignites conversations about recipes and cooking techniques. This transforms the experience into something joyous that extends far beyond the kitchen.
How Can You Prevent Common Canning Mistakes?
Preventing common canning mistakes is essential for ensuring food safety and quality. For those just starting out, following 10 tips for new canners can help you avoid minor errors that may jeopardize the integrity of your preserved goods.
These missteps can range from improper jar sealing to incorrect processing times, leading to spoilage or contamination. To avoid these pitfalls, familiarize yourself with the latest guidelines, including the 5 best practices for successful canning, from trusted sources such as the USDA or local extension services.
Utilizing tested recipes and precise equipment enhances your chances of success while protecting you from potential health risks. For additional guidance, consider these top canning tips from experts. Keeping detailed notes during the canning process helps you identify issues in future attempts, allowing you to improve and build confidence in this rewarding culinary practice.
Frequently Asked Questions
What are 10 Tips for Better Canning Results?
- Choose fresh, high-quality produce: This ensures the best flavor in your canned goods.
- Use proper canning techniques: Following these techniques is crucial for food safety.
- Follow recipes closely: Accurately measure your ingredients to achieve the best results.
- Clean and sterilize all jars and equipment: This prevents contamination and spoilage.
- Leave proper headspace: This refers to the space at the top of the jar, allowing for food expansion during processing.
- Use a canning rack: A canning rack or towel at the bottom of the pot prevents jars from breaking.
- Adjust processing time for altitude: Higher altitudes may require longer processing times.
- Use new lids and rings: For each batch of canning, this ensures a proper seal.
- Allow jars to cool completely: Test the seal before storing them away.
- Label jars: Always label with contents and date to keep track of your canned goods.
Get started with these tips and enjoy the fruits of your labor!
