10 Essential Canning Techniques for Beginners
Canning is a method that allows you to enjoy seasonal foods all year round.
If you re starting out or looking to improve, learning a few techniques can boost your experience.
This guide covers ten essential steps, from preparing jars to selecting ingredients, ensuring safe and delicious results.
Get ready to embark on an exciting canning adventure! Let s explore the essentials together!
Contents
- Key Takeaways:
- 1. Prepare Your Jars and Lids for Water Bath Canning
- 2. Use the Right Equipment
- 3. Choose the Right Foods for Canning
- 4. Follow Proper Canning Techniques
- 5. Adjust for Altitude
- 6. Explore the Best Canning Methods for Your Food
- 7. Properly Seal Your Jars
- 8. Store Your Canned Goods Correctly
- 9. Label and Date Your Jars
- 10. Always Use Fresh Ingredients
- What Are the Benefits of Canning?
- What Are the Safety Precautions for Canning?
- What Types of Jars and Lids Should Be Used for Canning?
- What Foods Should Not Be Canned?
- What Are the Different Methods of Sterilizing Jars?
- How Can You Tell If a Jar Is Properly Sealed?
- What Is the Shelf Life of Canned Goods?
- How Can You Incorporate Canned Foods into Your Meals?
- What Are Some Common Mistakes to Avoid When Canning?
- What Are Some Creative Canning Ideas for Beginners?
- Frequently Asked Questions
Key Takeaways:
- Prepare your jars and lids properly to ensure safe canning.
- Use the right equipment and choose appropriate food to avoid contamination.
- Know different canning methods for successful preservation.
1. Prepare Your Jars and Lids for Water Bath Canning
Preparing your jars and lids is an important step in the canning process. It ensures your canned goods remain safe and shelf-stable for extended periods.
This effort significantly enhances your food preservation by preventing spoilage and guarding against harmful bacteria, which can grow in improperly canned foods.
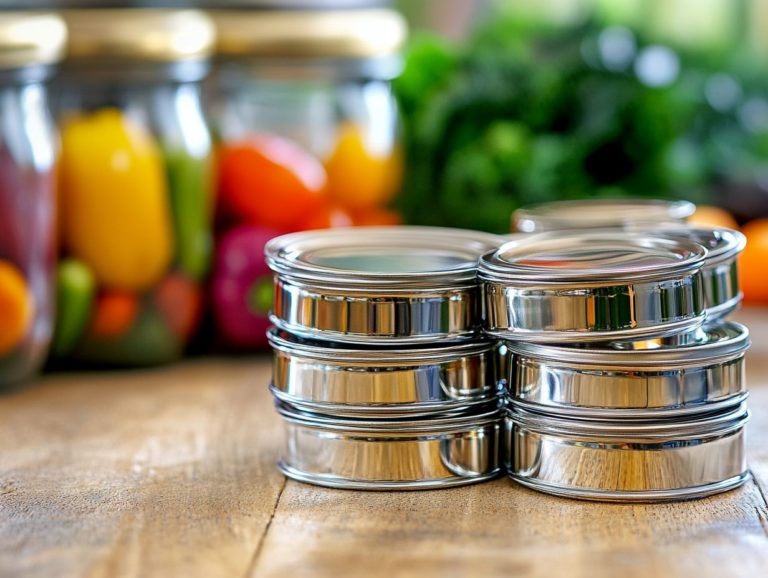
Using clean, sterilized mason jars preserves the integrity of your food and minimizes the likelihood of sealing failures. You ll find various lid types available, from two-part lids to reusable ones.
Each is designed to create an airtight seal tailored for specific needs. Inspect the flat lids for any dents or rust, as these imperfections can jeopardize the seal’s integrity.
Proper sealing is crucial to canning safety, so following guidelines is essential. If you’re new to canning, consider these 10 tips for better canning results; the water bath canning method is often best for high-acid foods.
For low-acid items, pressure canning is necessary. To prepare jars, wash them in hot soapy water, rinse thoroughly, and either boil them or run them through a dishwasher for sterilization.
These steps enhance the safety and longevity of your preserved goods. For those starting out, consider the top 10 canning supply must-haves for beginners to enjoy your culinary creations and canned jams with confidence.
2. Use the Right Equipment
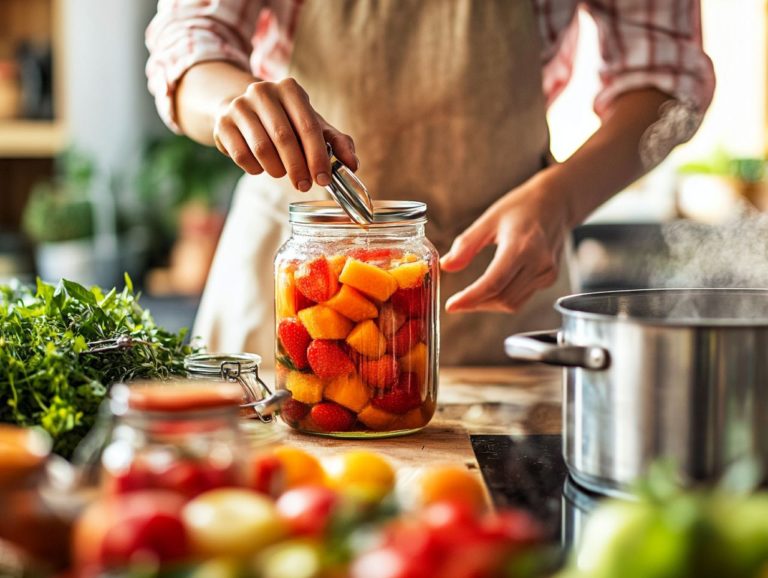
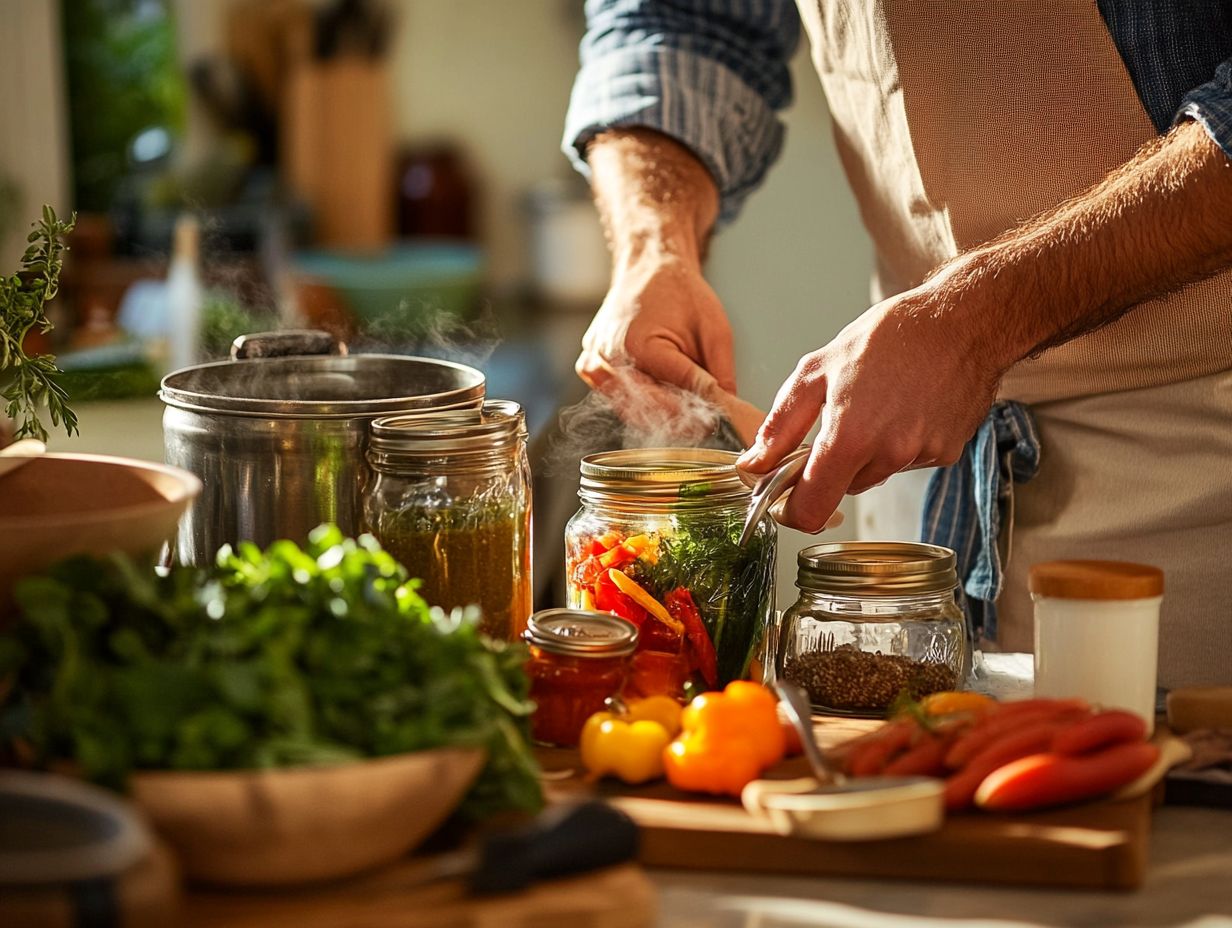
Using the right equipment for canning is crucial for your success. It ensures that your homemade meals and preserved foods think jams, pickles, and vegetables are processed safely and effectively.
The essential kitchen tools you ll want include pressure canners and water bath canners, each serving a unique purpose in the preservation journey.
Pressure canners are critical for low-acid foods, helping you reach necessary temperatures to eliminate harmful bacteria. Conversely, water bath canners are your go-to for high-acid foods like fruits and jams.
You ll also need various utensils jar lifters for safely handling those hot jars and stainless steel funnels that simplify the filling process while minimizing spills.
Together, these tools boost your efficiency and ensure your canning experience is as safe as it is rewarding.
3. Choose the Right Foods for Canning
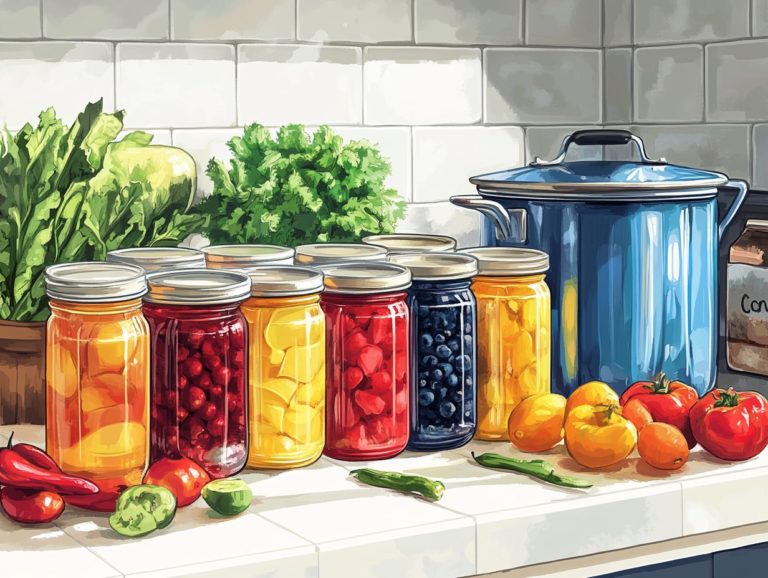
Choosing the right foods for canning is crucial. It directly influences the quality and safety of your preserved products.
High-acid foods, like fruits and pickles, are your best friends for water bath canning, while low-acid foods such as meats and vegetables require pressure canning for safe preservation.
High-acid foods, typically having a lower acidity level, naturally inhibit the growth of harmful bacteria. Think tomatoes, strawberries, and sauerkraut they bring vibrant flavors and enhance preservation properties.
Low-acid foods like green beans, carrots, and meats have a higher acidity level. They require pressure canning to ensure thorough cooking and eliminate potential pathogens.
When selecting fresh ingredients from your organic vegetable garden, choose vibrant, firm produce. The ripeness directly affects their acidity levels, shaping the quality and safety of your final canned goods.
4. Follow Proper Canning Techniques
Following proper canning techniques for beginners is essential for ensuring your canned goods are safe to eat. This involves specific steps, such as maintaining the correct boiling point during processing and measuring headspace—the space between the food and the lid in the jar—with precision. Always adhere to safety guidelines set by reputable organizations like the USDA and Penn State Extension.
Understanding the differences between canning methods is crucial. Water bath canning is perfect for high-acid foods like fruits, jams, and pickles. This method requires a steady boiling temperature of 212 F for an appropriate duration typically between 5 to 15 minutes, depending on what you’re canning.
In contrast, pressure canning comes into play for low-acid foods like vegetables and meats. This method achieves higher temperatures necessary to effectively eliminate harmful bacteria. You’ll generally need to maintain 240 F for a specific period, which can range from 20 to 90 minutes, depending on the food.
To ensure your canning efforts are successful, check jar seals meticulously and refrain from overfilling. This way, you can prevent spoilage and maintain the highest food safety standards.
5. Adjust for Altitude
Adjusting for altitude is a critical aspect of canning that can significantly impact the success of your preservation efforts. It s essential to accurately measure and adjust the boiling point of water based on your location, as this directly influences processing times and the overall safety of your canned goods.
By mastering the calculation of processing times for both water bath and pressure canning, you can enhance your ability to preserve your harvests while minimizing the risk of spoilage. At higher elevations, the boiling point decreases, which means the heat applied during canning may not reach the necessary temperatures to eliminate harmful bacteria.
Consult altitude adjustment charts and guidelines specific to your region these can usually be found through university extension services or trusted canning experts in fermentation and dehydrating. These resources offer invaluable insights that can help ensure your preservation methods are effective and safe, leading to more successful canning experiences.
6. Explore the Best Canning Methods for Your Food
Understanding the various canning methods is paramount for effective food preservation. Each technique, whether it’s pressure canning for low-acid foods or water bath canning for high-acid foods, addresses specific safety concerns. For those new to this practice, exploring canning techniques for beginners ensures that your homemade treasures remain safe for consumption over time.
Choosing the right method significantly influences the quality and longevity of your preserved items. For example, pressure canning is advantageous for foods like green beans and meats, as it allows for higher temperatures that eliminate the risk of botulism. Conversely, water bath canning excels with fruits, jams, and pickles, where acidity plays a key role.
As a home preserver, consider factors such as texture, flavor, and water content when selecting the appropriate technique. If you’re new to canning, check out 10 tips for new canners and stick to established recipes like strawberry jam for water bath canning or chili for pressure canning to provide a solid foundation.
7. Properly Seal Your Jars
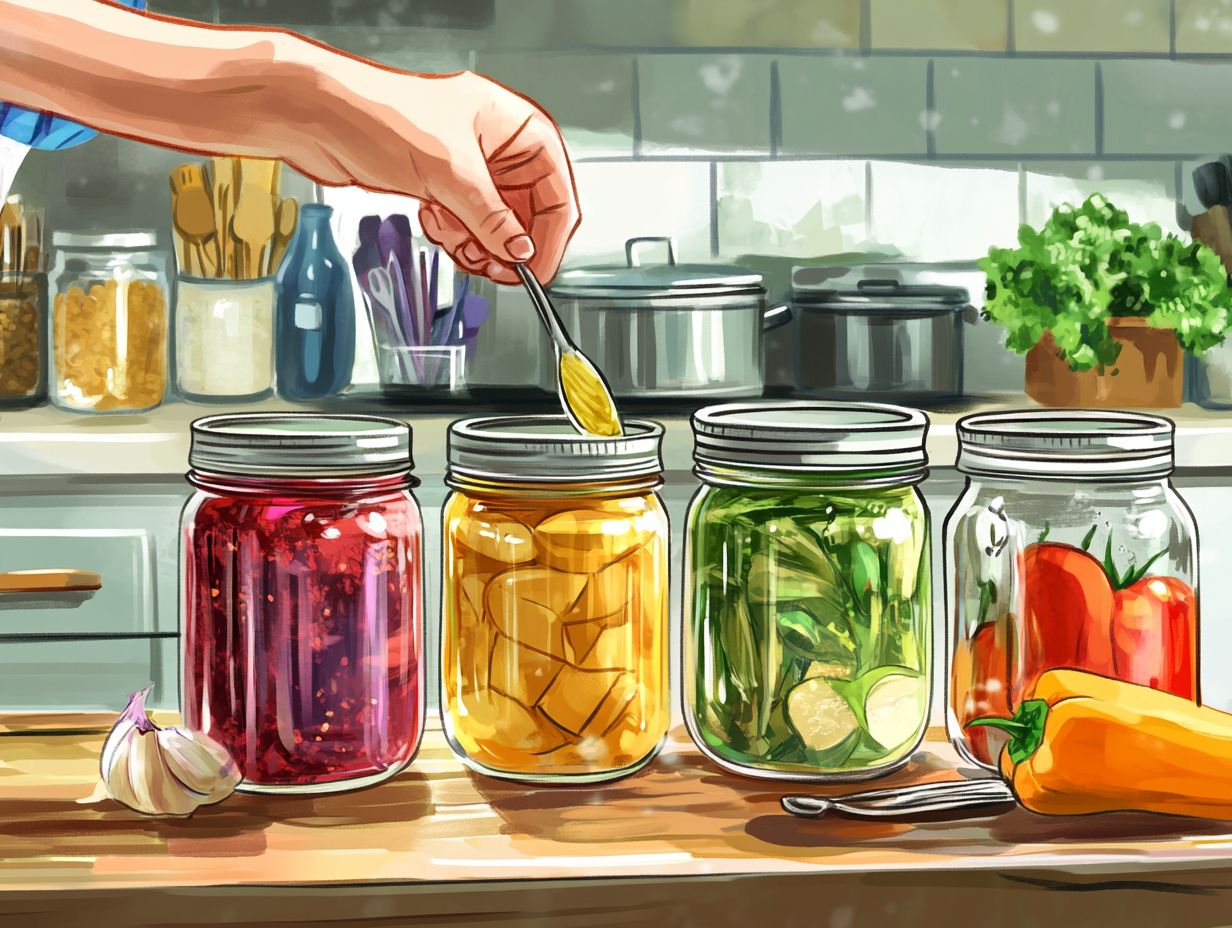
Sealing your jars properly is crucial for your success! It creates a vacuum seal that prevents air from sneaking in, protecting your canned goods from spoilage. This ensures that your homemade meals, jams, and pickles remain safe and delicious over time.
You can’t underestimate the importance of this; improper sealing can lead to serious issues like botulism and other foodborne illnesses. To guarantee airtight seals, inspect the jar rims for any cracks or debris before placing the lids on. Using fresh lids and processing jars in a boiling water bath for the recommended duration is essential.
If a jar fails to seal, check the rim for residue, adjust the screw band to a fingertip-tightness, or simply reprocess the jar. Mastering these techniques enhances your food safety and prolongs the shelf life of your cherished home-canned creations. Check those jar seals!
8. Store Your Canned Goods Correctly
Storing your canned goods correctly is essential for preserving their quality and safety. Proper food storage practices ensure that your foods that can be stored for a long time without going bad maintain their flavors and nutrients while minimizing the risk of spoilage and contamination.
To achieve this, keep your canned items in a cool, dry place, ideally within a temperature range of 50 F to 70 F. Avoid direct sunlight, as it can degrade both the can and its contents. Be mindful of humidity levels, since high humidity can lead to rust. A well-ventilated pantry is crucial.
Efficiently organizing your pantry is important. Place newer jars at the back and older ones at the front, encouraging you to use up what’s oldest first. This helps reduce waste and ensures that food is consumed before it loses quality. Implementing this system maximizes your space and fosters a habit of mindful consumption.
9. Label and Date Your Jars
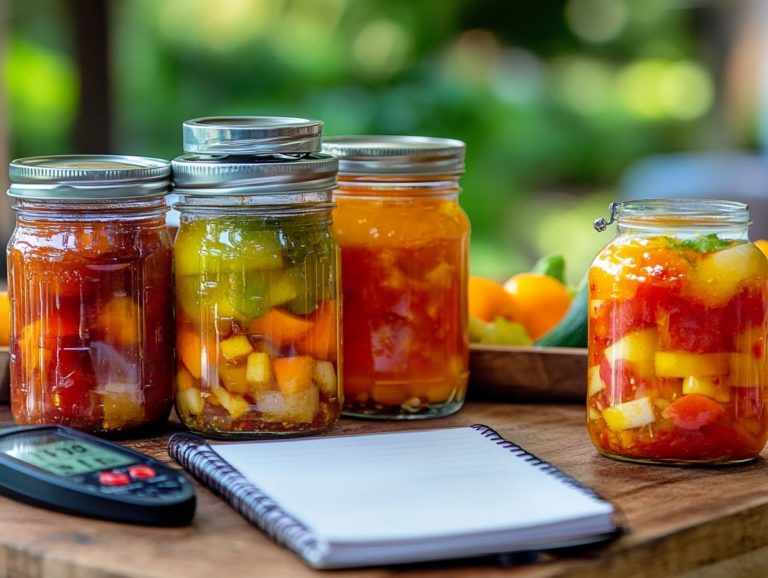
Labeling and dating your jars is not just a simple task; it s an essential practice that allows you to manage your canned goods effectively. By doing so, you ensure that you enjoy your homemade meals and gifts at their peak quality, all while adhering to their recommended shelf life.
When you include clear details such as the contents, date of canning, and processing method, managing your stored items becomes a breeze. This is particularly important when sharing your delightful creations with friends and family, who will appreciate knowing exactly what they re receiving and how long it will last.
Make your jars stand out even more! Consider using decorative labels or personalized tags that capture the essence of the season or occasion. Colorful designs, playful fonts, or even a brief description of the flavors can turn an ordinary jar into a thoughtful gift, enhancing its presentation and making your homemade items truly unforgettable.
10. Always Use Fresh Ingredients
Using fresh ingredients is essential in the canning process, as the quality of your fruits, vegetables, or meats directly influences the flavor, texture, and safety of your canned goods. This approach helps preserve their nutritional value and minimizes the risks of food spoilage.
Sourcing from an organic vegetable garden or local farmers’ markets enhances the freshness of your ingredients and supports sustainable practices. When deciding what to harvest or purchase, look for vibrant colors and firm textures these are signs of peak ripeness. Engaging with local farmers can provide insights into their growing methods and seasonal selections, ensuring your chosen ingredients are bursting with flavor.
Ultimately, prioritizing high-quality components significantly elevates your end product, offering a richer taste and a more rewarding preservation experience.
What Are the Benefits of Canning?
Canning offers a wealth of benefits, allowing you to preserve seasonal fruits and vegetables at their peak freshness. It creates shelf-stable foods for year-round enjoyment and presents a thoughtful opportunity to craft homemade gifts that showcase your culinary skills and creativity.
By engaging in this time-honored practice, you can reap significant economic advantages, making the most of your garden harvest or local farmers’ market finds, ultimately leading to reduced grocery bills. Many individuals discover that canning helps minimize food waste, transforming surplus produce into delicious preserves. For example, one enthusiastic home canner turned her annual tomato bounty previously left to rot in the backyard into jars brimming with vibrant marinara, joyfully shared with friends and family.
There s a unique pride that comes from crafting a product from scratch, fostering a deep sense of satisfaction that nurtures your creativity and enhances your connection to the food’s journey from garden to table.
What Are the Safety Precautions for Canning?
Understanding canning safety is crucial to prevent foodborne illnesses, especially botulism, which can arise from improper methods. Adhering to guidelines set by organizations like the USDA is essential.
Follow proper processing times to eliminate harmful microorganisms effectively. Maintaining the right acidity levels is key to preventing spoilage. For comprehensive guidance, refer to these 5 essential tips for safe canning. Using canning equipment properly, whether it’s pressure canners or water bath canners, is vital for safe preservation.
Regularly check your canned goods for signs of spoilage, such as bulging lids or off smells. Discard any cans that show these warning signs to keep your food safe. By staying informed, you can significantly reduce the risk of illness.
What Types of Jars and Lids Should Be Used for Canning?
Choosing the right jars and lids can make your canning journey a breeze! Using proper mason jars along with new, undamaged lids guarantees that your sealed products remain safe and free from contamination during storage.
Consider the various sizes and shapes of jars available; each is suited for different types of preserves. Quart-sized jars are perfect for larger batches of soups or sauces, while pint-sized jars shine for jams and jellies. Sturdy wide-mouth jars make filling and cleaning easier, enhancing your overall canning experience.
Selecting the right lids is equally important. Ensure they fit snugly for a proper seal. A secure lid prevents air from sneaking in, preserving the quality of your contents. This way, the flavors and nutrients you ve captured are retained until you re ready to enjoy them.
What Foods Should Not Be Canned?
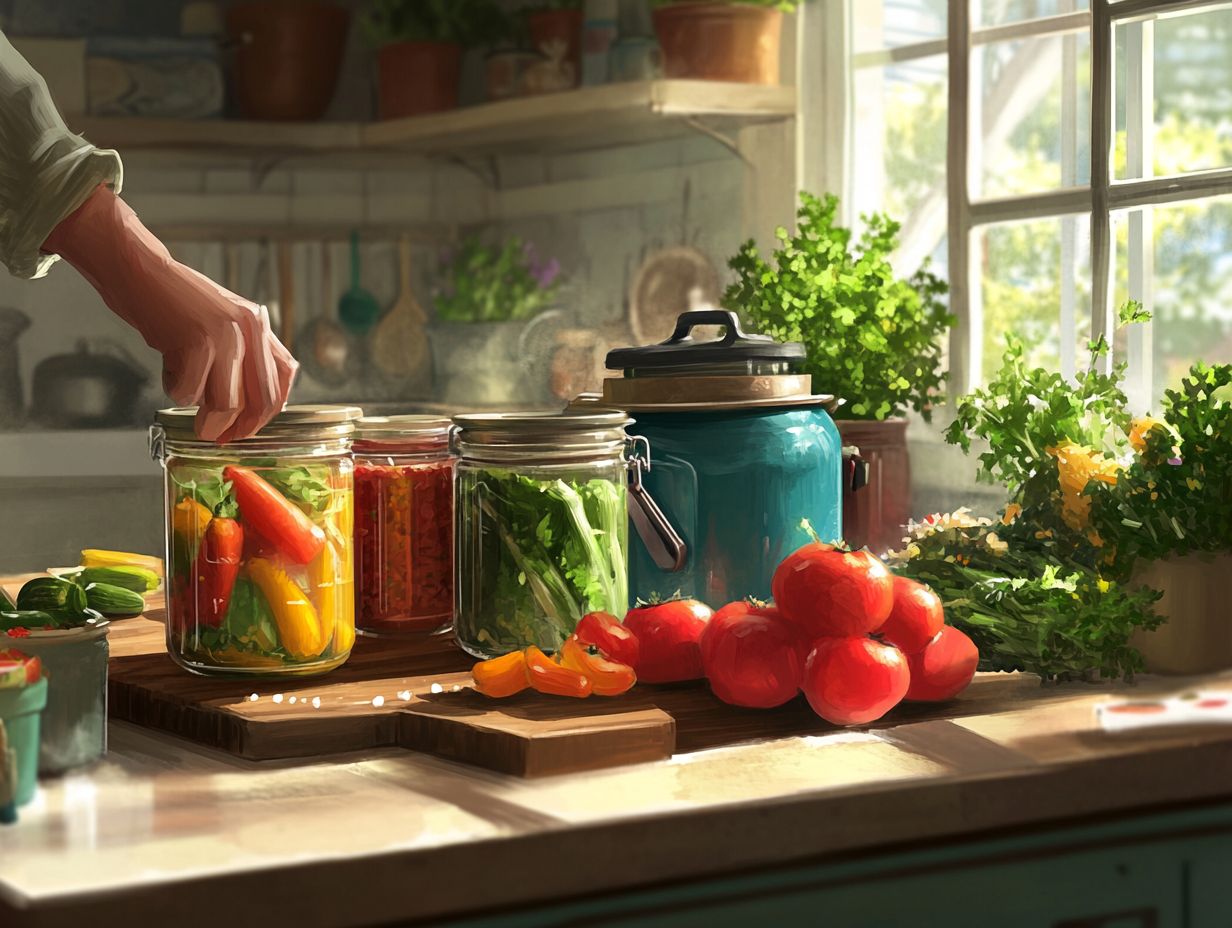
Certain foods should not be canned because they can be unsafe. As a home canner, it s crucial to know which items aren t suitable for pressure canning and water bath canning.
Dairy products such as milk, cheese, and yogurt can spoil quickly, leading to foodborne illnesses if processed improperly. Eggs also pose serious food safety risks when canned due to bacteria.
Be cautious with vegetables like potatoes, corn, and mushrooms. Their high starch content or low acidity can compromise quality and safety after canning. Instead of canning these items, consider alternative preservation methods like freezing, dehydrating, or fermenting. These techniques effectively extend shelf life while preserving nutritional value.
By understanding these guidelines, you’ll ensure that your food preservation efforts are safe and enjoyable.
What Are the Different Methods of Sterilizing Jars?
Sterilizing jars is an essential step in the canning process. This practice not only ensures the safety of your preserved foods but also enhances their longevity. Methods like boiling water or using an oven are key to achieving proper sterilization.
This process extends the shelf life of your products and prevents any potential foodborne illnesses from improper preservation. If you choose the boiling water method, submerge the jars in boiling water for at least 10 minutes. Alternatively, a dishwasher can be an effective sterilizing option; just run it on the hottest cycle without any detergent.
Whether you lean towards the traditional boiling method or the convenience of a dishwasher, mastering these canning techniques is crucial for anyone serious about home canning.
Ready to start canning? Gather your supplies and let s go!
How Can You Tell If a Jar Is Properly Sealed?
Determining whether a jar is properly sealed is essential for safeguarding your canned goods. A successful vacuum seal means no air has infiltrated the jar, significantly reducing the risk of food spoilage over time.
Look for visual cues, such as a concave lid that is slightly depressed in the center and remains still when pressed. These provide clear evidence of a secure seal.
If the lid pops back or puffs upwards, these are unmistakable signs that the jar hasn t sealed correctly. Don t worry! Just reprocess the jar: remove the lid, inspect both the jar and lid for any residues, and then sterilize them before refilling and sealing.
If reprocessing doesn’t fit your plans, simply refrigerate the contents and consume them within a few days to stay safe!
What Is the Shelf Life of Canned Goods?
The shelf life of canned goods varies based on the type of food and the canning method. Understanding these timelines helps you maximize the quality and safety of your preserved foods.
Fruits and tomatoes maintain their best quality for about one to one and a half years, while low-acid vegetables and meats can last up to two to five years. Recognizing signs of spoilage is crucial; any bulging or rusted cans, along with off-smells upon opening, often indicate compromised safety.
Store canned goods in a cool, dark place, away from extreme temperature fluctuations. Keeping the original labels intact helps you track expiration dates effectively.
How Can You Incorporate Canned Foods into Your Meals?
Incorporating canned foods, which last a long time, into your meals is an exciting way to elevate your culinary creations. Whether you’re preparing quick weeknight dinners or crafting homemade gifts, such as jars of canned chicken or beef, these make thoughtful presents showcasing your preserved delicacies.
With a vast array of choices, you can whip up nutritious soups by mixing in canned vegetables and beans, creating hearty dishes in mere minutes. Canned fruits can enhance your breakfast, whether tossed into oatmeal or blended into smoothies for an added burst of flavor.
In desserts, fruit preserves and canned fruits shine, transforming simple cakes into delightful treats. Using canned jams picked from your organic garden can elevate your baking for gatherings or special occasions.
Storing canned goods streamlines your meal planning, ensuring there’s always something on hand to enhance any meal!
What Are Some Common Mistakes to Avoid When Canning?
Avoiding common mistakes in canning is crucial for ensuring the safety of your preserved foods. For beginners, understanding the canning process can help prevent errors that may lead to spoilage or serious health risks, such as botulism, arising from improper canning practices.
Understanding the basic principles of food preservation can help reduce these risks. One frequent pitfall is the inadequate sterilization of jars, which can become breeding grounds for harmful bacteria. Prioritize thoroughly cleaning and sterilizing your equipment, including your mason jar and kitchen tools, before use.
Another common mistake is not allowing the proper headspace in jars, which is the space between the food and the lid, crucial for a good seal. Always consult reliable guidelines for headspace requirements to avoid mistakes.
Novice canners often overlook the importance of following recommended processing times, which vary between high-acid and low-acid foods. Under-processing can leave bacteria lurking after the canning process.
By being diligent about adhering to set guidelines, you’ll enhance food safety and improve the overall quality of your preserved goods.
What Are Some Creative Canning Ideas for Beginners?
Exploring creative canning ideas, including fermentation and dehydrating, can ignite your passion for food preservation. These unique methods help you preserve seasonal produce and craft delightful homemade gifts like pickles, jams, and even canned beef.
You can make refrigerator pickles using a heavy-bottomed pot for the best results. This allows you to relish the crunch of fresh cucumbers infused with your favorite herbs and spices, all ready in just a few hours.
Simple jam recipes using ripe fruits make delicious homemade gifts. They transform into sweet, spreadable treats that make an ideal present.
You can personalize the jars with custom labels that reflect the season or the recipient’s taste. Themed collections, such as a charming picnic basket filled with your homemade jams and pickles, add that personal touch, making these preserved delights even more special.
Frequently Asked Questions
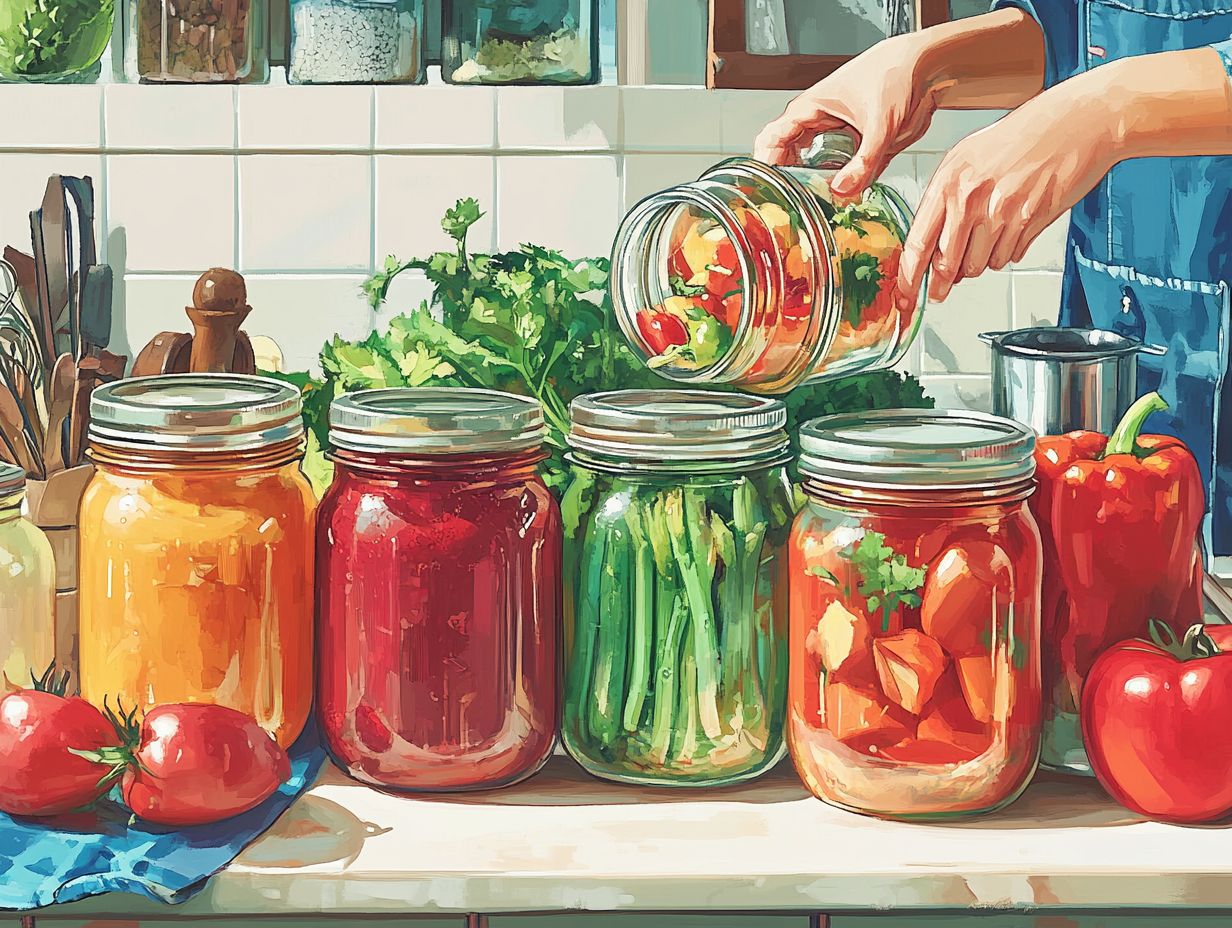
What are the 10 essential canning techniques for beginners?
The 10 essential canning techniques for beginners include: preparing your equipment, properly sanitizing jars and lids, choosing the right produce, using the proper canning method, using the correct processing time, ensuring proper headspace, removing air bubbles, properly sealing jars, safely storing canned goods, and checking for spoilage before consuming.
Why is it important to prepare my equipment before canning?
Preparing your equipment before canning is important because it ensures that your jars, lids, and tools are clean and in proper working condition. This helps to prevent any contamination or spoilage of your canned goods.
What is the difference between water bath canning and pressure canning?
Water bath canning is used for high-acid foods, such as fruits and pickles, while pressure canning is used for low-acid foods, such as vegetables and meats. Pressure canning uses higher temperatures and pressure to eliminate any harmful bacteria, while water bath canning relies on the acidity of the food to prevent bacterial growth.
How do I know if my jars are properly sealed?
You can tell if your jars are properly sealed by pressing down on the center of the lid. If the lid does not move or make a popping sound, then it is properly sealed. Wait 12-24 hours after canning and check for any lids that have not sealed. These jars should be stored in the fridge and consumed within a few days.
Can I reuse canning lids?
No, canning lids should not be reused. The seal on the lid is designed for one-time use only, and reusing them can lead to an inadequate seal and possible spoilage of your canned goods.
How long can I store canned goods?
You can enjoy your delicious canned goods for up to one year in a cool, dry place away from direct sunlight. However, it is always important to check for any signs of spoilage before consuming canned goods!
