How to Can Your Own Strawberry Jam
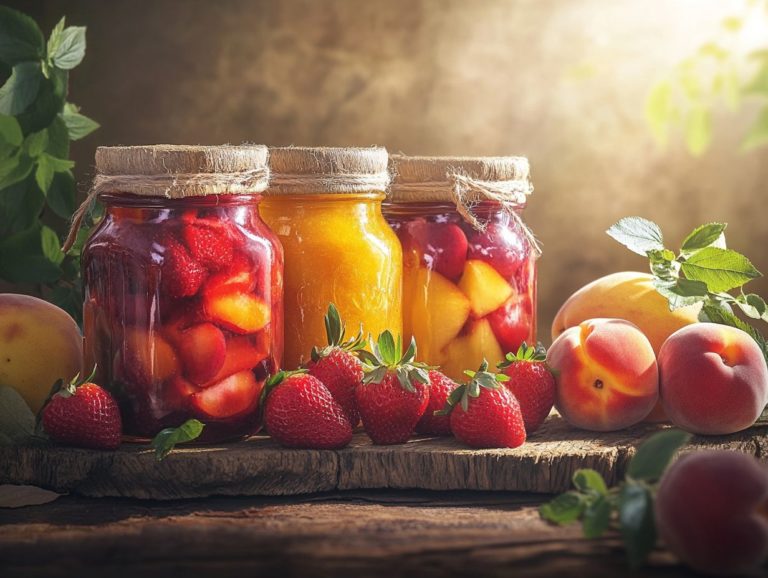
Canning your own strawberry jam is a delightful way to capture summer in a jar.
When you make homemade jam, you enjoy better taste and quality. You also save money compared to store-bought options.
This guide provides step-by-step instructions for preparing, cooking, and storing your own strawberry jam.
It also addresses common canning challenges and offers creative ways to enjoy your delicious creation.
Dive in and discover the joys of canning!
Contents
- Key Takeaways:
- Benefits of Making Your Own Strawberry Jam
- Cost Savings
- Step-by-Step Guide to Canning Strawberry Jam
- Preparing the Ingredients
- Cooking and Jarring the Jam
- Troubleshooting Common Issues
- Creative Uses for Strawberry Jam
- Recipes and Ideas for Enjoying Your Jam
- Frequently Asked Questions
- 1. What equipment do I need to can my own strawberry jam?
- 2. Do I need to sterilize the jars before canning?
- 3. How do I know if my jars are properly sealed?
- 4. Can I use frozen strawberries to make my own jam?
- 5. How long can I store my canned strawberry jam?
- 6. Can I use low-sugar or sugar-free options when making strawberry jam?
Key Takeaways:
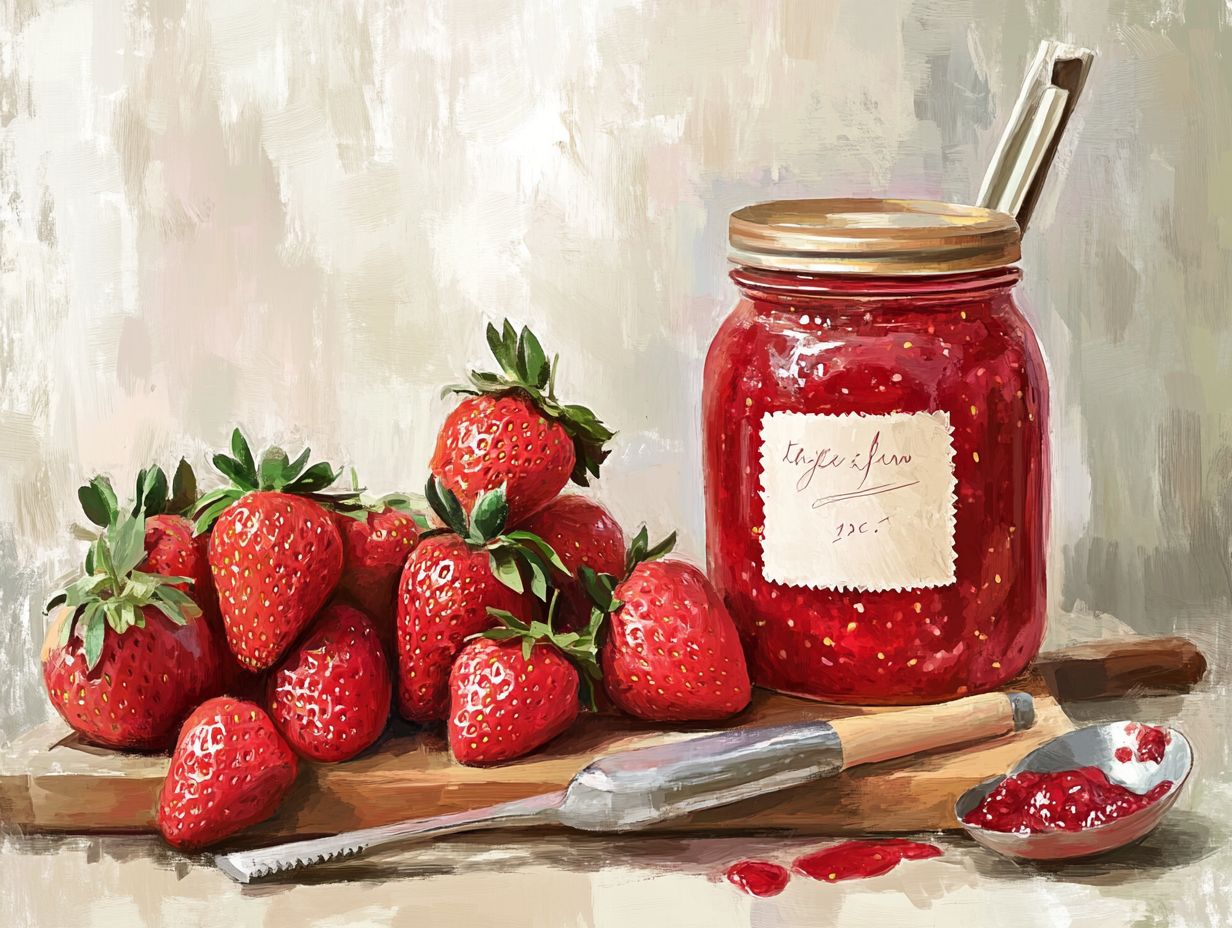
- Save money and control the quality of your jam by canning at home.
- Follow a guide to prepare, cook, and seal your jam properly.
- Get creative with your homemade jam in various dishes.
What is Canning?
Canning is a method that seals your favorite foods in sealed jars. This process extends shelf life while keeping food safe and fresh.
With the right tools, like pint jars and boiling water canners, you can prevent spoilage. You ll want to learn about water bath canning for high-acidity foods, while pressure canning is essential for low-acid items like vegetables.
Using proper equipment, like pressure canners and jar lifters, simplifies the canning process.
This technique not only helps preserve nutritional value but allows you to enjoy your homemade delights year-round. It reduces waste and promotes sustainable practices.
Benefits of Making Your Own Strawberry Jam
Creating homemade strawberry jam has many benefits. You can control the sugar content to suit your taste.
Imagine picking fresh strawberries from local farms, ensuring you use the ripest fruit. This results in a tasty product that captures summer in every jar.
Making your own jam also allows you to adjust ingredients, like reducing sugar or using honey.
Taste and Quality
Homemade strawberry jam made with fresh strawberries and sugar tastes better than store-bought options. You can customize it to fit your dietary preferences.
Using fresh ingredients brings out the natural sweetness and vibrant flavor of strawberries. This creates a jam that is both delightful and rich.
Your homemade jam showcases the unique qualities of seasonal fruits. Each batch bursts with freshness, fostering a deeper connection to your food.
Consider adding herbs like basil or spices like cinnamon to blend flavors beautifully. This way, you create a jam that reflects your personal taste.
Cost Savings
Making your own strawberry jam can save you money, especially if you buy seasonal fruit from local farms. You can enjoy tasty preserves without breaking the bank.
Fresh strawberries often cost less during their peak season, helping you reduce grocery bills compared to pricey store-bought jams filled with preservatives. The key ingredients for jam sugar and pectin are usually inexpensive and easy to find.
When you total the costs, making jam at home gives you jars bursting with flavor and nutrition for a fraction of what you’d spend at the store. It’s a smart choice for anyone who wants to capture summer’s essence while saving money.
Step-by-Step Guide to Canning Strawberry Jam
A step-by-step guide to canning strawberry jam involves preparing your ingredients and cooking the jam to achieve that ideal consistency. Properly filling the jars ensures a safe and delightful homemade treat that embodies the essence of fresh strawberries.
Preparing the Ingredients
Preparing the ingredients for your homemade strawberry jam is an art that starts with handpicking ripe, fresh strawberries. Gather essential jam ingredients, such as sugar and lemon juice, and have your kitchen tools ready think food processor or food masher to achieve that perfect consistency.
The quality of your ingredients will profoundly impact the texture and flavor of your final product. Fresh, ripe strawberries are like nature s candy, bursting with natural sweetness and vibrant color, instantly elevating your jam s appeal.
A gentle wash and hulling to remove those green tops are crucial. This step ensures a pure flavor profile that truly shines. Adding lemon juice brings a delightful tang and enhances acidity, which is key for proper preservation.
Don t forget the pectin! It helps thicken the mixture, creating that ideal spreadable consistency while allowing the fresh fruit flavors to take center stage. With every spoonful, you ll experience a delightful burst of strawberry goodness that s sure to impress.
Cooking and Jarring the Jam
Cooking and jarring the jam is an important step in canning strawberry jam. You need to pay attention to the precise cooking time to achieve that perfect jam consistency before filling the jars and sealing them using a boiling water canner for a reliable vacuum seal.
Finding the right balance between cooking time and temperature is crucial. If you don t simmer the mixture long enough, the jam could end up runny. On the flip side, boiling it for too long might give it a burnt flavor or an overly thick texture. As the mixture bubbles away, keep a close eye on the temperature. Using a candy thermometer will help you know when it hits the desired gel point, typically around 220 F.
Once your jam reaches that ideal consistency, it s time to ladle it into sterilized jars. Be sure to expel any excess air during this process to ensure an airtight seal. For sealing, use a boiling water canner, which creates the perfect conditions for the jars to form a proper vacuum seal, protecting your jam from spoilage.
Sealing and Storing the Jars
Sealing and storing your jars properly is crucial for preserving your delightful homemade strawberry jam. Start by testing seals on various jar sizes, including charming quilted half-pint jars.
To check the seal, gently press down on the center of the lid; if it doesn t pop back, congratulations the jar is well-sealed. Store your jams in a cool, dark place, away from direct sunlight, to keep their flavors and nutritional quality intact.
The size of the jar you choose also matters. Smaller jars are perfect for quicker consumption, minimizing spoilage risk after opening, while larger jars are great for batch storage.
Understanding these methods is key to food safety, ensuring your homemade jams remain not only delicious but also safe to enjoy.
Troubleshooting Common Issues
When troubleshooting common issues in canning strawberry jam, recognize the signs of potential spoilage. Implementing effective canning tips and fine-tuning your process according to elevation can help you achieve perfect jam consistency.
This attention to detail will elevate your canning experience and enhance the quality of your homemade creations.
Preventing Spoilage
Preventing spoilage in your homemade strawberry jam is essential. You can achieve this through effective sealing techniques, stringent food safety practices, and maintaining suitable storage conditions to keep your preserves fresh for an extended period.
Start by ensuring that your jars are thoroughly cleaned and sterilized before filling. Even the slightest contaminants can lead to spoilage. After filling the jars, check the integrity of the seals by pressing down in the center of each lid; if it pops back, you haven t achieved a proper seal.
Storing your jam in a cool, dark place is vital to inhibit bacterial growth. Regularly checking the temperature will help maintain optimal conditions. By following these best practices, you can significantly reduce the risk of spoilage and extend the shelf life of your delightful homemade creations.
Adjusting for Elevation
Adjusting for elevation is crucial in the canning process, as varying boiling temperatures can influence cooking time and jam consistency. You ll need specific canning tips to ensure successful preservation at higher altitudes.
When preserving foods at high elevations, recognize that water boils at lower temperatures, which significantly impacts your cooking process. For every increase of 1,000 feet above sea level, the boiling point of water drops by about 2 degrees Fahrenheit. This variation means that typical recipes might not deliver the desired texture and flavor in your jams.
It s vital to monitor timing and temperature precisely. For instance, extending your cooking time can help achieve that perfect thickening. Use accurate measuring tools to gauge your ingredients for better results.
Creative Uses for Strawberry Jam
Exploring creative uses for strawberry jam unveils a realm of culinary possibilities. Imagine delightful recipes where your homemade preserves take center stage, seamlessly enhancing everything from baking to breakfast dishes and even savory meals.
This versatile fruit spread is not just a sweet indulgence; it s an invitation to elevate your culinary creations.
Start your jam-making journey today and savor the sweetness of your homemade creations!
Recipes and Ideas for Enjoying Your Jam
There are many ways to enjoy strawberry jam. It can elevate simple dishes into something special.
Use this delightful spread as a filling for pastries. It can turn an ordinary muffin into something extraordinary.
Imagine warm, flaky croissants filled with luscious strawberry jam. You can also add a dollop on yogurt or oatmeal for a refreshing twist.
This vibrant preserve also makes a great glaze for grilled meats. It adds sweetness to salad dressings, enhancing both sweet and savory dishes.
With such possibilities, anyone can create delicious meals using strawberry jam!
Frequently Asked Questions
1. What equipment do I need to can my own strawberry jam?
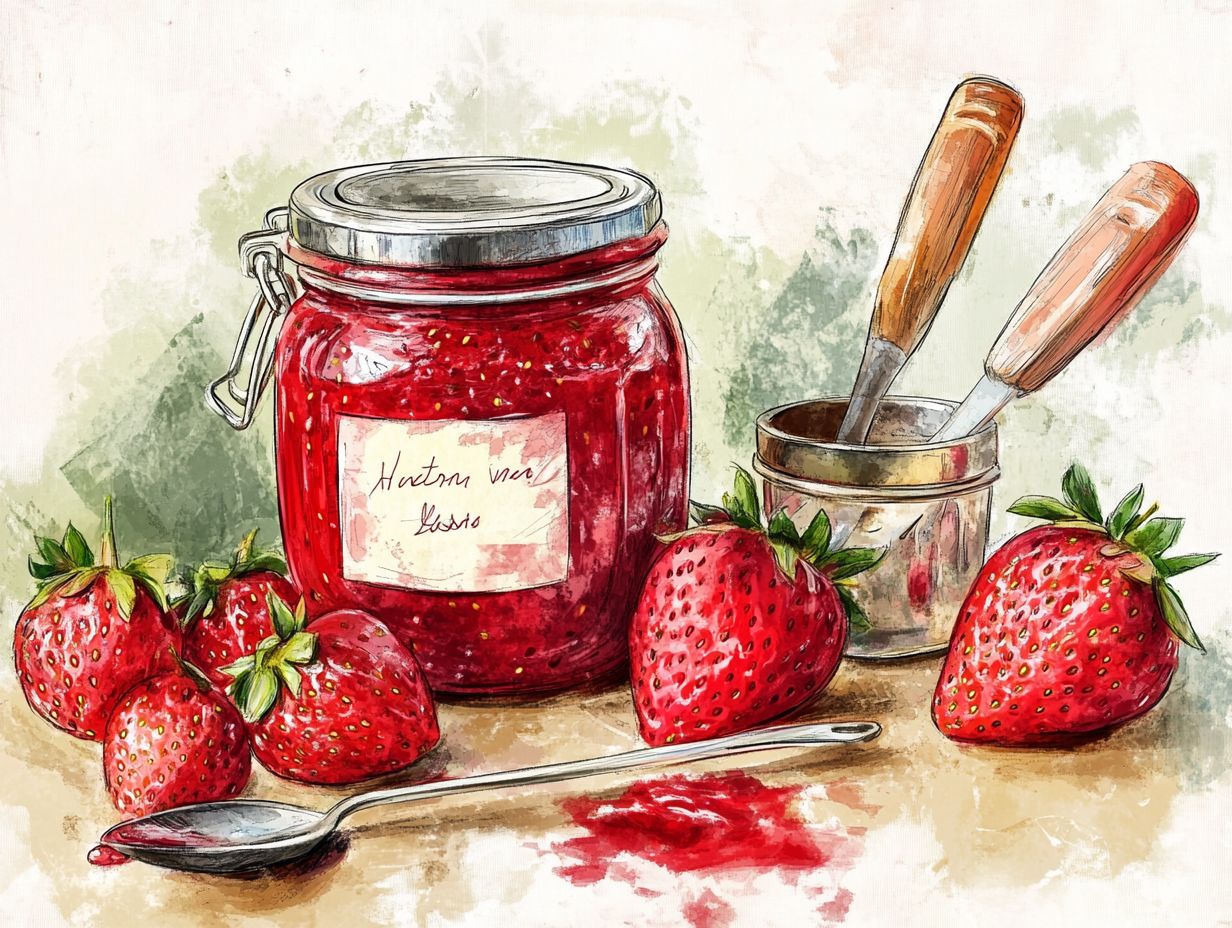
To can your own strawberry jam, you will need a large pot, a canning rack, jars, lids, a canning funnel, and a ladle. You may also need a jar lifter and a thermometer if you are using a hot water bath canning method.
2. Do I need to sterilize the jars before canning?
Yes, sterilizing jars is crucial to keep your jam safe. You can do this by boiling the jars and lids in hot water for 10 minutes.
3. How do I know if my jars are properly sealed?
After processing your jars in a hot water bath, you will hear a “pop” sound as the jars cool and the lids seal. You can also press down on the center of the lid to ensure it is concave, indicating a proper seal. If the lid pops back up, the jar is not properly sealed and should be refrigerated and consumed within a week.
4. Can I use frozen strawberries to make my own jam?
Yes, you can use frozen strawberries to make your own jam. Just make sure to thaw them completely before using and adjust the cooking time accordingly. Frozen strawberries may result in a slightly runnier jam, but it will still be delicious!
5. How long can I store my canned strawberry jam?
If properly sealed and stored in a cool, dark place, your canned strawberry jam can last up to a year. Once opened, it should be stored in the refrigerator and consumed within a few weeks.
6. Can I use low-sugar or sugar-free options when making strawberry jam?
Yes, you can use low-sugar or sugar-free options when making strawberry jam. However, it is important to follow a tested recipe and use pectin specifically designed for low or no-sugar jams to ensure proper gel formation. These jams may also have a shorter shelf life and need to be refrigerated after opening.
