Homemade Canned Chili: A Hearty Recipe
Homemade canned chili is more than just a dish; it s a comforting staple that warms your soul. There s also a sense of accomplishment when you craft it in your own kitchen, especially when using a special pot that helps safely preserve food.
This guide will walk you through the essential ingredients needed to create your chili, alongside clear, step-by-step directions for preparation and cooking.
With expert tips for perfecting your dish and thoughtful suggestions for storage and meal serving, you ll wow your family and friends with your amazing chili!
Explore exciting variations to tailor your chili to suit any palate and fully embrace the hearty flavor of your very own homemade canned chili, perfect for camping trips!
Contents
- Discover Your Key Takeaways!
- What Makes Homemade Canned Chili Special?
- Ingredients for Homemade Canned Chili
- Step-by-Step Instructions for Making Homemade Canned Chili
- Tips for Perfecting Your Canned Chili
- Storing and Serving Homemade Canned Chili
- Variations on Homemade Canned Chili
- Frequently Asked Questions
Discover Your Key Takeaways!
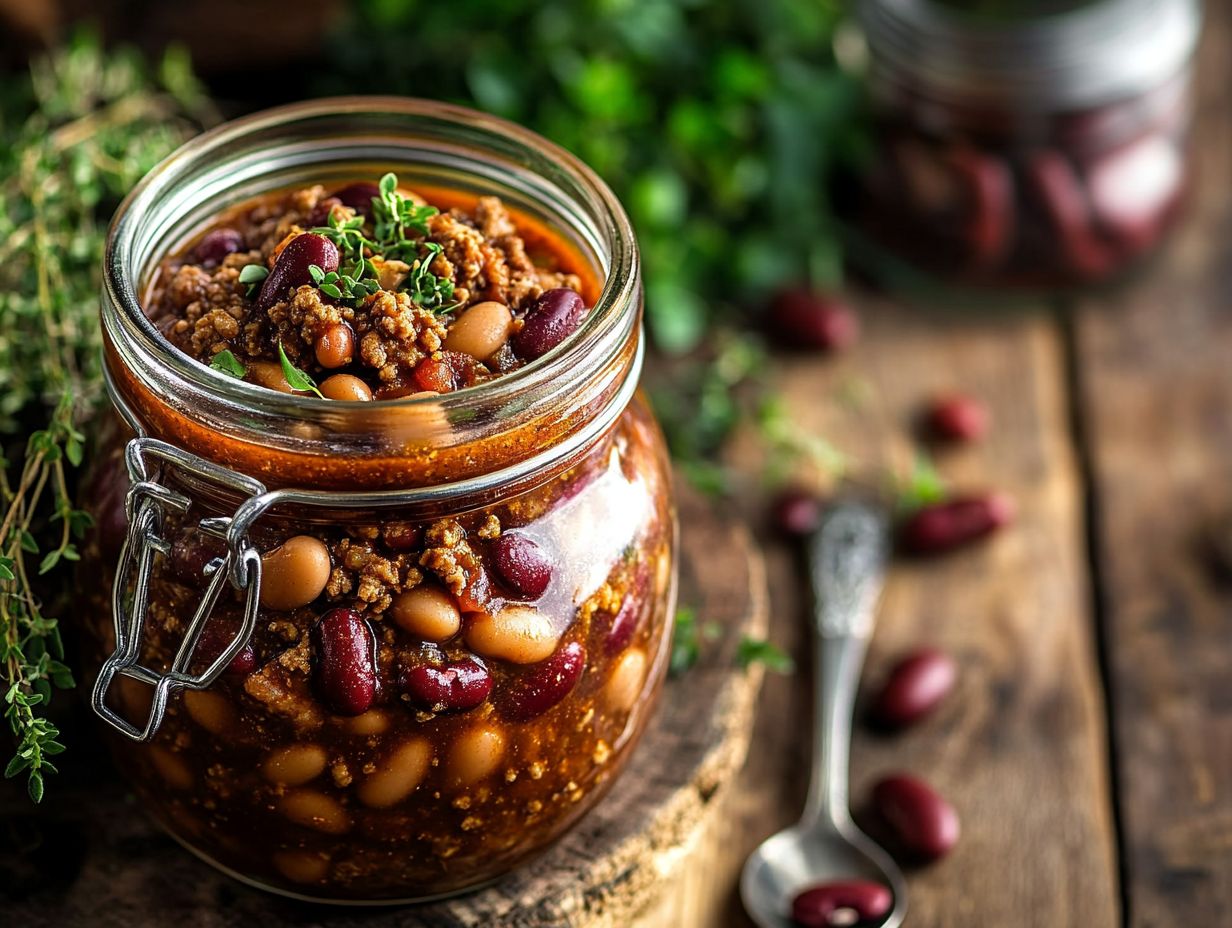
- Homemade canned chili is heartier and more personal than store-bought.
- Key ingredients like ground beef, beans, and ripe tomatoes create a flavorful base.
- Expert tips can elevate your homemade chili with different types of beans or extra spices.
What Makes Homemade Canned Chili Special?
Homemade canned chili is remarkable not just for its rich, delicious flavor, but also for the nutritional benefits it brings and the joy of crafting a meal from scratch. If you’re looking for something similar, try homemade canned veggie soup; this recipe lets you enjoy a hearty dish that lasts a long time, whether you’re at home or on a camping adventure.
With the right ingredients and a safe canning method, your homemade chili becomes the ideal blend of taste, convenience, and healthfulness. It can be stored in jars for easy access, making it a beloved option for those who take pride in meal prep and preservation.
Ingredients for Homemade Canned Chili
To craft a flavorful homemade canned chili, gather a selection of both fresh and pantry-stable ingredients that harmonize beautifully to create a rich and satisfying dish. Essential components include ripe tomatoes, hearty beans, and ground beef, complemented by aromatic vegetables like onion and garlic.
A thoughtfully curated blend of spices think chili powder, cumin, salt, and pepper will elevate the flavor profile. Don t forget a dash of brown sugar; it works wonders in enhancing the flavors and achieving a delicious balance that will have your taste buds singing.
Key Ingredients and Substitutions
The key ingredients in your homemade canned chili form the backbone of its unique flavor. Ground beef, beans, and tomatoes take the spotlight. If you’re looking for alternatives, swap ground beef for turkey or a lean ground burger for a lighter dish. Mixing in different types of beans can add variety in both texture and taste.
The tomatoes you choose can significantly influence the richness of your chili. You might opt for fresh tomatoes, canned diced ones, or even crushed varieties in your sauce. For a touch of heat, consider introducing jalape os or various chili powders. Fresh herbs like cilantro can add a refreshing note, while bell peppers lend sweetness and vibrant color. You can also add corn for delightful crunch that pairs wonderfully with the creamy beans.
To truly enhance the flavor, slow-cooking is essential. This technique allows all the ingredients to meld together beautifully without losing nutrients. Be mindful not to overcook, as it can compromise the chili s texture. Don t hesitate to experiment with smoked paprika, cumin, or even a dash of cocoa powder these additions can elevate your dish from everyday to extraordinary.
Don t wait start canning today!
Step-by-Step Instructions for Making Homemade Canned Chili
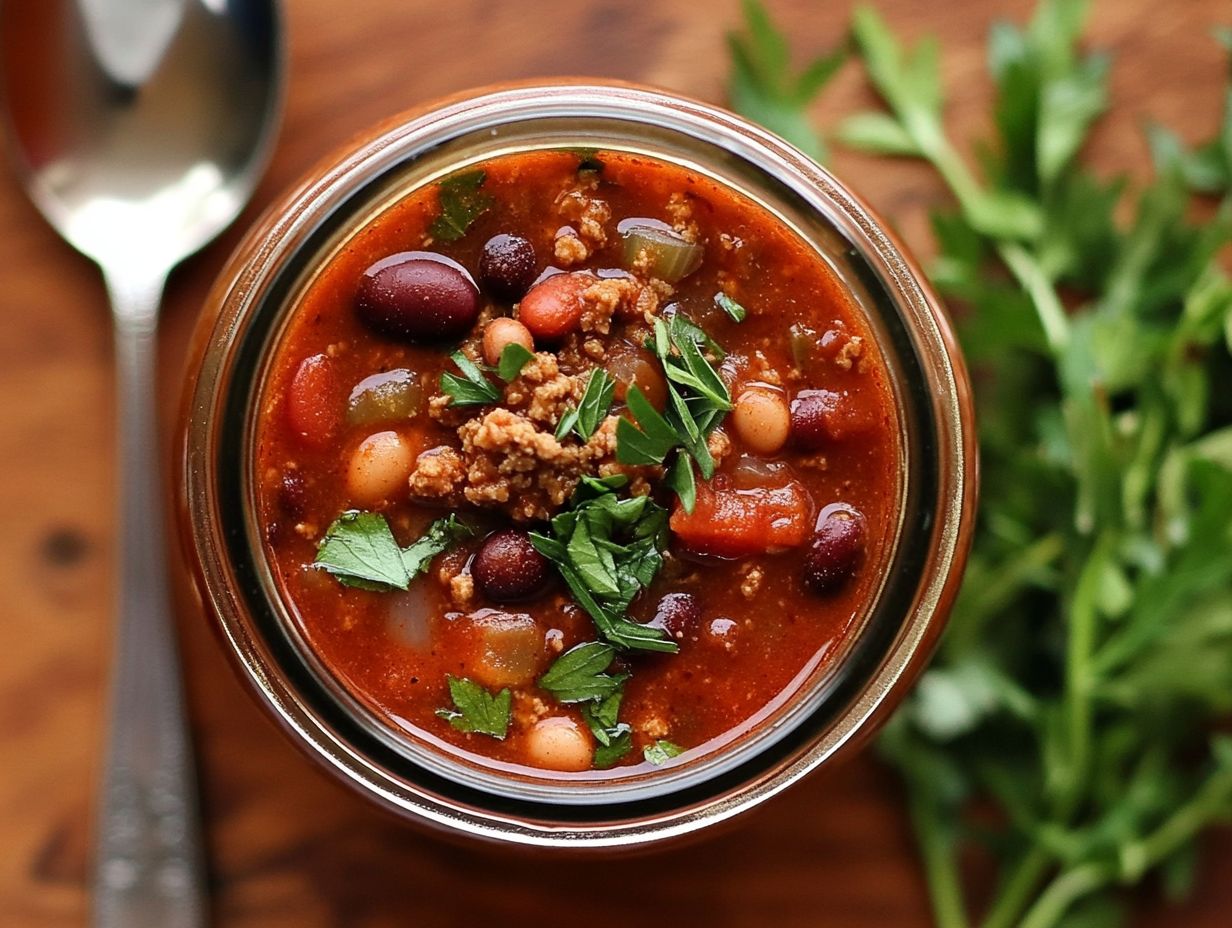
Creating canned chili at home is a delightful journey that follows a straightforward process, from selecting fresh ingredients to the final canning stage.
Begin by gathering your ingredients vibrant tomatoes, hearty ground beef, nutritious beans, and spices that add great flavor. Carefully chop and brown them to allow the flavors to blend harmoniously.
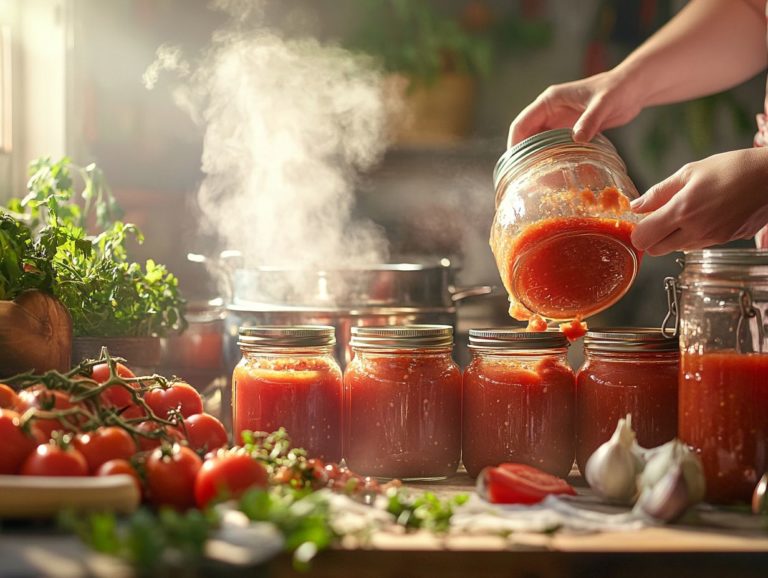
Once cooking is complete, use a pressure canner (a special pot used to safely preserve foods) to ensure safety and extend the shelf life of your creation, making it an excellent choice for efficient meal storage.
Preparation and Cooking Process
The preparation and cooking process for your canned chili is key to achieving a delicious and safe final product. It starts with chopping ingredients and culminates in simmering the chili mixture.
To begin, dice those fresh tomatoes and chop the onions. Prepare other vegetables like bell peppers and garlic for a harmonious blend of flavors. Once you ve browned the ground beef in a large pot over medium heat aiming for an internal temperature of at least 160 F (71 C) add in those chopped vegetables. Stir them together and let them cook for about 5-10 minutes until the onions become beautifully translucent.
Next, introduce spices like cumin and chili powder. Then, pour in your beans and tomatoes, bringing the mixture to a vigorous boil for 10 minutes. After boiling, lower the temperature and let it simmer gently for at least 30 minutes, but ideally, an hour. Remember to stir occasionally this is key to a great chili!
During the canning phase, leave about one inch of headspace at the top of the jars for safety. This ensures a proper seal and prevents overflow. By paying close attention to temperature and timing, you guarantee not just fabulous flavor but also the safety of your chili.
Tips for Perfecting Your Canned Chili
To create the best homemade canned chili, mastering the recipe is just the beginning! You also need to grasp essential tips that elevate flavor and ensure safety throughout the canning process.
Be aware of the altitude at which you’re canning, as this significantly influences processing time, which affects the safety of your home-canned food. Prioritize safety by meticulously checking seals and using the appropriate canning equipment, including a pressure cooker if necessary.
Also, be conscious of the nutritional content of your ingredients. Opt for low-sodium options to lead to a healthier, more satisfying meal overall.
Expert Tips and Tricks
Expert tips and tricks for crafting canned chili can transform your recipe from merely good to truly great. These allow you to achieve a flawless balance of flavors and textures. Consider incorporating fresh herbs to enhance freshness, and don t shy away from experimenting with various beans or spices to tailor the flavor profiles to your liking.
Adding smoked paprika or chipotle peppers can introduce a delightful smoky essence, while a subtle hint of cocoa powder might pleasantly surprise you with its depth. When choosing your tomatoes, aim for a blend of crushed and diced varieties to create a more interesting texture, ensuring a delicious outcome.
If you re looking to boost the nutrient content, toss in some chopped bell peppers or zucchini. These additions can enhance both flavor and healthfulness.
During the canning process, make sure your jars are properly sterilized to help prevent spoilage. Using a pressure canner will maintain safety and consistency. Always pay close attention to the recommended processing times based on your altitude to achieve the best results.
With these tips, you’re all set to create a fantastic batch of chili! Are you ready to can your own chili?
Storing and Serving Homemade Canned Chili
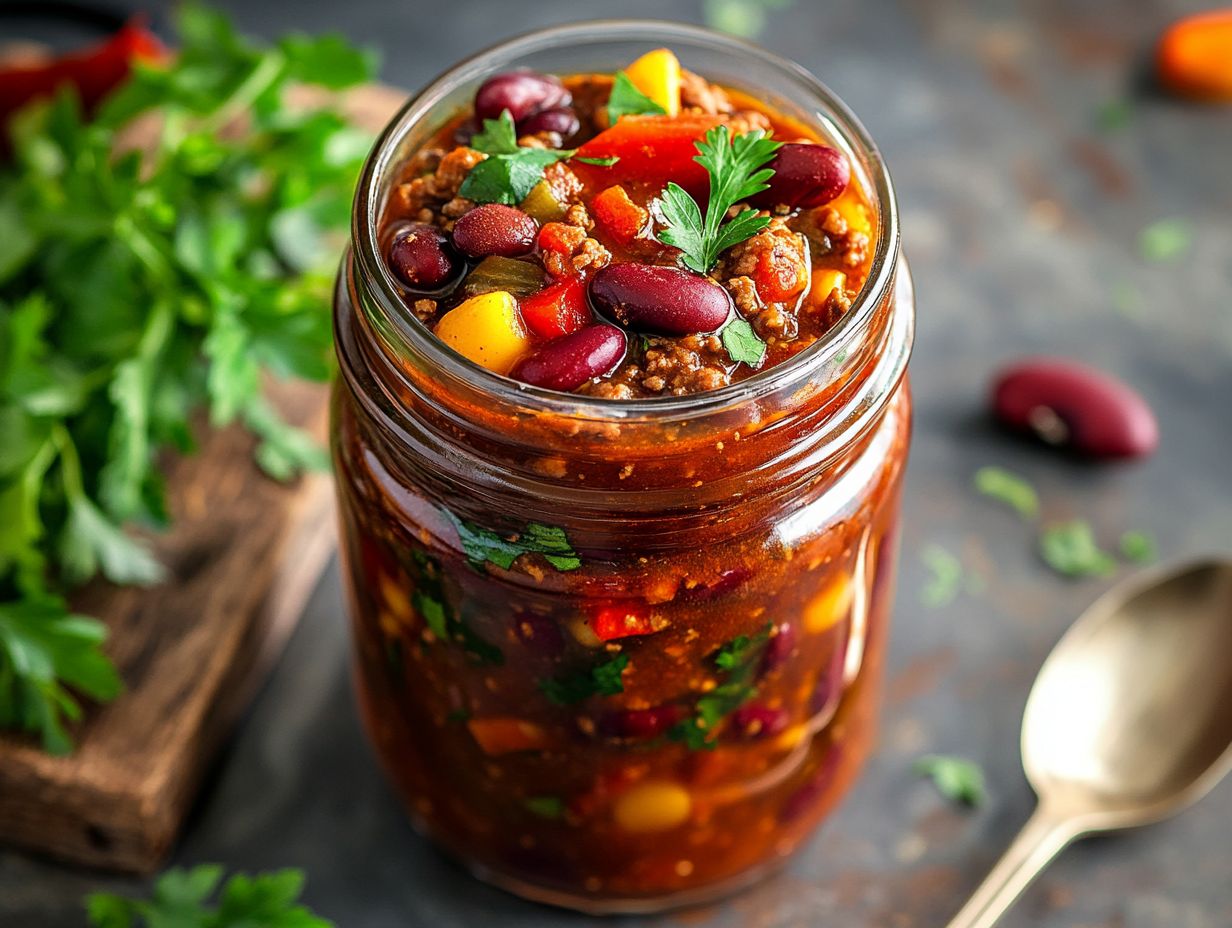
Storing and serving your homemade canned chili with care allows you to savor this delightful meal whenever you wish. Using the right techniques ensures maximum shelf life.
Once you ve canned it in sterilized jars, your chili can be kept in a cool, dark place. It remains shelf-stable for up to a year, making it a perfect candidate for meal prepping.
When the moment arrives to indulge, simply heat it up and enjoy the fruits of your labor!
Proper Storage and Serving Suggestions
Proper storage and serving suggestions for your homemade canned chili can elevate its flavor and maintain its quality over time. This ensures it remains a tasty meal.
Keep those jars tightly sealed and tucked away from direct sunlight. Exposure can compromise the chili s quality and shorten its shelf life. A consistent temperature helps preserve its rich taste.
When you’re ready to serve, think about pairing the chili with some crusty bread or ladling it over a bed of rice. This creates a satisfying meal that complements the delicious homemade chili. Don t forget the toppings diced onions, creamy avocado, or a dollop of sour cream add delightful textures and flavors.
For a more adventurous twist, serve it with a side of cornbread or alongside a fresh salad. This creates a well-rounded dining experience that tantalizes the senses.
Variations on Homemade Canned Chili
Exploring variations on homemade canned chili allows you to tailor this cherished dish to your tastes and dietary preferences. Whether you prefer it spicy or mild, the options are endless.
You can introduce different proteins, such as turkey, or opt for vegetarian alternatives with beans and lentils. Play with an array of spices and add in extra vegetables to reimagine this classic recipe in delightful ways.
Ways to Customize and Change Up the Recipe
You have countless opportunities to customize your homemade canned chili. Incorporate a variety of beans, such as black or pinto beans, or introduce unique vegetables like bell peppers or corn to enhance both texture and flavor.
In summer, fresh zucchini or ripe tomatoes can add a vibrant twist. In winter, hearty root vegetables like sweet potatoes create a comforting bowl that warms the soul. Get creative with spices! A dash of smoked paprika or cayenne pepper can transform your chili into something extraordinary.
Consider swapping out traditional ground meat for alternatives like turkey or plant-based proteins. This aligns with evolving dietary trends and infuses your chili with unique characteristics.
Frequently Asked Questions
What ingredients do I need to make homemade canned chili?
To make this hearty recipe, you will need ground beef, diced tomatoes, kidney beans, chili powder, onion, garlic, and beef broth.
How do I can homemade chili?
To can homemade chili, sterilize your jars and lids, fill the jars with chili, and process them in a pressure canner a device used to safely can foods at high temperatures for the recommended time based on your elevation.
Can I use different types of meat in this recipe?
Absolutely! You can use ground turkey, chicken, or even a vegetarian meat alternative instead of ground beef.
How long can I store homemade canned chili?
If stored correctly in a cool, dry place, homemade canned chili can last up to a year. Always check the seals on the jars before consuming.
Can I adjust the spice level in this recipe?
Yes, adjust the spice level by adding more or less chili powder or incorporating additional spices like cumin or cayenne pepper.
Can I freeze this chili instead of canning it?
Yes, you can freeze this chili in airtight containers for up to six months. Make sure to leave some room for expansion in the container.
This way, you can enjoy your chili later without losing its delicious flavor!

