Canning Bell Peppers: A Simple Recipe
Canning bell peppers at home is a rewarding way to preserve the vibrant freshness of your summer harvest. This method lets you enjoy the delicious flavors all year while controlling the ingredients and reducing waste.
In this guide, you ll find all the essential information you need. From must-have supplies to detailed steps and storage tips, we ve got you covered!
Whether you re a seasoned pro or just starting, get ready to delight your taste buds!
Contents
Key Takeaways:
- Canning at home is a sustainable and cost-effective way to preserve fresh bell peppers all year round.
- You only need basic equipment and fresh produce for successful canning.
- Proper storage and creative recipe ideas make canned bell peppers a versatile pantry addition.
Benefits of Canning at Home
Canning allows you to preserve seasonal vegetables like bell and hot peppers. You ll have flavorful dishes at your fingertips all year long!
This rewarding activity enhances your meals, reduces food waste, and provides a sustainable way to enjoy organic peppers from your garden long after summer ends.
With canning, you control the ingredients and promote food safety. Plus, you can experiment with various cooking techniques, making each jar a delightful experience.
Canning can lead to significant cost savings. It reduces your reliance on pricier, store-bought items.
By adjusting the pressure during canning, you ensure that the vibrant colors and nutrients of your pickled peppers stay intact. Enjoy the satisfaction of creating unique blends tailored to your taste, transforming every meal into a celebration of seasonal bounty!
Supplies and Ingredients Needed
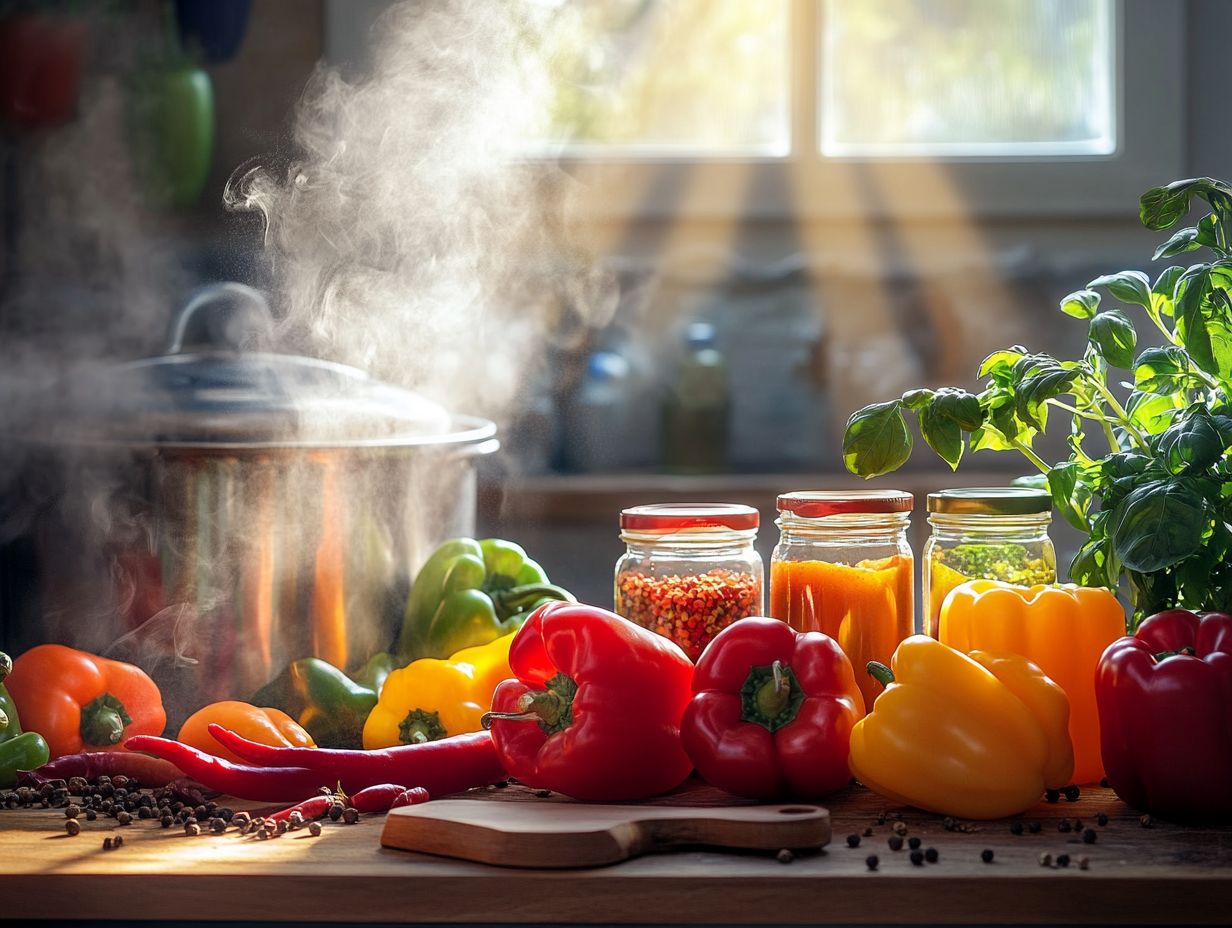
To start your canning adventure, gather the right supplies and ingredients. You ll need a dependable pressure cooking pot, various canning jars, and fresh produce think sweet and hot peppers, ripe tomatoes, and aromatic seasonings like sea salt and garlic.
Essential Equipment and Fresh Produce
Your essential equipment includes a pressure cooking pot, canning jars, and handy tools like a jar lifter to preserve the delicious bounty from your garden.
Understanding the types of canning jars is vital. They come in different sizes and shapes, each suited for specific recipes. For example, wide-mouth jars are great for chunky vegetables, while regular-mouth jars work best for liquids.
Choosing the right pressure cooking pot ensures that low-acid foods are canned safely. Look for firm, blemish-free peppers, like vibrant jalape os or colorful bell peppers.
Before starting, wash, slice, and optionally blanch the peppers to enhance their flavor and texture. This guarantees a delicious end product!
Step-by-Step Canning Process
The canning process involves careful steps. You ll prepare your ingredients, prioritize food safety, and follow precise guidelines.
Fill the jars with care, adjust the pressure, and determine the optimal cooking times. This attention to detail rewards you with delicious canned peppers that preserve the vibrant flavors of summer!
Preparation and Sterilization
Preparation and sterilization are essential steps in your canning process. You’ll want to thoroughly clean your jars and blanch those peppers to achieve the perfect softness. Ensure all your equipment adheres to food safety guidelines. This meticulous approach guarantees that your preserved peppers will remain both safe and flavorful, allowing you to focus on preserving flavors.
Every preparation task you undertake plays a crucial role in creating a high-quality canned product, especially when it comes to filling jars correctly. Blanching the peppers not only enhances their vibrant color and appealing texture but also helps retain essential nutrients, making your final dish more nutritious and enticing.
To blanch effectively, simply immerse the peppers in boiling water for a few minutes. Then, quickly transfer them to an ice bath to stop the cooking process in its tracks.
Don t overlook the importance of sterilizing your jars. Whether you choose to immerse them in boiling water for at least 10 minutes or run them through a hot cycle in your dishwasher, this step eliminates harmful bacteria, ensuring that your preserved peppers stand the test of time.
Proper preparation influences both the flavor and safety of your end product. It enriches your home canning experience and elevates your culinary creations.
Canning the Peppers
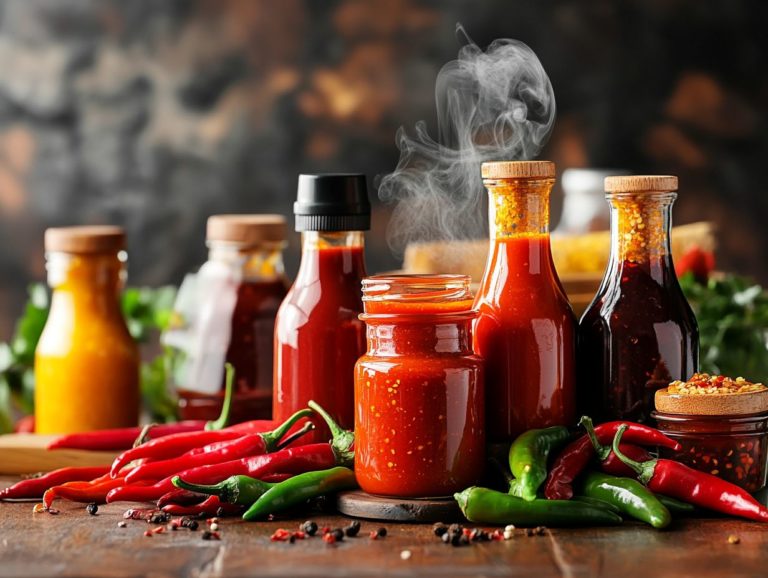
Canning peppers can be fun! Just follow these careful steps. Fill your jars with your chosen hot or sweet peppers, making sure they are packed tightly while leaving just the right amount of space at the top for sealing. For more detailed guidance, check out canning hot sauce tips and recipes. This step is crucial for achieving successful homemade preservation.
Don’t wait! Preprocess those peppers now using methods like roasting, blanching, or saut ing, or even drying peppers for unique flavors. These techniques not only tenderize the peppers but also enhance their flavors, elevating your final product.
Once your peppers are prepped, it s time to fill the jars. Aim for about a 1/2 inch of space at the top of each jar this allowance is vital for expansion during the canning process. Properly sealing the jars is essential to prevent spoilage, so take a moment to check the rims for any food particles before placing the lids.
For an extra burst of flavor, don t hesitate to experiment with seasonings like garlic, dill, or even crushed red pepper. Tailoring the flavor profile to your taste will contribute to a uniquely delicious finished product.
Storing and Using Canned Bell Peppers
Once you ve successfully canned bell peppers, it s crucial to understand the best practices for storing them. This knowledge will enable you to incorporate these preserved ingredients into your homemade meals effectively, enhancing their flavor and versatility across a range of culinary techniques.
Proper Storage Techniques
Proper storage techniques for your canned peppers are essential for ensuring food safety and maximizing shelf life. Check jar seals routinely and maintain ideal temperatures to prevent spoilage.
By storing your canned goods in a cool, dry place away from direct sunlight, you can significantly enhance their longevity. It’s also crucial to monitor the integrity of jar seals; any signs of leakage or bulging could indicate potential spoilage.
Employing the practice of rotating your stock using older cans before newer ones ensures that nothing goes to waste. This also allows for a more consistent enjoyment of flavors. These methods contribute to the safety of your canned foods and help preserve their taste and nutritional value over time.
Ready to make delicious canned peppers? Let s get started! Try out these methods and enjoy your culinary creations!
Recipe Ideas for Canned Peppers
Explore a delightful array of recipe ideas for incorporating your canned peppers into everyday meals. Whether you re whipping up saut ed dishes, homemade cheese, or zesty salads, these preserved gems enhance taste and add intriguing depth to your cooking. You can experiment with various seasoning options.
Imagine the vibrant hues of these morsels bringing a burst of color to your plate. Their taste complements various proteins, grains, and fresh vegetables. Try tossing them into a warm quinoa salad for a burst of flavor, where their tangy essence harmonizes beautifully with the nuttiness of the grain.
They shine in a creamy pasta dish, offering a rich contrast to the dish’s texture. For those who crave a bit of heat, blending them into homemade salsa or stirring them into a flavorful chili can elevate the overall profile. Seasoning your canned peppers with fragrant herbs like oregano or basil enhances their charm, ensuring that each meal becomes a uniquely delightful experience.
Watch this video to learn more about canning bell peppers!
Frequently Asked Questions
What equipment do I need to can bell peppers?
To can bell peppers, you will need a large pot, canning jars, lids and bands, a jar lifter, a funnel, a ladle, and a clean cloth or paper towels for wiping the jars.
Can I use any type of bell pepper for canning?
Yes, you can use any variety of bell peppers for canning. However, it is recommended to use firm and ripe peppers for the best results.
Do I need to blanch the bell peppers before canning?
No, you do not need to blanch the bell peppers before canning. They will be cooked during the canning process.
How long do canned bell peppers last?
Canned bell peppers can last for up to 1 year if stored in a cool, dry place. It is important to check the jars for any signs of spoilage before consuming.
Can I add any herbs or spices to the canned bell peppers?
Yes, you can add herbs and spices to the canned bell peppers for extra flavor. You can add flavors like garlic, oregano, and black pepper to make them even tastier.
Can I use the same recipe to can other types of peppers?
Yes, the canning process for bell peppers can also be used for other types of peppers, such as jalapenos and banana peppers. Just adjust the processing time according to the recipe.
