Canning Potatoes: A Step-by-Step Process
Canning potatoes offers an exceptional method to preserve this versatile staple, ensuring you have delightful meals at your fingertips all year round.
Uncover everything you need to master the canning process, from essential tools and materials to the intricacies of preparing and blanching your potatoes. This comprehensive guide walks you through each step, including filling jars, sealing them with confidence, and storing your canned goods for optimal freshness.
Explore innovative ways to use your preserved potatoes in delicious dishes that will impress your palate.
Let s start this exciting culinary adventure today!
Contents
Key Takeaways:
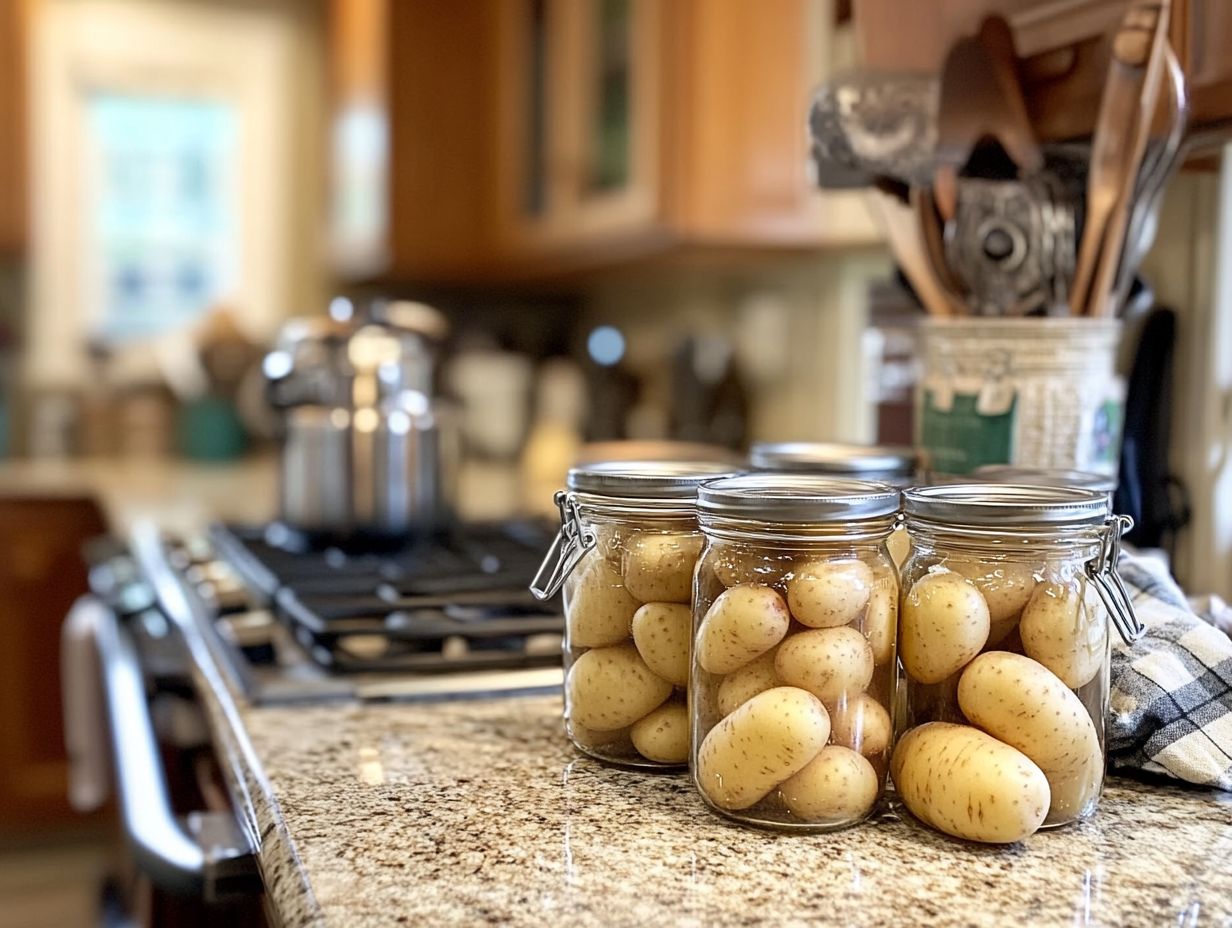
- Canning potatoes allows for long-term storage and easy meal prep.
- Essential tools for canning include jars, lids, and a pressure canner.
- Proper cleaning, cutting, and blanching techniques ensure safe and high-quality canned potatoes.
Why Can Potatoes?
Canning potatoes presents a practical solution for preserving food. This method extends the life of your potatoes. You ll always have ready-to-use ingredients for your meals, such as soups and stews, whenever you need them.
This innovative approach significantly curbs food waste by transforming surplus potatoes into a lasting resource that can be incorporated into multiple meals. Unlike fresh potatoes that may spoil quickly, canned potatoes offer a sustainable alternative, delivering essential nutrients and versatility to your pantry.
The long-term storage benefits of this technique allow you to stock up during harvest seasons. You can guarantee a consistent supply of wholesome ingredients for nutritious meals while inviting cooking experiments. Plus, knowing you re minimizing waste and promoting sustainability makes this preservation method even more gratifying.
Supplies and Equipment Needed
To embark on the canning journey for potatoes, you’ll want to gather a few essential supplies and equipment. A reliable pressure canner is paramount, along with canning jars and key kitchen tools such as a jar lifter and lid magnet. Additionally, consider these essential tips for canning vegetables at home to ensure your success.
Having the right canning equipment isn’t just important it’s vital for ensuring food preservation and safety throughout the process. With everything in place, you ll be well-equipped to store your potatoes effectively for long-term enjoyment.
Essential Tools and Materials
Essential tools and materials for canning potatoes include canning jars, a reliable jar lifter, and a lid magnet, among other items. These ensure you have a smooth and safe canning process. They not only streamline your workflow but also enhance the overall safety and success of your food preservation efforts.
Canning jars, available in sizes like pint and quart, are crucial for holding your prepared potatoes while maintaining the right seal during processing. Investing in a high-quality canning kit, such as those from Ball or Kerr, provides you with a funnel to fill the jars without spills and a bubble remover to eliminate air pockets that could jeopardize the seal.
A dependable pressure canner is critical for ensuring your food is heated to the appropriate temperature. It plays a key role in safe preservation. The lid magnet simplifies the task of placing hot lids on jars, significantly reducing your risk of burns. Each of these tools is integral to achieving successful canning results.
Preparing Potatoes for Canning
Preparing potatoes for canning is a crucial process that requires careful attention to detail. For a comprehensive overview, refer to understanding the canning process, which ensures both quality and safety for your preserved food.
Begin by thoroughly washing the potatoes to eliminate any dirt. Next, cut them into uniform pieces; this step is vital as it promotes even blanching and guarantees a consistent final product in your canning jars. For more information, refer to understanding the canning process.
In summary, canning potatoes is an easy and rewarding way to preserve your harvest. To get started, gather your supplies and follow the steps outlined in mastering water bath canning, and enjoy the benefits of your delicious, home-canned potatoes.
Cleaning and Cutting Potatoes
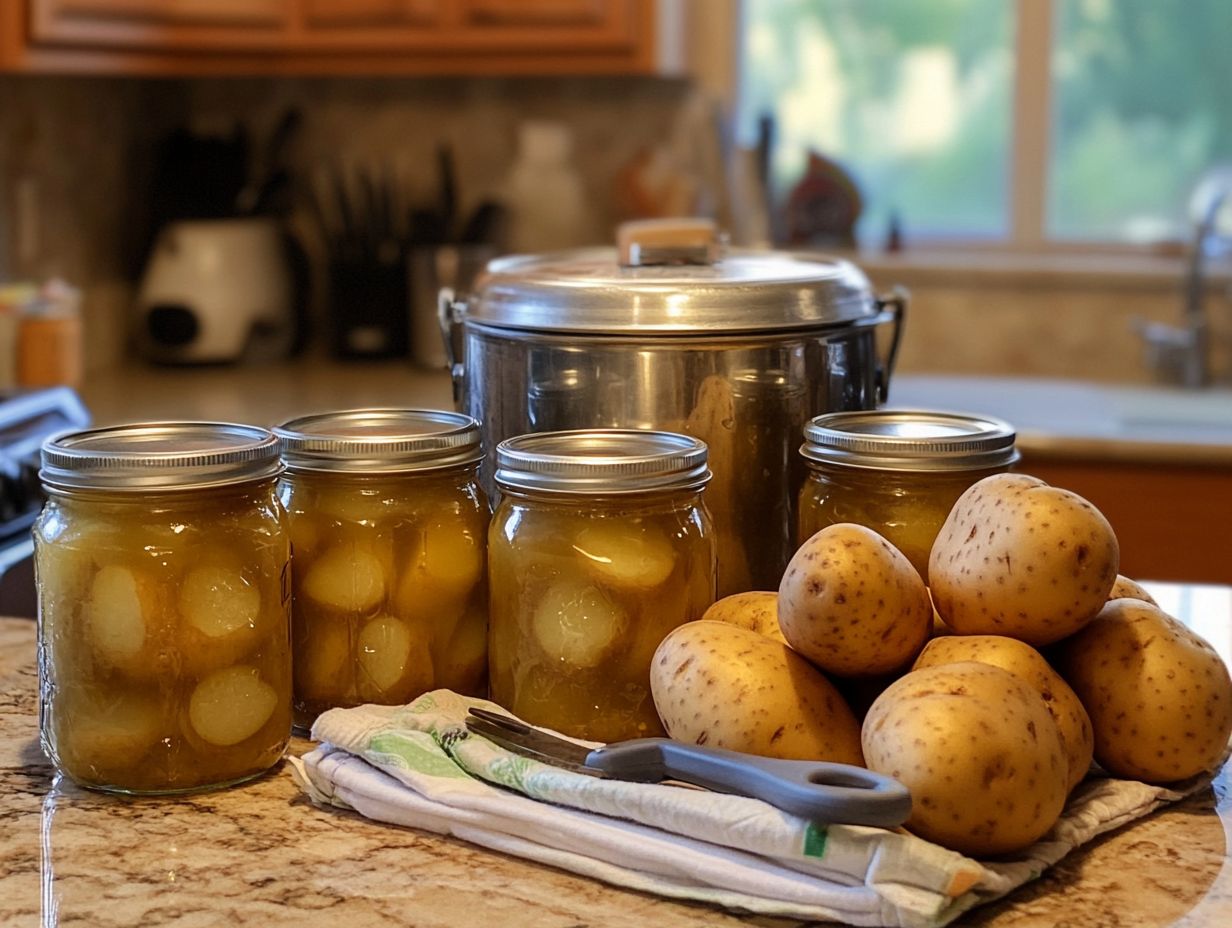
Cleaning and cutting potatoes is a crucial step in the canning process. Start by thoroughly washing the potatoes to remove any contaminants. Once they’re clean, grab a cutting board and slice the potatoes into uniform pieces. For those looking to expand their canning skills, refer to this step-by-step guide to canning tomatoes. This not only prepares them for blanching but also ensures they fit perfectly in the canning jars.
For optimal results, consider using a vegetable brush to scrub away dirt from the skin, ensuring they are very clean. Think about your recipe dicing might be ideal for soups, while slices could be better for salads.
Don t overlook the importance of consistency in size. It s vital for even cooking and maintaining the right headspace, which is essential for preventing spoilage during the canning process.
Blanching Potatoes
Blanching potatoes is an essential step in food preservation. This means briefly boiling the potatoes in water before canning. This technique enhances the flavor, color, and texture of the potatoes and effectively destroys enzymes that could lead to spoilage, ensuring the highest quality for storage.
When working with varieties like Yukon Gold or russet potatoes, adjust the blanching times to get the best results. Generally, Yukon Golds thrive with a blanching time of about 3-5 minutes in boiling water, while russets typically require 5-7 minutes. Use vigorously boiling water to ensure even cooking.
After blanching, immediately plunge the potatoes into ice water to stop the cooking process. This cooling method preserves their vibrant color and guarantees a firm texture, setting them up perfectly for your canning adventures.
Steps for Canning Potatoes
Get ready! Canning potatoes is all about careful preparation that leads to delicious results. Each jar must be filled correctly and sealed securely for long-term storage.
By following a detailed step-by-step guide, you’ll prepare the jars, fill them with your carefully prepped potatoes, and process them in a pressure canner.
Adhering to safety guidelines will guarantee optimal preservation results, allowing you to enjoy your delicious preserved potatoes for months what a tasty treat!
Preparing Jars and Lids
Preparing jars and lids is an essential part of canning that needs your careful attention for a proper seal and to prevent spoilage. Start by inspecting your canning jars for cracks or chips. Clean the lids thoroughly to ensure they fit securely during processing.
This initial step is crucial, as any imperfections could compromise the seal, risking potential food spoilage. To enhance cleanliness, wash your jars in hot, soapy water, rinse them well, and then sterilize them in a boiling water bath for at least 10 minutes.
Don t forget to sanitize the lids as well. Soaking them in simmering water for a few minutes helps soften the sealing compound for a more reliable seal. Using compatible lids designed for your jars ensures an optimal fit. Routinely checking the seals after canning will help confirm that no air has seeped in, effectively preserving the contents.
Filling Jars with Potatoes
Filling jars with potatoes requires a careful approach to ensure each jar is packed efficiently while maintaining the proper headspace. Headspace is the space between the food and the jar lid, and it is crucial for a successful canning process.
Fill the jars with your prepared potatoes, leaving ample space at the top to allow for expansion during processing and cooking during the sealing phase. This precaution helps prevent jars from bursting or failing to seal correctly, which can lead to spoilage.
As you pack the jars, gently shake or tap them against the countertop to eliminate air pockets, ensuring the potatoes settle evenly. Avoid overfilling, as this can obstruct the sealing process.
Be mindful of common mistakes, such as using the wrong jar size or neglecting to sterilize the jars properly. These can compromise the quality and safety of your preserved potatoes. Always opt for fresh, firm potatoes and discard any that show signs of spoilage or rot to achieve the best results.
Processing and Sealing Jars
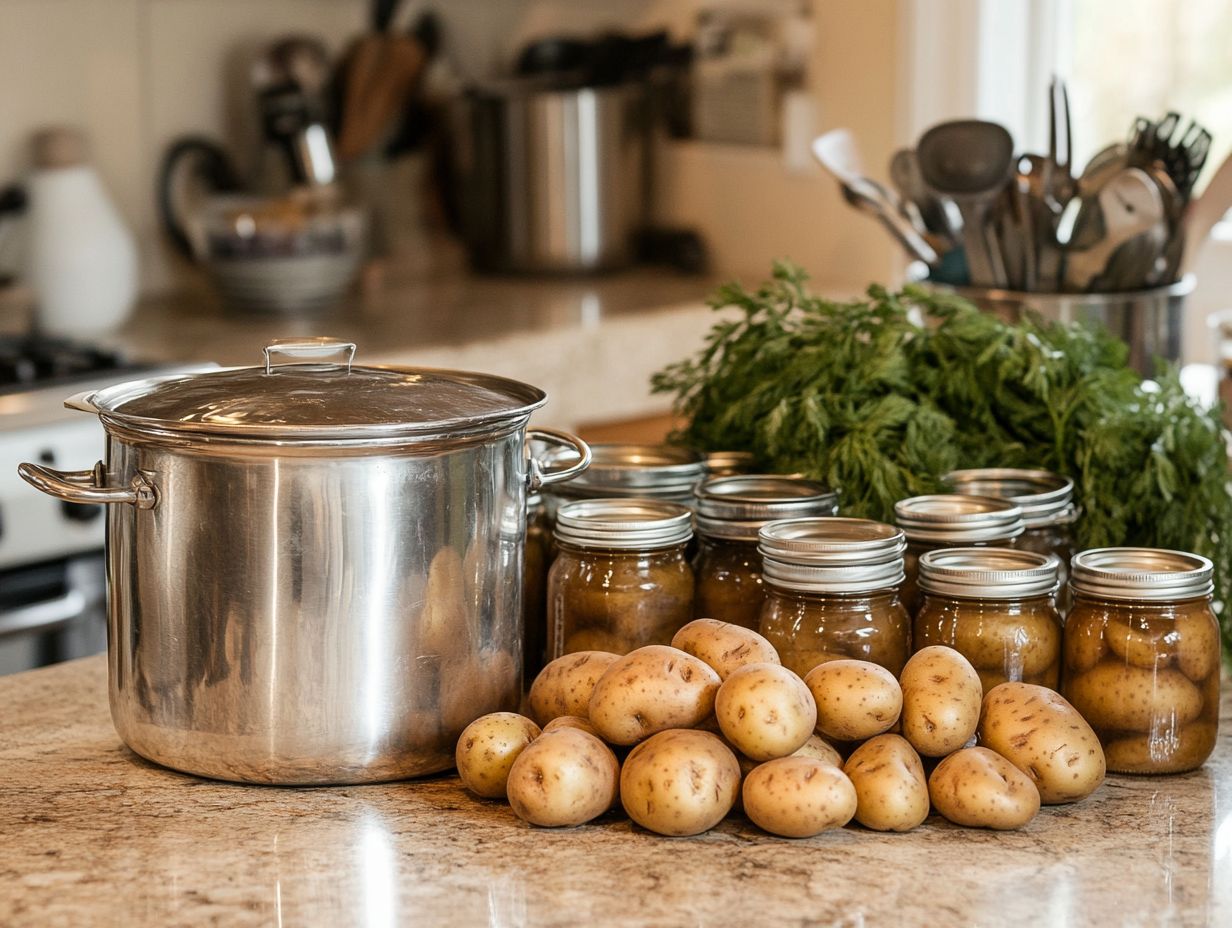
Processing and sealing jars is the final step in canning your potatoes. This process uses steam under high pressure to ensure your food stays safe and can be stored for a long time.
When using your pressure canner, follow safety guidelines closely for the best results. Achieving the right pressure and timing is tailored to the type of potatoes you are using, be they Yukon Gold or russet potatoes.
Maintaining the correct pressure is key for safe canning. This can vary based on altitude and the size of your potato pieces. Typically, you should reach a pressurization level of 10 to 15 pounds, so consult the manufacturer’s instructions for clarity.
Keep an eye on the canner s gauge to ensure a consistent temperature, which enhances safety. Be aware of issues like jars not sealing properly, which can occur from insufficient headspace or not cleaning the rims adequately.
Always double-check that your sealing lids are fresh, as older lids may fail to create a reliable seal. Paying attention to these details will ensure both the safety and longevity of your delightful canned goods.
Storing and Using Canned Potatoes
Storing and utilizing canned potatoes with care is crucial for maximizing their shelf life while keeping them safe and delectable. Once sealed and processed correctly, these culinary gems can be kept in a cool, dark space, like a root cellar, and last for several years.
This longevity makes them an excellent choice for enhancing your food storage strategy.
Proper Storage and Shelf Life
Proper storage of canned potatoes is paramount for preserving quality and ensuring a lengthy shelf life, which can stretch from 2 to 5 years. To achieve this, position the jars in a cool, dark space, away from sunlight and temperature fluctuations.
The ideal conditions typically involve temperatures ranging from 50 F to 70 F. When you open a can, be vigilant for any signs of bulging lids, leakage, or unusual odors, as these red flags can indicate contamination or spoilage.
Maintaining an inventory of your canned goods is essential. This allows you to use older items first and prevents any from languishing too long on the shelf. Regularly rotate your cans, placing the newer ones at the back and the older ones at the front. This simple strategy helps you easily track usage and keeps your pantry organized.
Ideas for Using Canned Potatoes
Using canned potatoes opens up a realm of culinary possibilities. You can whip up a quick soup, a hearty stew, or a simple potato salad. Canned potatoes are a convenient ingredient that significantly enhances your cooking experience.
These ready-to-use treasures can be transformed into creamy mashed potatoes in minutes, baked into savory casseroles, or tossed into a breakfast hash with vibrant vegetables and eggs. Their versatility doesn t end there; imagine incorporating canned potatoes into a classic potato leek soup for a velvety finish or spicing things up with a delightful curry dish.
To elevate their texture and flavor, keep cooking tips in mind, like ensuring they are well-drained and rinsed before use. For those craving variations, consider adding fresh herbs or cheese to create an entirely new experience with this unassuming ingredient.
Watch this video for a visual guide on canning potatoes.
Frequently Asked Questions
What do I need to can potatoes?
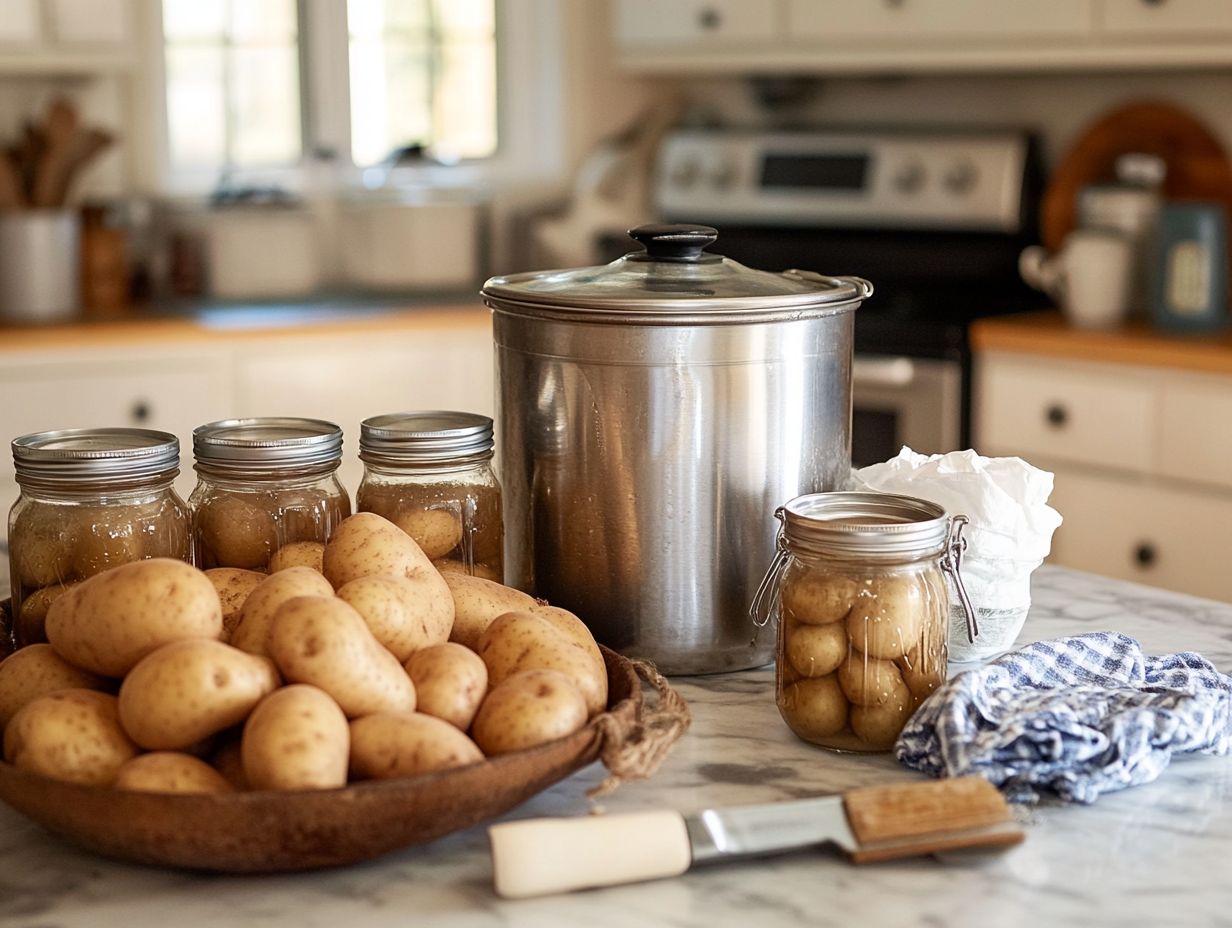
You will need jars, lids, rings, a pressure canner, a large pot, a jar lifter, tongs, a knife, a cutting board, and a potato peeler.
How do I prepare the potatoes for canning?
Start by washing and peeling the potatoes. Cut them into chunks or slices, depending on your preference. Then, blanch them in boiling water for 2-5 minutes before transferring them to ice water to stop the cooking process.
What is the process for canning potatoes?
First, pack the blanched potatoes into the jars. Leave about 1 inch of space at the top.
Next, fill the jars with boiling water, also leaving 1 inch of space. Wipe the rims, place the lids and rings on, and tighten them securely.
Put the jars in a pressure cooker and process them according to the recommended time and pressure for your altitude.
How do I know if my canned potatoes are safe to eat?
Check the lids of the jars before opening them. If the lid is concave and does not move when pressed, it s securely sealed, and the potatoes are safe to eat.
If the lid pops and moves when pressed, the seal is not secure. Do not eat the potatoes in this case.
Can I season the potatoes before canning?
You can also season the potatoes before canning! Add salt, herbs, or spices to the jars before filling them with boiling water.
This will infuse the potatoes with delicious flavor during processing.
How long can I store canned potatoes?
Canned potatoes can be stored for up to 1 year in a cool, dark, and dry place. Once opened, eat them within 3-4 days if refrigerated.
