How to Can Carrots: An Easy Method
Canning carrots offers a delightful way to preserve their vibrant flavor and nutritional benefits, allowing you to enjoy them throughout the year.
Whether you re a seasoned canner or just starting out, this guide will lead you through every essential step from gathering your supplies and preparing the carrots to selecting the ideal canning method.
You ll also discover tips for proper storage and inventive meal ideas that will help you make the most of your canned carrots.
Immerse yourself in this journey to elevate your pantry and tantalize your taste buds!
Contents
- Key Takeaways:
- What is Canning and Why is it Useful?
- Supplies and Equipment
- Preparing Carrots for Canning
- Methods for Canning Carrots
- Step-by-Step Canning Process
- Storing and Using Canned Carrots
- Frequently Asked Questions
- How do I prepare carrots for canning using an easy method?
- What supplies do I need to can carrots using an easy method?
- How do I ensure the safety of canned carrots using an easy method?
- Can I add seasonings or other vegetables to my canned carrots using an easy method?
- How long can I store canned carrots using an easy method?
- Can I use frozen carrots for canning using an easy method?
Key Takeaways:
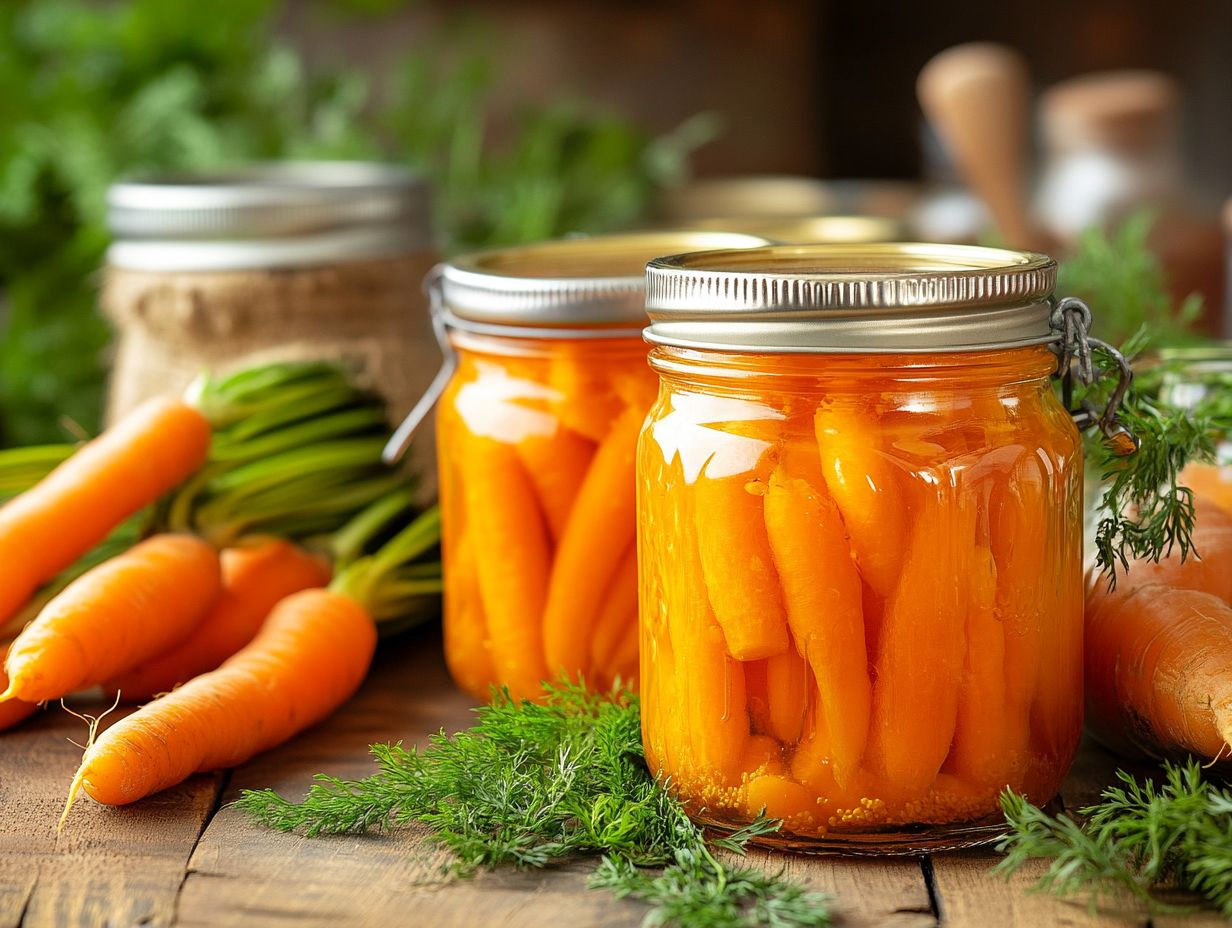
- Canning carrots is an effective way to preserve them for long-term storage and convenient use in meals.
- The essential tools for canning carrots include a pressure canner, jars, and various utensils for preparing and processing the carrots.
- Properly washing, peeling, and cutting the carrots, as well as following the correct canning method, are crucial steps for successful canning.
What is Canning and Why is it Useful?
Canning is an art of food preservation. It helps you store seasonal vegetables like organic carrots safely.
This skill is invaluable for people who grow their own food and frequent visitors at farmers markets alike.
By sealing food in jars, you enhance its nutritional value while extending its shelf life. This allows you to savor the vibrant flavors of summer throughout the year be it in soups, stews, or as a delightful side dish.
Canning not only reduces waste. It also gives you the power to control the ingredients, ensuring your family enjoys wholesome, fresh produce.
Supplies and Equipment
Ready to start canning? Gather these must-have supplies to make your journey a breeze!
A pressure canner, mason jars, and jar lids are the foundation of this endeavor, ensuring the safe preservation of your bounty.
You ll also need quart jars, a dependable pressure gauge, and handy tools like a cutting board and jar lifter. These essentials streamline your workflow and boost your efficiency throughout the canning process.
Essential Tools for Canning Carrots
To can carrots successfully, gather these essential tools:
- Use a pressure canner for safe preservation.
- Choose mason jars with dependable lids to prevent spoilage.
- Prepare fresh carrots with a sturdy cutting board.
A jar lifter is essential; it allows you to safely handle hot jars, significantly reducing the risk of burns. A funnel ensures that filling your jars is a breeze, while a bubble popper comes in handy to eliminate pesky air pockets, facilitating a better vacuum seal.
For sourcing these supplies, local kitchenware stores usually stock a variety of canning tools. Many online retailers offer complete canning kits that cover all your needs. By investing in these tools, you ll not only enhance the efficiency of your canning efforts but also bolster the safety of your preserved goods, paving the way for a truly successful canning adventure.
Preparing Carrots for Canning
Preparing carrots for canning is an essential step. It requires attention to detail to achieve optimal flavor and texture in your final product.
Begin by thoroughly washing your organic carrots to eliminate any dirt. Next, peel the carrots to achieve a smoother finish, then cut them into uniform pieces.
Manage your prep time well. This will boost your efficiency and give you consistent results in your canning endeavor.
Washing, Peeling, and Cutting Techniques
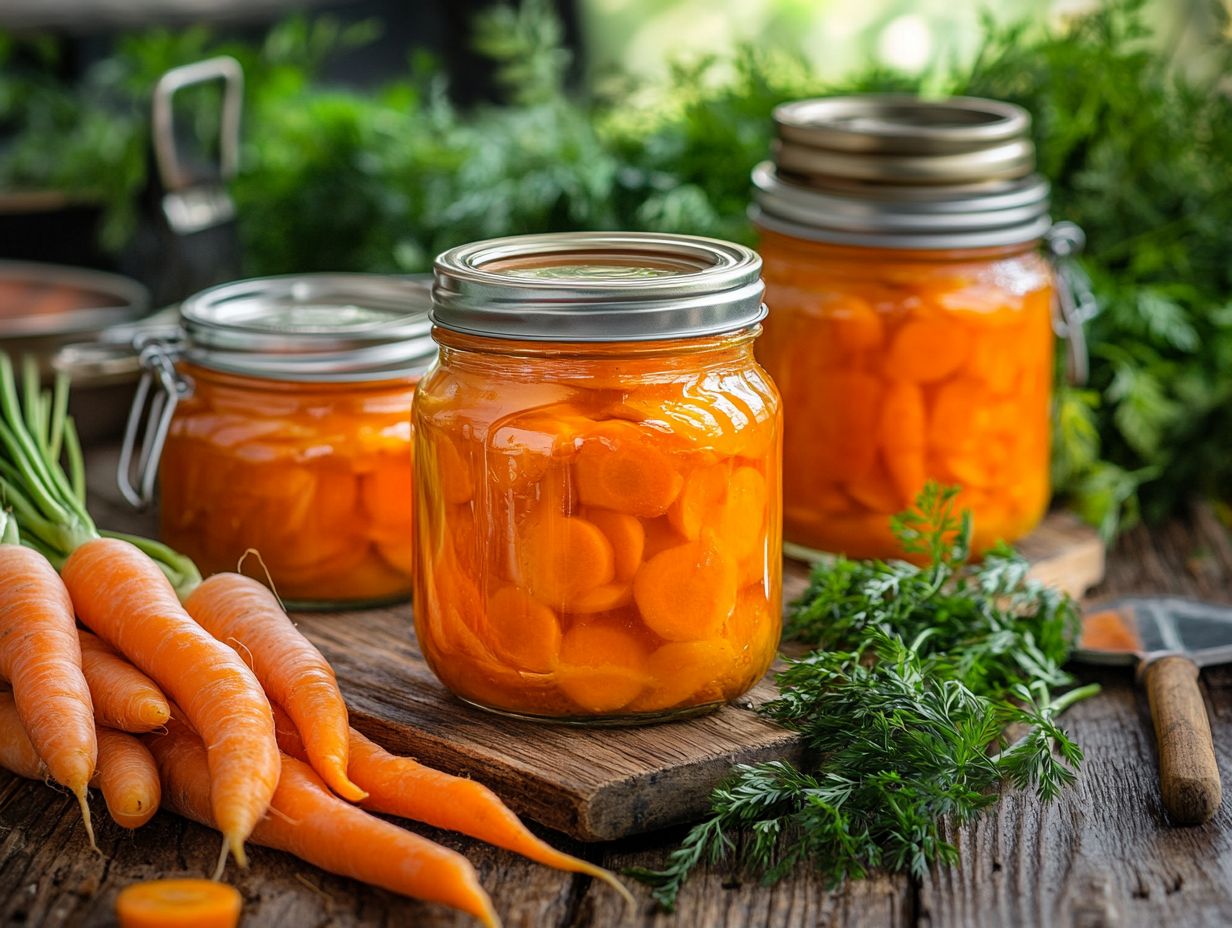
Washing, peeling, and cutting carrots are key steps that can make or break your canned carrots. Start by washing the carrots under running water to eliminate any residue. Then, peel them to reduce bitterness and enhance flavor before cutting them into uniform pieces to ensure even processing.
Next, pay attention to your cutting method. Slicing the carrots into even rounds or julienne strips maintains a consistent texture and promotes proper heat distribution during canning. To prepare efficiently, gather all your tools including a peeler, knife, and cutting board to streamline the process.
Soaking the cut carrots in cold water for a brief moment can help preserve their crispness while diminishing any lingering bitterness. Keeping the carrot pieces similar in size guarantees uniform cooking, which leads to better flavor absorption during the canning process.
Follow these simple steps for tasty and visually appealing canned carrots!
Methods for Canning Carrots
Regarding preserving carrots, two standout methods deserve your attention: pressure canning and the hot water bath technique. Each method brings its own unique advantages for achieving beautifully canned carrots.
Pressure canning is particularly well-suited for low-acid vegetables like carrots, reducing the risk of harmful bacteria. On the other hand, the hot water bath method is perfect for preserving carrots that have been prepared to enhance their acidity, such as through pickling or by using carrot tops in recipes.
With these methods, you can confidently preserve your carrots and enjoy their vibrant flavor all year round.
Hot Water Bath vs. Pressure Canning
The decision between hot water bath and pressure canning significantly impacts the safety and quality of your canned carrots, with each method serving distinct preservation needs. The hot water bath technique is best for high-acid foods, while pressure canning is essential for low-acid vegetables like carrots, effectively preventing the growth of botulism and ensuring long-term storage.
Grasping the differences between these two processes is vital for anyone eager to preserve their home-grown produce. Hot water bath canning, often viewed as the simpler option, shines when it comes to preserving items such as tomatoes and pickles, which benefit from their natural acidity.
On the other hand, pressure canning may appear more intricate, but it s essential for foods like carrots, beans, and meats that require higher temperatures to eliminate harmful microorganisms. Pressure canning needs a pressure gauge to ensure the temperature remains adequate throughout the process. This attention to detail provides reassurance for those stepping into the rewarding realm of home preservation.
Step-by-Step Canning Process
The step-by-step canning process is essential for achieving safe and delicious canned carrots, guiding you through every detail from selecting the freshest produce to sealing jars correctly for long-term storage.
- Begin by thoroughly cleaning the jars to eliminate any contaminants.
- Next, fill them with your prepared carrots, making sure to leave the appropriate headspace (the space between the food and the jar lid) to prevent air bubbles.
- Finally, securely fit the jar lids before moving on to the recommended processing time for best results.
Safety is crucial! Use proper equipment to ensure your canned carrots are safe and delicious!
This meticulous approach ensures your canned carrots are not only safe but also bursting with flavor.
Instructions for Each Method
For the successful preservation of carrots, it is essential to follow the specific instructions for each canning method pressure canning and hot water bath to ensure both safety and flavor in your canned carrots.
Pressure canning demands precise processing times and temperatures. The hot water bath method relies on the right amount of tanginess and shorter processing durations.
The key lies in grasping the nuances of each method to achieve the best quality. With pressure canning, maintaining the correct pressure throughout the process is crucial; any fluctuations could compromise the safety of your food.
When using the hot water bath method, you must pay close attention to the acidity of the carrots. Low-acid foods require longer processing times to effectively eliminate harmful bacteria.
For both methods, ensuring that your jars are properly sealed after canning is vital to maintain flavor and prevent spoilage. Incorporating fresh, high-quality carrots and using recommended spices thoughtfully can elevate the taste of the final product.
If you encounter issues, such as jars failing to seal, checking the rim for food debris or confirming adequate processing time can often resolve those common pitfalls.
Storing and Using Canned Carrots
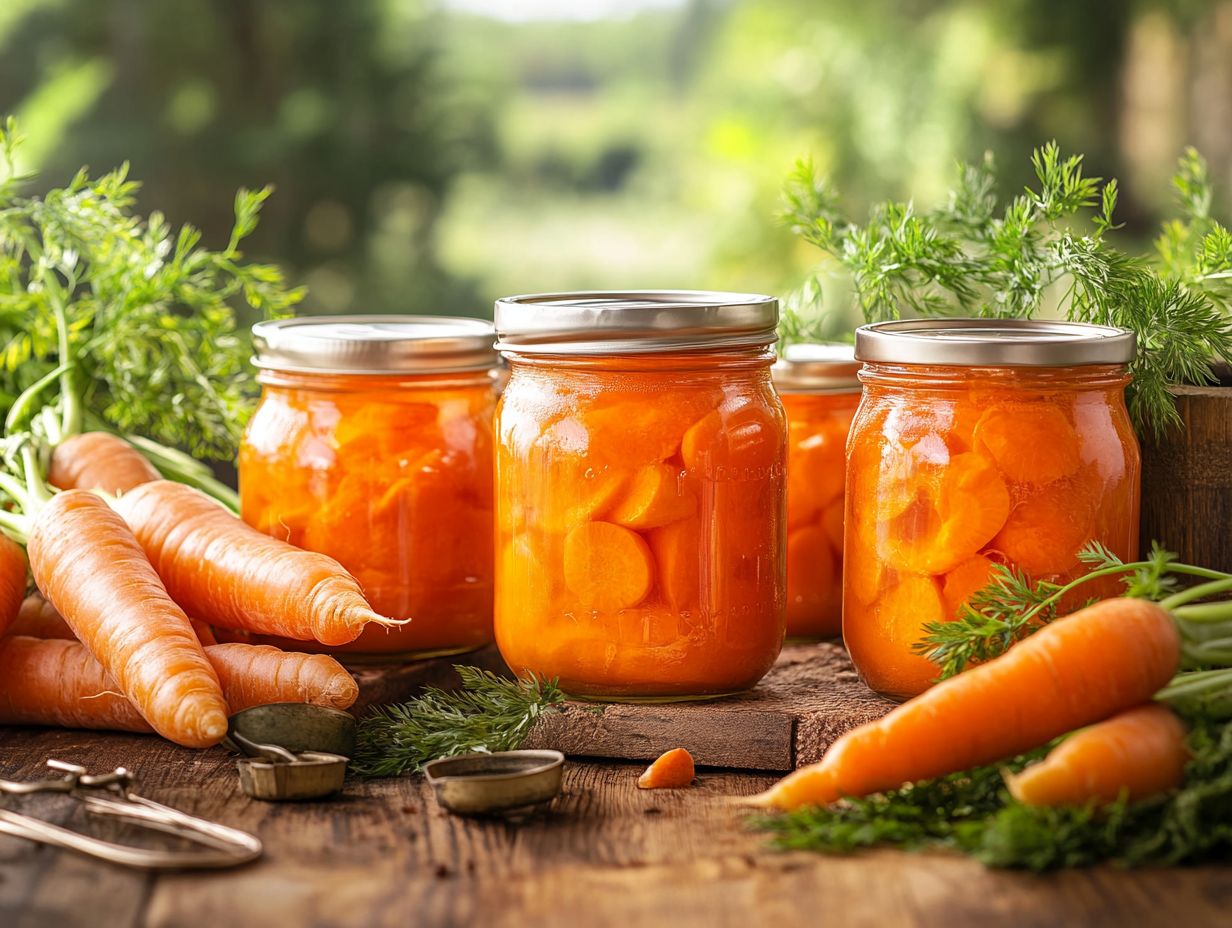
Let s make the most of your canned carrots! To store and use them effectively, you need to grasp the essentials of proper storage techniques and shelf life estimation.
It s crucial to keep your jars in a cool, dark place to ensure they last as long as possible.
When you open a jar, pay attention to any residual liquid; this is the leftover liquid in the jar and can significantly impact the taste and texture of your carrots.
This mindful approach will help you truly savor the fruits of your preservation efforts.
Proper Storage and Shelf Life
Understanding the right storage techniques can significantly extend the shelf life of your canned carrots, ensuring their flavor and nutritional value remain intact for months.
Store your jars in a cool, dark place away from direct sunlight, ideally at temperatures between 50 F and 70 F. Always check jar lids for any signs of spoilage before use.
Maintaining these optimal conditions helps prevent harmful bacteria and spoilage from wreaking havoc. It s wise to keep your canned goods on a sturdy shelf to prevent any crushes or impacts that might compromise the seals.
Regularly inspect your jars over time, looking for bulging lids or off odors, which can signal spoilage.
Rotating your stock by using older jars first ensures that your canned goods stay fresh and minimizes waste.
Keeping a simple log of your canned items can also help you track when each batch was made, allowing for timely usage.
Ideas for Incorporating Canned Carrots into Meals
Incorporating canned carrots into your meals can be a delightful and convenient choice, infusing vibrant flavors and essential nutrients into a range of dishes.
Imagine exploring an array of carrot recipes that make the most of your canned carrots, such as a hearty carrot soup or savory baked creations that reveal the versatility of this preserved gem.
These little orange wonders can effortlessly elevate everything from salads to casseroles.
Picture tossing them into a chickpea salad dressed with zesty lemon, or stirring them into a creamy mac and cheese to introduce an unexpected burst of sweetness and color.
If you re craving something warm and comforting, consider a layered casserole featuring canned carrots, potatoes, and cheese this could easily become a family favorite.
With such a wealth of options, the possibilities for integrating canned carrots into your everyday meals are truly endless.
Frequently Asked Questions
How do I prepare carrots for canning using an easy method?
First, peel and wash the carrots. Then, cut them into desired sizes and blanch in boiling water for 5 minutes. Immediately transfer the carrots into ice water to stop the cooking process. Drain and pack into jars.
What supplies do I need to can carrots using an easy method?
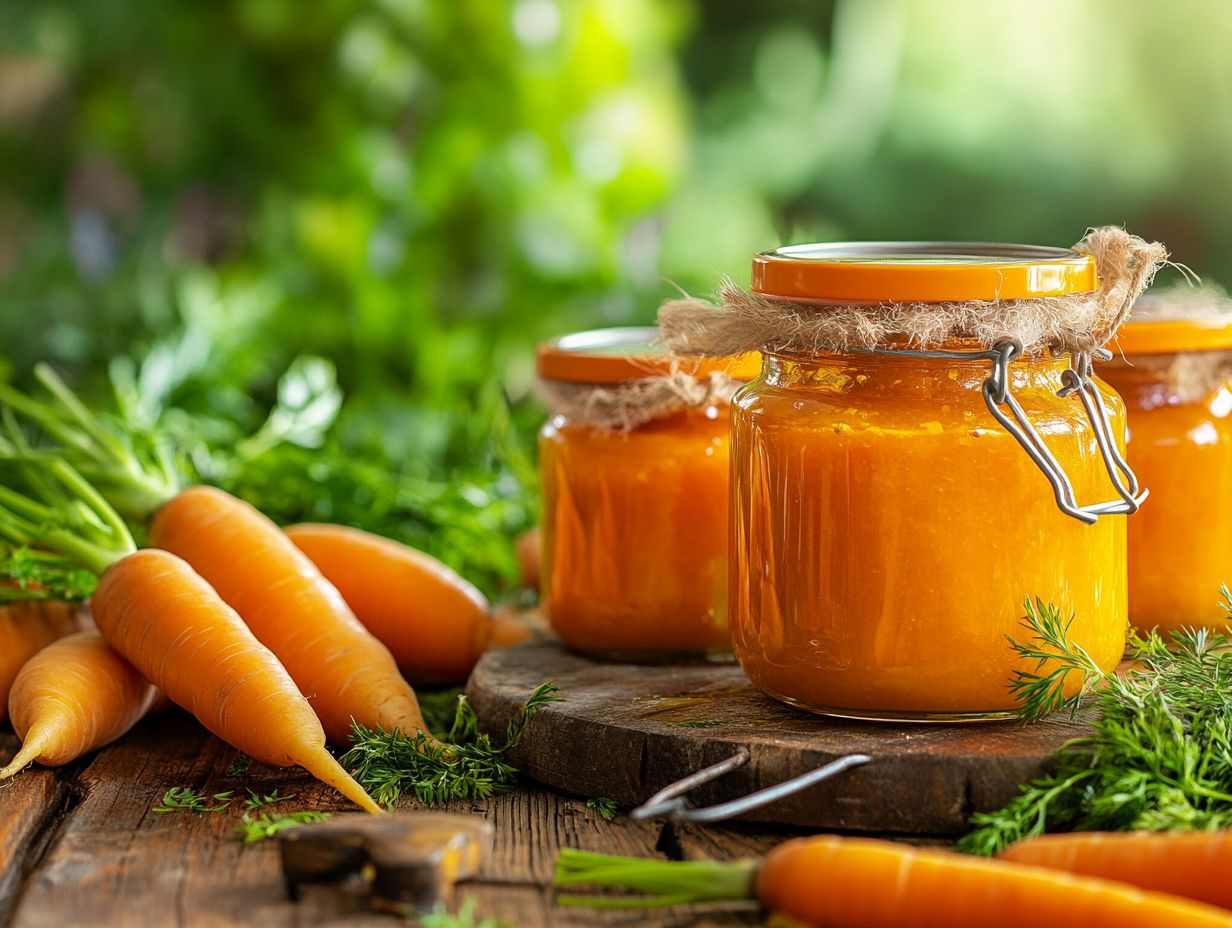
You will need canning jars, lids, and rings. A canning pot, jar lifter, ladle, funnel, and kitchen towel are essential as well.
Optional supplies include a bubble remover, a magnetic lid lifter, and a canning rack.
How do I ensure the safety of canned carrots using an easy method?
Follow proper canning procedures to keep your carrots safe. Use clean jars and sterilize lids and rings, then cook the jars in boiling water for the recommended time based on altitude and jar size.
Can I add seasonings or other vegetables to my canned carrots using an easy method?
Yes! You can add herbs, spices, and even other vegetables to your canned carrots. Just stick to approved recipes to ensure safety and quality.
How long can I store canned carrots using an easy method?
When canned properly, carrots can be stored for up to 1 year. For the best taste, eat them within 6-8 months.
Can I use frozen carrots for canning using an easy method?
Yes, you can can frozen carrots. Thaw them first and follow the same blanching and packing steps as fresh carrots. However, fresh carrots will give you the best texture and flavor.
