5 Essential Recipes for Canning Green Beans
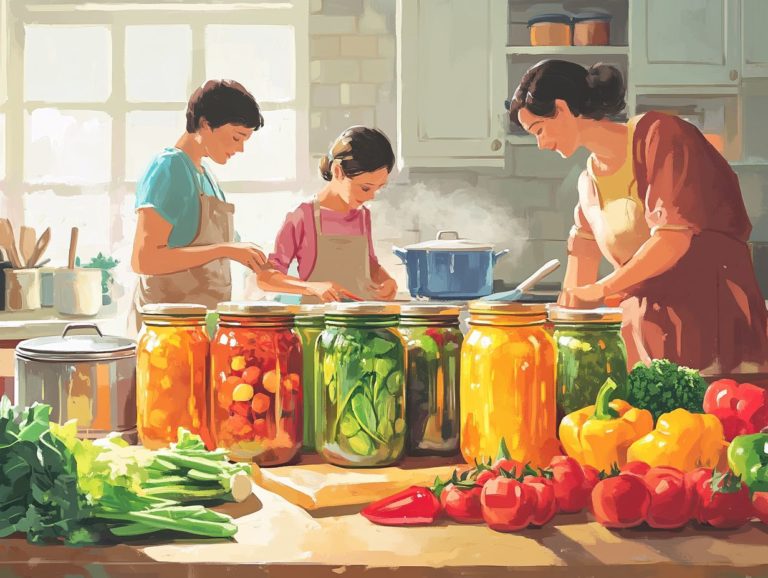
Canning green beans is not just a task; it s a rewarding way to capture the vibrant flavors of summer, allowing you to savor them throughout the year!
Get ready to explore the incredible benefits of canning! This guide will highlight the essential tools you’ll need and provide you with proper preparation techniques to get your beans perfectly ready for the jar.
You’ll discover five delectable recipes, from simple pickled green beans to spicy Szechuan variations, each accompanied by step-by-step instructions and tips to ensure your success. Let s dive into the canning adventure together!
Contents
Key Takeaways:
- Canning green beans is a convenient and cost-effective way to enjoy this nutritious vegetable year-round.
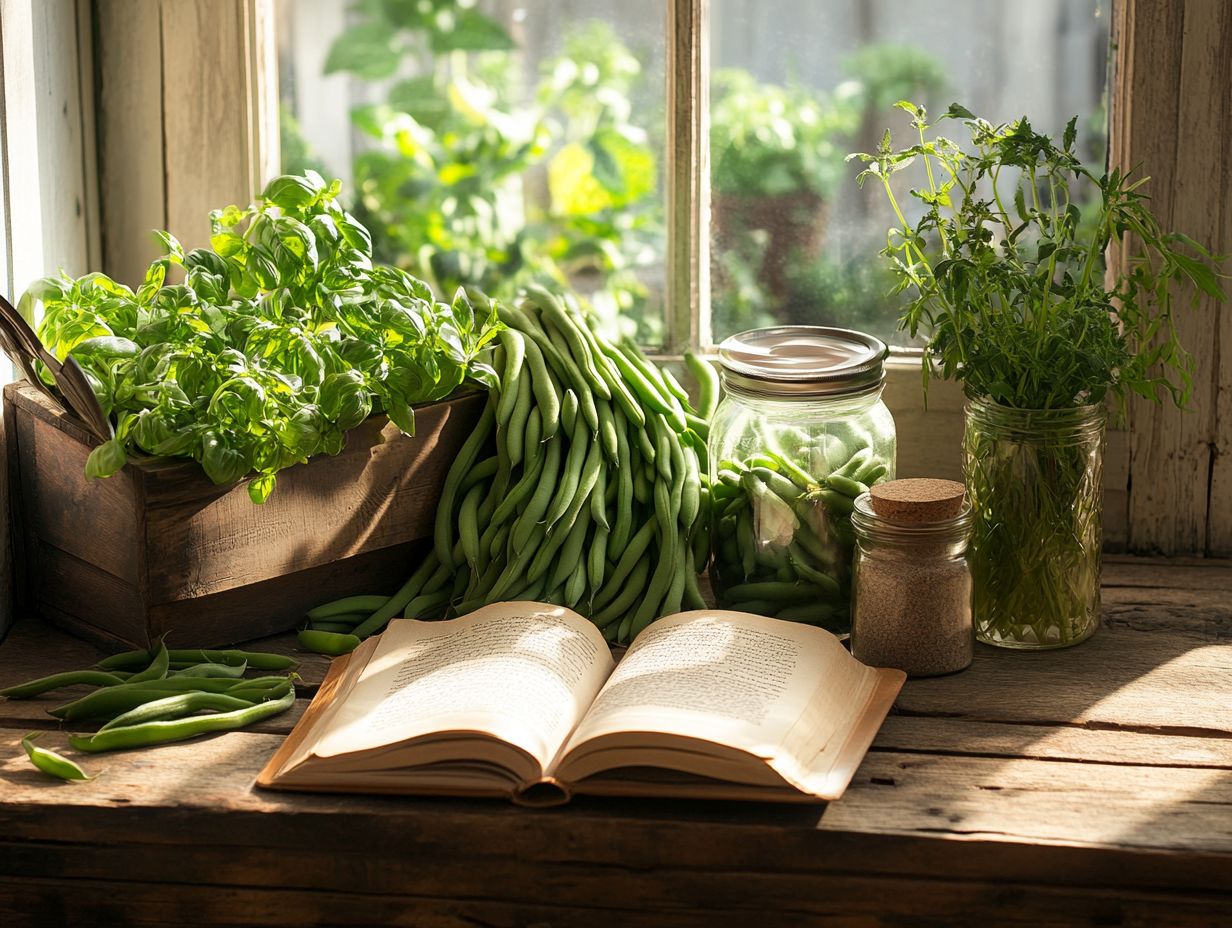
- Simple ingredients and step-by-step instructions make it easy to create delicious pickled, dilly, spicy, and Italian-style green beans.
- Proper preparation, canning techniques, and storage are essential for successful and long-lasting canned green beans.
What Are the Benefits of Canning Green Beans?
Canning green beans provides numerous advantages, including an extended shelf life and the preservation of essential nutrients.
You ll enjoy the convenience of having this delightful vegetable for various recipes year-round. This process helps maintain the taste and texture of these vibrant veggies, ensuring that each can captures that fresh, summer-harvest flavor.
By canning, this method reduces food waste, making use of surplus produce that might otherwise go unsold or spoil. It also offers a cost-effective option for storing seasonal bounty, allowing you to savor green beans throughout the colder months without relying on frozen or store-bought options.
However, it s essential to practice proper food safety during the canning process to avoid serious food poisoning known as botulism. Ensure that all jars are sealed correctly and processed at the right temperatures to safeguard your delicious efforts.
What Tools Do You Need for Canning Green Beans?
To successfully can green beans, you ll need a few essential tools: a pressure canner or boiling water bath, clean canning jars, and high-quality canning salt.
Choosing the right size of canning jars is crucial. If you re working with larger batches, quart jars are ideal, while pint jars are perfect for smaller quantities. High-quality lids are vital for creating a proper seal and preventing spoilage.
Don t overlook the importance of sealing tools, like a magnetic lid lifter and a jar lifter, which make handling hot lids and jars a breeze. Understanding how these various tools work together for different canning methods will enhance your preservation process.
How to Properly Prepare Green Beans for Canning?
Properly preparing green beans for canning means you ll want to select fresh, high-quality beans and wash them thoroughly.
Choose between raw packing or hot packing methods to enhance both flavor and preservation. Once you ve gathered the freshest beans, it s essential to remove any blemished or shriveled ones.
Washing each bean under cold running water will efficiently eliminate dirt and any residual pesticides. As for the choice between raw packing and hot packing, consider the distinctions:
- Raw packing gives you a firmer texture while preserving that vibrant green color.
- Hot packing, on the other hand, softens the beans and can infuse them with additional flavors from the cooking water.
Don t forget the importance of using clean jars and new lids, as this is crucial to preventing contamination that could jeopardize the safety and quality of your canned goods.
2. Simple Pickled Green Beans
Simple pickled green beans offer a delicious and tangy way to preserve your harvest. This method marries the vibrant taste of fresh beans with the satisfying crunch of a well-executed pickling process, all while keeping food safety front and center.
This approach elevates the natural flavors of green beans, presenting a delightful alternative to the sometimes tedious task of traditional canning. By opting for canning salt, you’ll not only enhance moisture extraction but also achieve that perfect crunch you crave, especially with flavorful canning recipes for summer.
It’s crucial to follow proper food safety practices, like sterilizing jars and ensuring your beans are fresh, to prevent any risk of spoilage. Focusing on these details can transform ordinary green beans into a zesty snack or side dish, making them an incredibly versatile addition to any meal.
Ingredients Needed
To create simple pickled green beans, gather fresh green beans, high-quality canning salt, vinegar, water, and optional spices like garlic or dill to elevate the flavor profile. For a successful canning experience, consider these must-have ingredients for home canning.
Choosing top-notch canning salt is essential; it ensures the beans soak up just the right amount of flavor while preserving beautifully. If you re feeling adventurous, consider adding some red pepper flakes for a touch of heat or mustard seeds for an intriguing twist.
Getting your vinegar-to-water ratio right is key. A balanced mix of one part vinegar to two parts water typically works wonders for keeping that delightful crunch while ensuring effective preservation.
Before you fill those jars with your vibrant green bean medley, wash them and their lids thoroughly. Cleanliness is crucial for safe canning, so don t overlook this vital step.
Step-by-Step Instructions
Follow these step-by-step instructions for crafting your simple pickled green beans. Begin by sterilizing your canning jars. Then, pack the green beans tightly while blending vinegar, water, and canning salt in a boiling water bath to achieve the perfect pickle. For more tips, check out the top 5 canning techniques for produce.
This method guarantees each jar is infused with the ideal balance of flavor while maximizing freshness. Choose high-quality, fresh green beans to ensure they fit snugly without being crushed.
Once you ve prepared your jars and ingredients, bring the vinegar solution to a boil to activate those flavors and preservation properties. When handling hot liquids, use jar lifters and funnel tools to prevent spills and maintain a pristine workspace.
After filling your jars, wipe the rims to eliminate any residue before securing the lids for a proper seal this is essential to prevent spoilage.
Tips for Successful Canning
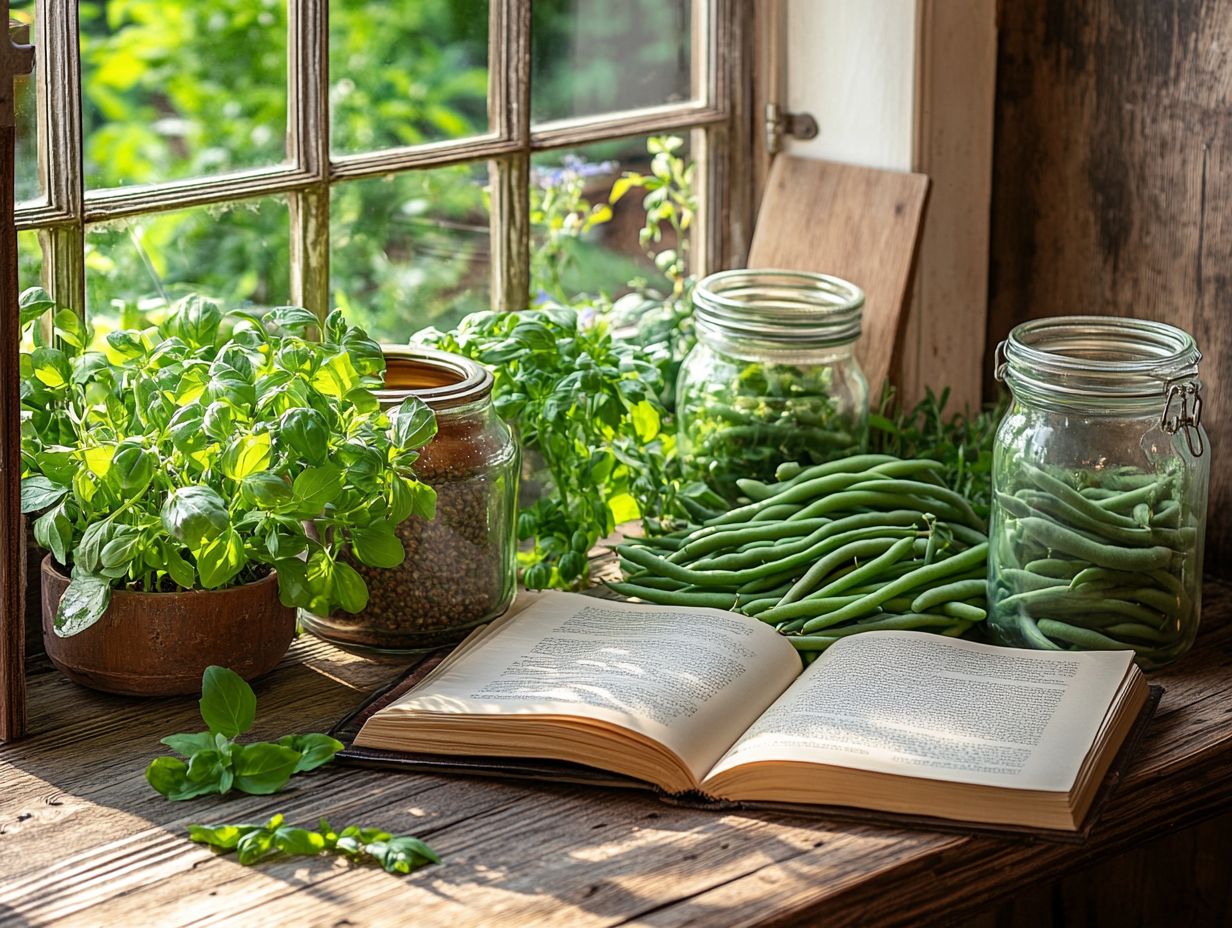
For the successful canning of pickled green beans, focus on using fresh ingredients and strictly following food safety practices. Additionally, refer to 5 essential tips for safe canning to ensure that your canning jars are sealed properly for long-term storage.
Avoid common mistakes that could compromise both taste and safety. Overpacking jars may lead to uneven processing, diminishing safe preservation chances. When working with high-acid ingredients, such as vinegar, striking the right balance is vital for effective preservation.
After sealing the jars, take a moment to double-check those seals. Store the jars in a cool, dark place to enhance the longevity of your pickled beans. These straightforward tips can truly elevate the final quality of your product.
3. Classic Dilly Beans
Classic dilly beans present a delightful twist on traditional pickling by infusing fresh green beans with aromatic dill and a medley of spices. It’s no wonder they ve become a favorite among home canners, celebrated for their bold flavors and vibrant hues.
The addition of dill not only brings brightness to the beans but also introduces a distinctive tang that elevates the overall taste, setting them apart from ordinary pickled green beans. This unique blend makes dilly beans a sought-after choice for canning enthusiasts eager to explore creative ways to preserve their harvest.
With their satisfying crunch and zesty aroma, they create a delicious side dish perfect for barbecues or as a snack straight from the jar. Dilly beans truly deserve a prominent spot on any pantry shelf.
Ingredients Needed
To create classic dilly beans, start by gathering fresh green beans, canning salt, vinegar, water, and fresh dill. Feel free to add optional spices for an extra kick.
Think about incorporating garlic cloves to introduce a savory depth. You can also add red pepper flakes or mustard seeds for a subtle heat that enhances the overall flavor profile. Remember, the freshness of the herbs plays a pivotal role in the final taste. Using high-quality, vibrant dill can truly elevate your dish.
Choosing organic vinegar and canning salt is equally important, as these ingredients enhance the overall quality of your creation. This ensures each bite is both crisp and flavorful. A thoughtful selection of spices not only complements the beans but also showcases the art of pickling, transforming a simple recipe into a delightful culinary experience.
Step-by-Step Instructions
To create classic dilly beans, begin by preparing your jars and brine. Then, pack those green beans tightly. Pour the hot brine over them and process everything in a boiling water bath for safe preservation.
Before you dive in, make sure your jars are thoroughly sterilized to eliminate any pesky bacteria that could spoil your culinary masterpiece. A simple tip for making brine is to use equal parts vinegar and water, enhanced with salt and spices like dill and garlic for that extra pop of flavor.
Once those beans are snugly packed into the jars, carefully ladle the boiling brine over them. Ensure every bean is fully submerged while leaving about half an inch of headspace. For processing, a water bath of 10 to 15 minutes will secure those beans, making them ready for long-term storage and ensuring that delightful crunch you re going to love.
Tips for Successful Canning
To ensure your classic dilly beans turn out perfectly, prioritize using the freshest ingredients, stick to proper canning techniques, and double-check that your jars are sealed correctly.
Also, prepare your work area and tools in advance. This streamlines the process and helps you sidestep any last-minute hiccups. Be sure to use clean jars and sterilized lids. Consider labeling your creations with the date and contents for easy identification later on.
If you find any jars that don t seal properly after processing, act quickly! Reprocess within 24 hours or store them in the refrigerator for immediate enjoyment. Keeping your storage space cool and dark will further enhance the shelf life of your canned goods, ensuring that your hard work pays off for months to come.
4. Spicy Szechuan Green Beans
Spicy Szechuan green beans offer you an exhilarating twist on traditional canning recipes. They merge the satisfying crunch of fresh green beans with vibrant Szechuan flavors that will set your taste buds ablaze.
This inventive approach to canning features a distinctive blend of spices, including Sichuan peppercorns, star anise, and dried chili flakes. These ingredients not only elevate the flavor profile but also enhance the preservation process, ensuring your beans taste as bold as they look.
The harmonious fusion of heat and aromatic elements infuses the beans with a zesty kick, allowing them to shine in any meal.
By embracing these audacious flavors, you create not just a delightful pantry addition but also a striking conversation starter at your dining table. Each jar becomes a testament to your culinary creativity and respect for tradition, making every meal a memorable experience. It’s a true example of home food preservation at its best.
Ingredients Needed
For a truly delicious batch of spicy Szechuan green beans, start by gathering fresh green beans, Szechuan peppercorns, chili oil, garlic, soy sauce, and canning salt. This combination helps achieve a perfect balance of heat and flavor.
Consider adding a splash of rice vinegar for extra tang and sweetness. It beautifully complements the savory notes. Don t overlook the sliced ginger; it elevates the dish with its distinctive zest. A tablespoon of sesame oil enriches the mix, giving your creation authentic depth.
When you bring these ingredients together, they harmonize beautifully, crafting a vibrant and spicy treat that captures the bold essence of Szechuan cuisine. Each bite becomes an explosion of exciting flavors that you won’t soon forget. You ll love adding this recipe to your canning recipes collection!
Step-by-Step Instructions
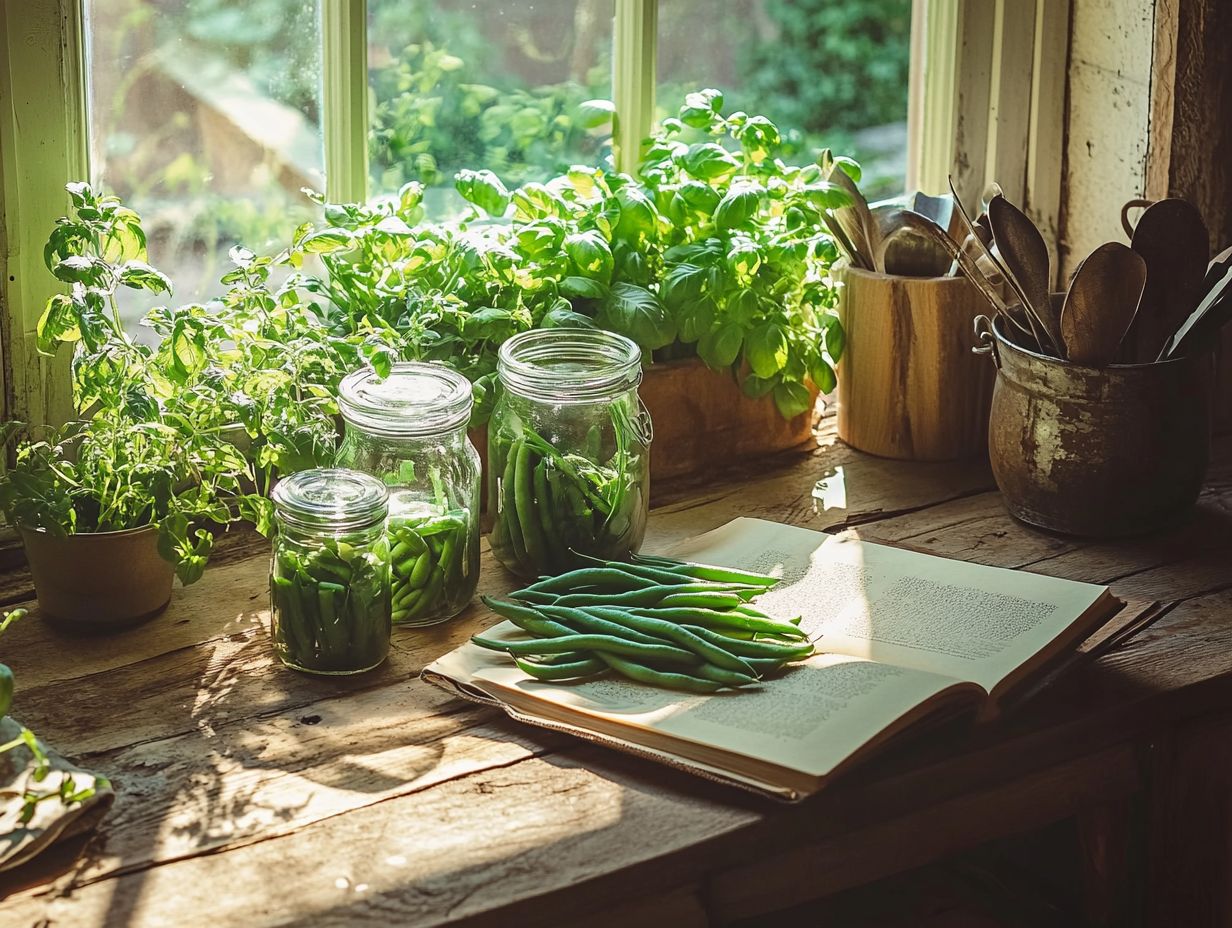
To create spicy Szechuan green beans, prepare your canning jars and brine. Next, pack the fresh green beans with spices, pour in the hot brine, and process them using boiling water to guarantee safety.
Once you’ve tackled the initial prep, choose fresh, firm green beans. The quality of your ingredients significantly influences the final product. For those looking to enhance their canning skills, consider exploring 5 unique recipes for canning sauces. Gather essential tools such as a canning pot, jar lifter, and lid lifter to streamline the process.
After packing the beans, leave enough space at the top of the jars for proper sealing. Once your brine is poured, wipe the jar rims to eliminate any residue before securing the lids.
The next step is to immerse the jars in boiling water. Carefully monitor the processing time to ensure your contents are safely preserved and ready to adorn your pantry. This method of water bath canning preserves food by cooking jars in boiling water, essential for maintaining food safety.
Tips for Successful Canning
For crafting the ultimate spicy Szechuan green beans, prioritize fresh ingredients, ensure your jars are meticulously sterilized, and keep a keen eye on your processing times for optimal food safety.
Achieving the perfect heat level is essential. Adjust the amount of crushed red pepper or add fresh chili slices to elevate the dish s flavor without overwhelming your palate. This attention to detail ensures your canned food remains delicious and safe.
Avoid common missteps, like neglecting to remove air bubbles that could compromise the seal or overfilling the jars, which might result in messy spills during processing.
It’s also prudent to test the acidity of your brine mixture, as this affects both flavor and safe preservation.
With these insights, take your canning to the next level today! Follow the USDA canning guidelines for safety.
5. Italian-Style Green Beans with Tomatoes and Basil
Italian-style green beans with tomatoes and basil offer a vibrant, flavorful combination that truly captures the essence of summer. These delightful ingredients are perfect for home canning and can elevate a variety of dishes, especially when paired with carrots or tomatoes.
This method preserves vibrant colors and fresh flavors, ensuring that each jar delivers a taste of summer. By using ripened tomatoes and aromatic basil, you can transform even the simplest recipes into culinary delights. This technique helps you enjoy seasonal produce, relishing the unparalleled taste of high-quality ingredients throughout the year.
Whether you incorporate them into hearty stews, toss them into salads, or serve them as a simple side, these preserved green beans beautifully bridge the warmth of the Italian sun with the cozy comforts of home-cooked meals, showcasing the versatility of green vegetables.
Ingredients Needed
To craft Italian-style green beans, gather fresh green beans, ripe tomatoes, fragrant basil, garlic, high-quality olive oil, and canning salt. This combination creates a preserve that bursts with flavor, perfect for vegetable soup.
Choosing high-quality ingredients is essential for achieving great flavor. Look for vibrant green beans that are crisp and firm, as they are the secret to a satisfying texture.
Ripe, juicy tomatoes overflowing with flavor will form a rich base for your preserve. Meanwhile, fresh basil will introduce a delightful aroma and depth.
Fresh garlic cloves avoid those pre-minced options will deliver a robust punch that elevates the dish to new heights. Opt for extra virgin olive oil to enhance the overall profile, uniting all the elements in a harmonious blend.
Don’t overlook the canning salt; it helps preserve food without affecting the taste.
Step-by-Step Instructions
Begin your canning with clean jars it’s crucial to prevent any unwelcome contamination. Layer fresh tomatoes and fragrant basil alongside crisp green beans.
Cover it all with a well-seasoned olive oil brine. Process in a boiling water bath to ensure safe preservation.
Once you ve layered the vegetables, pour the seasoned brine over them, ensuring the liquid envelops every bit of goodness. Securely tighten the lid, and immerse the jars in a water bath.
Make sure the water level is high enough to submerge them completely. This method preserves freshness and keeps the vibrant colors and rich flavors intact, creating a perfect base for vegetable soup.
Tips for Successful Canning
To ensure your Italian-style green beans are canned to perfection, prioritize using the freshest ingredients and properly sterilizing your jars. You can also explore zesty recipes for canning peppers to enhance your canning repertoire. Closely monitor your processing time to prevent spoilage as per USDA guidelines, which are essential for safe canning.
Pay attention to the quality of the beans; overripe or damaged ones can compromise both flavor and safety. When storing your jars, place them in a cool, dark, and dry area to preserve their seal and freshness.
Always inspect the lids for any signs of bulging or leakage. If you notice any issues, it s wise to reprocess the contents or dispose of them altogether. This meticulous approach helps ensure that your green beans remain both delicious and safe.
How to Properly Store Canned Green Beans?
Properly storing canned green beans is crucial for maintaining their quality and safety. Find a cool, dark place and regularly check those jar seals.
Keep the storage environment at a stable temperature ideally between 50 F and 70 F to significantly lower the risk of spoilage. Fluctuating heat can compromise seals, while exposure to light can degrade the quality, affecting both flavor and nutritional value.
Stash your canned goods in a pantry or cupboard, well away from direct sunlight and heat sources like stoves or ovens. Ensuring proper ventilation can also work wonders in extending the shelf life of these vegetables.
Get ready to enjoy delicious Italian-style green beans that burst with flavor! Grab your ingredients and start preserving today for a taste of Italy in every bite!
How Long Will Canned Green Beans Last?
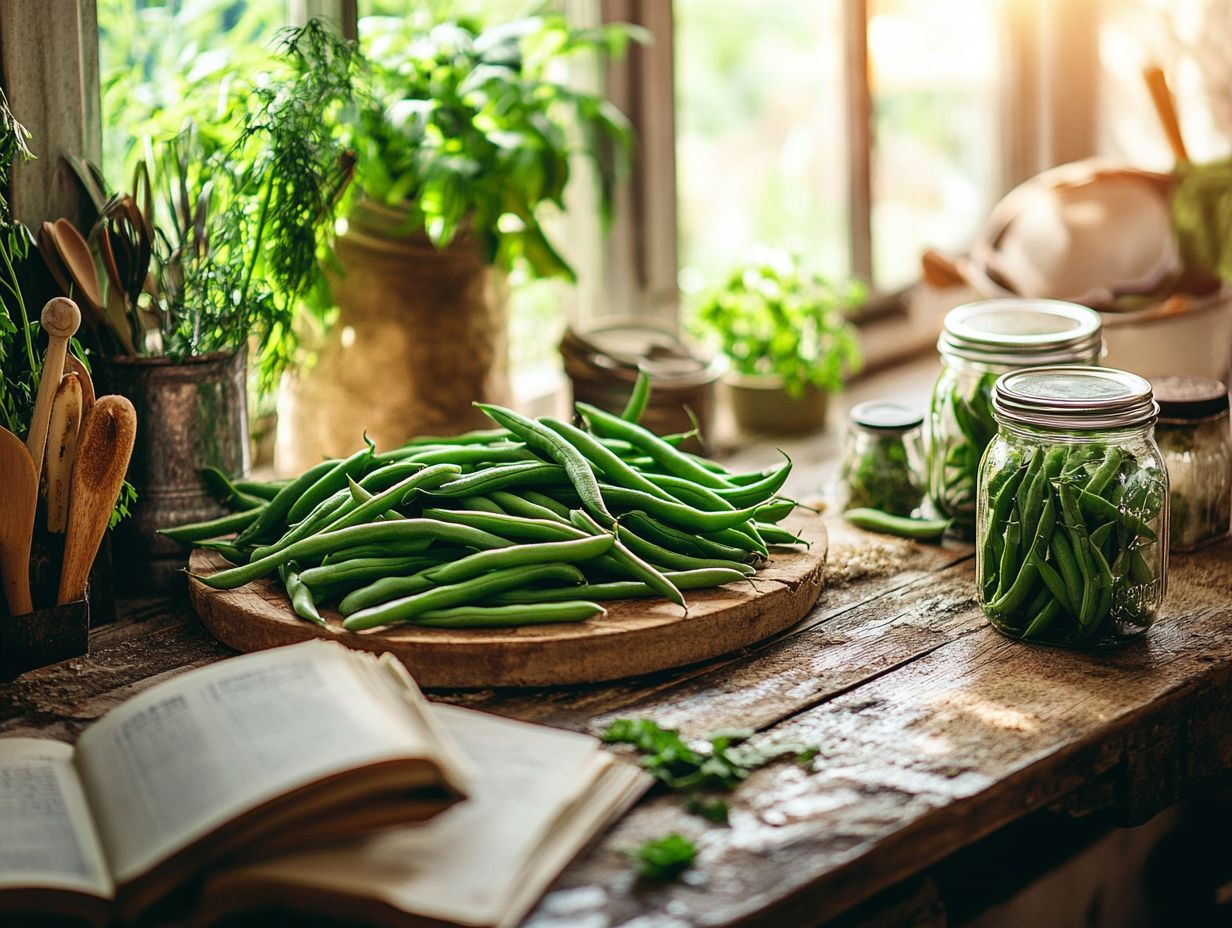
Canned green beans can last up to a year when stored correctly, providing a dependable supply of this nutritious vegetable year-round.
Several factors impact their shelf life, including storage temperature, can integrity, and the use of preservatives. Keep those cans in a cool, dark place to preserve their freshness.
Even sealed cans change in flavor and texture over time. Being able to identify signs of spoilage is essential. If a can is bulging, leaking, or rusted, or if there’s an off smell when you open it, those are clear indicators that the beans may no longer be safe to eat.
Pay attention to these details to ensure that what you’re enjoying remains both healthy and delicious.
Other Uses for Canned Green Beans
Canned green beans are perfect for busy weeknights they allow for quick meal prep without sacrificing nutrition. Try adding canned green beans to casseroles; their tender texture pairs beautifully with creamy sauces and crunchy toppings.
Consider incorporating them into stir-fries for a vibrant pop of color and added nutrients.
Adding these preserved vegetables to salads enhances the dish’s fiber content while delivering a satisfying crunch. With countless culinary possibilities, integrating them into your meals not only saves you time but also diversifies your daily diet.
Final Thoughts on Canning Green Beans
Canning green beans elevates your home food preservation skills and unlocks a world of delightful recipes. For inspiration, check out these must-try canning recipes for spring to relish the essence of summer throughout the year.
Canning keeps the fresh taste and nutrients of summer produce while instilling a profound sense of accomplishment and self-sufficiency. As you strive to reduce waste and make the most of your harvest, canning emerges as an invaluable skill.
By exploring various canning recipes, you’ll uncover unique flavor pairings and preservation methods tailored to your personal tastes.
Imagine the satisfaction of cracking open a jar of crisp green beans in the depths of winter bringing a taste of summer to your dinner table, all while knowing you ve created a wholesome meal from scratch.
Frequently Asked Questions
What are the 5 essential recipes for canning green beans?
The five essential recipes for canning green beans are pickled green beans, spicy garlic dilly beans, Italian-style green beans, sweet and tangy green beans, and classic canned green beans.
What equipment do I need for canning green beans?
To can green beans, you will need a pressure canner, mason jars with lids and rings, a jar lifter, a canning funnel, and a pot for blanching the beans. For those looking to expand their canning skills, check out these savory recipes for canning meat.
How do I prepare green beans for canning?
To prepare green beans for canning, wash them thoroughly and snap off the ends. Cut them into desired lengths and blanch them in boiling water for 2-3 minutes. Then, place them in ice water to stop the cooking process.
Can I use frozen green beans for canning?
Yes, you can use frozen green beans for canning if they have been blanched before freezing. However, fresh green beans are recommended for the best results.
What is the processing time for canning green beans?
The processing time for canning green beans varies depending on the recipe and altitude. Generally, it ranges from 20-25 minutes for pints and 25-30 minutes for quarts in a pressure canner.
How long can I store canned green beans?
Canned green beans can be stored in a cool, dry place for up to one year. Once opened, refrigerate and consume within 7-10 days.

