How to Properly Seal Your Canning Jars
Canning preserves food to extend its shelf life. It captures fresh flavors beautifully.
Whether you’re a seasoned canner or just beginning your journey, understanding how to seal jars properly is vital to keep your jars safe and effective.
This guide will walk you through the different types of canning jars available, offer a detailed step-by-step process for sealing, troubleshoot common issues, and share tips for storing and reusing your jars.
Immerse yourself in this guide to master the art of canning!
Contents
- Key Takeaways:
- The Importance of Proper Sealing
- Types of Canning Jars
- Step-by-Step Guide to Sealing Your Canning Jars
- Troubleshooting Common Sealing Issues
- Storing and Using Sealed Canning Jars
- Frequently Asked Questions
- What are the steps to properly seal your canning jars?
- How do I know if my canning jars are properly sealed?
- What can cause my canning jars to not seal properly?
- Do I need to refrigerate my canning jars after they are sealed?
- Can I reuse canning jar lids?
- How important is it to follow proper canning procedures?
Key Takeaways:
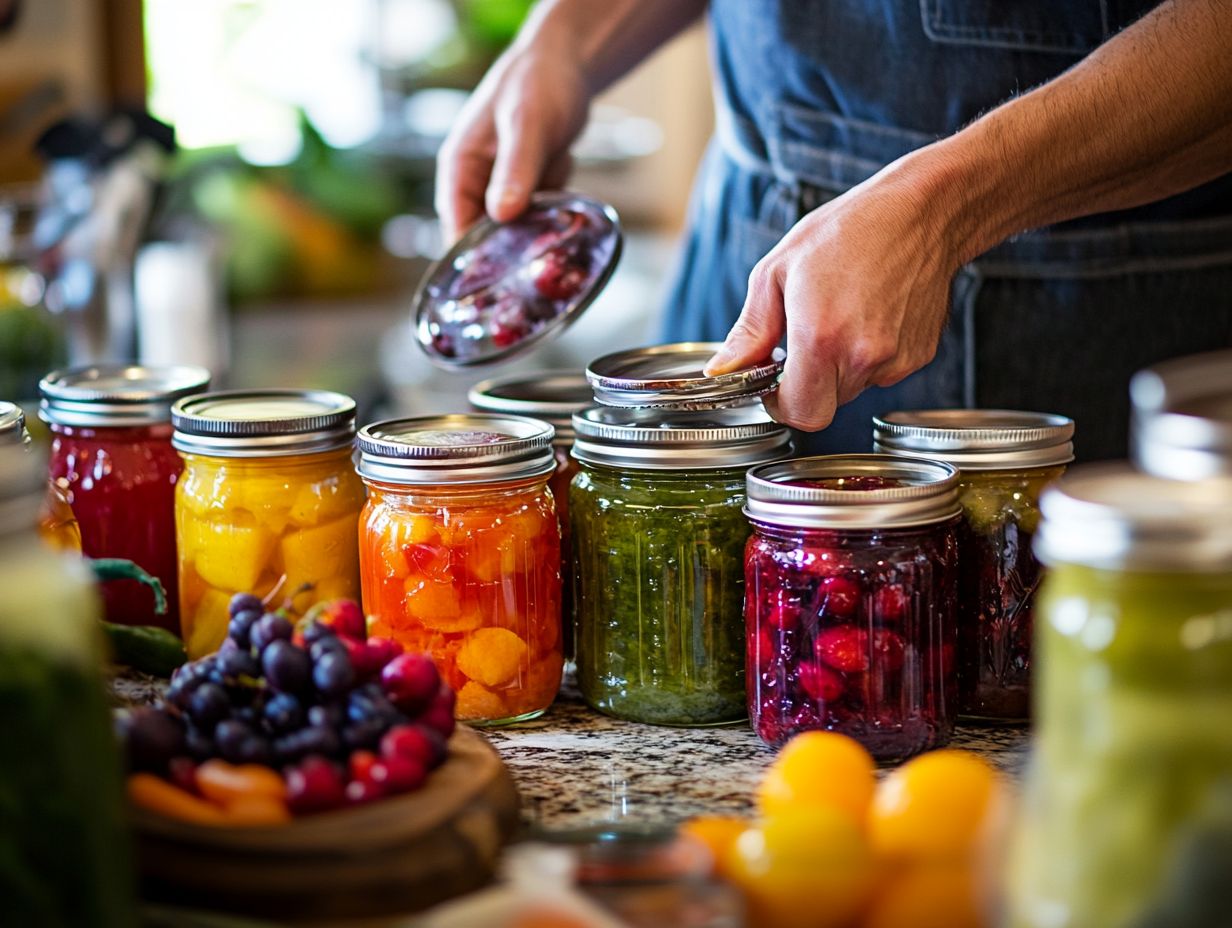
- Seal your jars right to keep your food safe and delicious!
- Understanding the different types of canning jars and following a step-by-step guide can help you achieve a perfect seal every time.
- Regularly check for common sealing issues to maintain quality.
What is Canning?
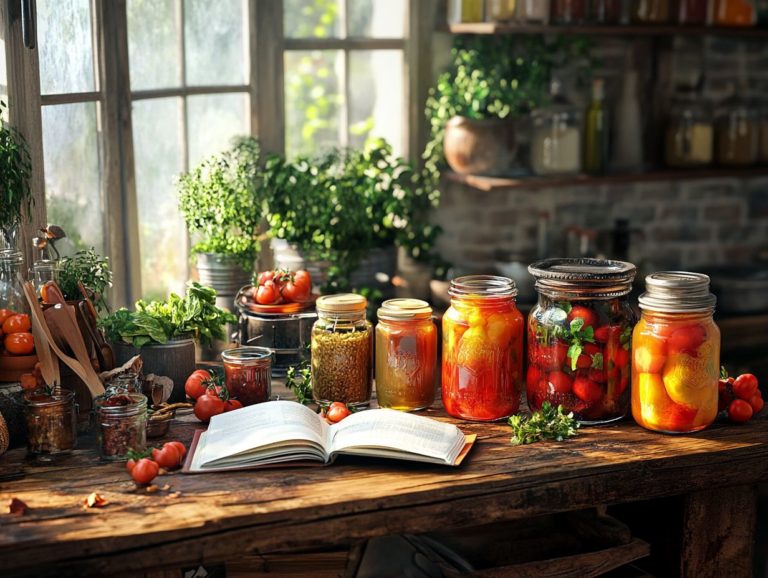
Canning is an art of food preservation that involves sealing food in containers to prevent spoilage and extend its shelf life. It’s perfect for keeping your homemade delights think jams, chutneys, and other tasty treats fresh and delicious.
This technique primarily uses glass jars, with popular choices like Mason and Kilner jars. You can explore various methods, such as water bath canning (heating jars in boiling water) and vacuum sealing (removing air), ensuring your food remains safe and flavorful for long-term enjoyment.
Historically, canning emerged in the early 19th century as a solution to food storage challenges faced during wartime and lengthy journeys. This innovative process allows you to preserve a vast array of foods, from vibrant fruits and vegetables to hearty meats and rich sauces, effectively minimizing the risk of food poisoning by eliminating harmful bacteria.
The versatility of canning opens a world of recipes, from tangy pickles to sweet fruit preserves, making it a cherished practice in kitchens around the globe.
The Importance of Proper Sealing
Proper sealing is crucial in canning as it influences safety and the quality of your preserved food. To maintain the integrity of your glass jars, it’s important to follow best practices for sterilizing jars, ensuring that contaminants and air don’t compromise your efforts.
By sealing glass jars effectively, you can avert problems like food poisoning and spoilage, allowing your homemade preserves whether jams, chutneys, or other delights to be enjoyed for much longer.
Why it Matters
Understanding the importance of proper sealing is essential for ensuring the safety and quality of your preserved food. Inadequate sealing can lead to food poisoning and spoilage, resulting in loss of both flavor and nutritional value. The integrity of your food storage relies heavily on effective sealing techniques, which protect your investments in homemade preserves.
Without these critical methods, you increase the risk of contamination and create an environment where harmful bacteria, like botulism, can thrive. When your food strays from optimal preservation conditions, it impacts taste and significantly diminishes nutritional content.
Improperly sealed jars can allow air to infiltrate, introducing moisture that encourages spoilage. This can lead to unexpected waste and financial loss, not to mention the potential health hazards associated with consuming compromised food products.
Therefore, implementing proper preservation techniques is about more than just maintaining quality; it’s about safeguarding your health and ensuring the safe enjoyment of your home-canned treasures.
Types of Canning Jars
In terms of canning, understanding the nuances of the various jar types available is crucial for selecting the ideal option tailored to your food preservation needs.
Popular choices like Mason jars are great for versatility, while Kilner jars are stylish and ideal for preserving. Your choice of jar not only influences the aesthetic of your homemade preserves but also significantly impacts the effectiveness of your sealing methods.
Understanding these intricacies will elevate your canning experience and ensure your delicious creations are preserved to perfection.
Understanding the Different Options
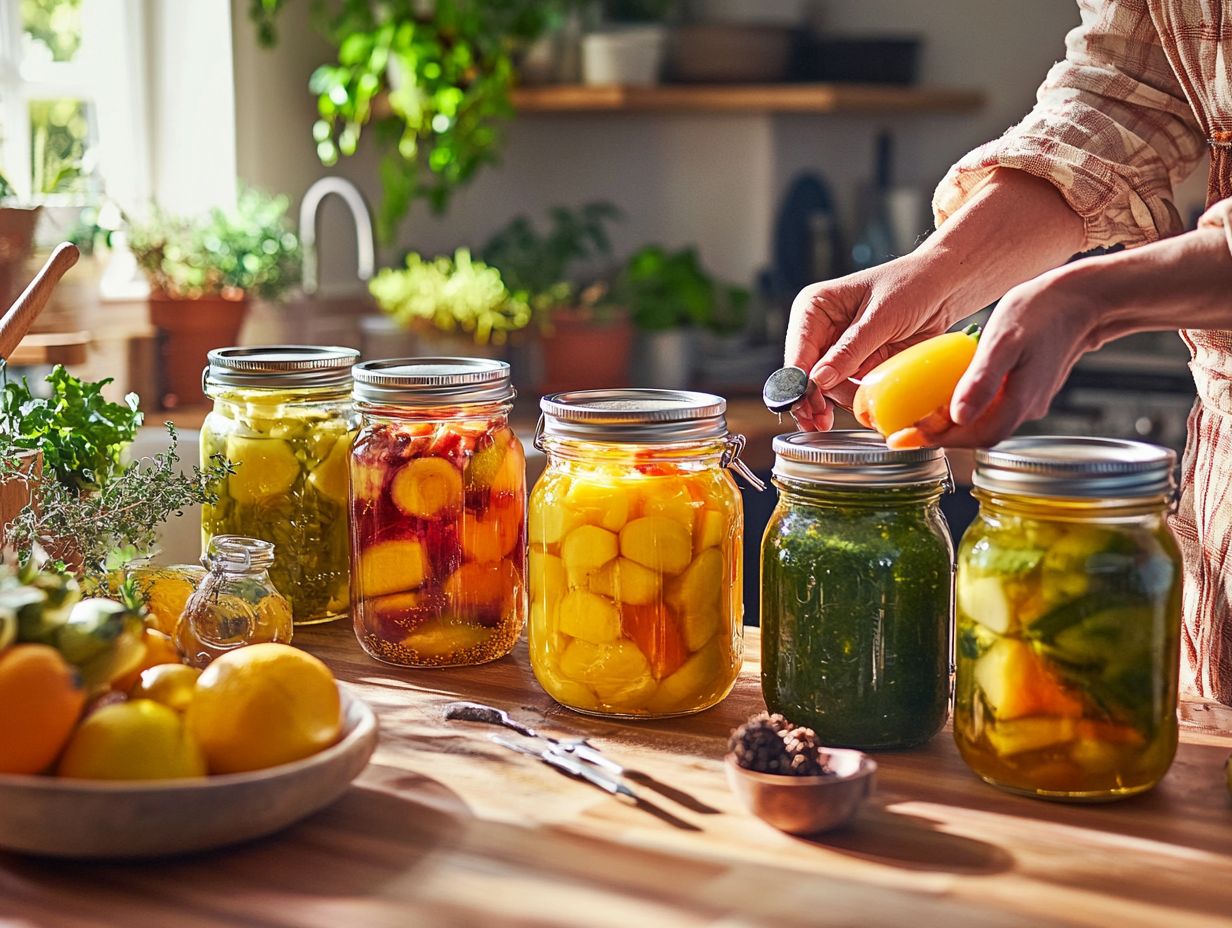
Understanding the various options for canning jars is crucial for effective food storage and preservation. Jars like Mason jars and Kilner jars each bring unique attributes that cater to different canning needs. Your choice of jar can significantly impact the sealing process and the overall success of your homemade preserves.
Take Mason jars, for example. They re known for their durability and widespread availability. Coming in an array of sizes and shapes, they make a versatile option for everything from fruits to pickles.
On the other hand, Kilner jars also offer a vintage look that many preserving enthusiasts love, celebrated for their traditional charm and superior sealing capabilities, making them ideal for long-term storage. While you may find Mason jars more readily at local stores, Kilner jars provide that vintage aesthetic that many preserving enthusiasts desire.
By recognizing these characteristics, you enable yourself to make informed choices, ensuring your contents remain fresh and flavorful for an extended period.
Step-by-Step Guide to Sealing Your Canning Jars
Sealing your canning jars right is key to preserving your delicious creations! This step-by-step guide offers you detailed instructions on the essential tools you’ll need, such as canning funnels and jar lifters. It also emphasizes the importance of sterilizing your jars before sealing, which is crucial for quality. For further assistance, check out this troubleshooting canning jar preparation resource to enhance the longevity of your preserved goods.
Preparing the Jars and Lids
Preparing your jars and lids is a crucial step before diving into the sealing process. Proper sterilization is essential to prevent spoilage and ensure the safety of your homemade preserves. By thoroughly cleaning and sterilizing your glass jars and lids, you create a secure environment for sealing, which ultimately prolongs the life of your canned goods.
Start by washing your jars with hot, soapy water, then rinse well to remove any leftover soap. For sterilization, you can submerge the jars in boiling water for 10 minutes or simply run them through a hot cycle in your dishwasher.
Don’t forget about the lids they need to be sanitized too. Any contaminants can lead to spoilage, so ensure that all your equipment is free from grease or debris, as this could impact the sealing process.
Different jar sealing methods, like water bath canning or pressure canning, come with their own specific practices. Following the best practices aligned with your chosen method can significantly enhance the preservation of your delicious creations.
Proper Filling and Sealing Techniques
Utilizing proper filling and sealing techniques is essential for the success of your canning process, directly influencing the quality and safety of your preserved foods. By using tools like a canning funnel, filling jars with care, and ensuring a tight seal, you significantly reduce the risk of contamination and spoilage while maximizing the shelf life of your homemade preserves.
As you embark on the filling process, always ensure your jars are sterilized and hot to minimize thermal shock. A canning funnel not only prevents spills but also promotes a more even fill, effectively reducing the chances of pesky air bubbles.
Once you’ve filled the jars, it’s critical to leave the appropriate headspace—the space between the food and lid in the jar—which is necessary for sealing. To ensure you seal your canned goods effectively, follow guidelines on how to properly store canned foods. This step is vital for creating a proper seal.
After securing the jars with lids, checking the seals becomes equally important. Always check the seals after closing your jars. If the lid pops back, it hasn’t sealed properly. For tips on preventing jar breakage during canning, that jar may need repacking and resealing.
By adhering to these methods and paying close attention to detail, you can make the preservation process not only effective but truly enjoyable.
Troubleshooting Common Sealing Issues
Troubleshooting common sealing issues is an critical skill for anyone engaged in the canning process. By identifying and resolving problems early on, you can avert potential risks like food poisoning and spoilage.
Recognizing inadequate seals is crucial. Mastering how to check them helps protect your homemade preserves and maintain their quality during storage.
Now that you have the knowledge, grab your jars and start canning! Preserve your favorite flavors today!
Identifying and Fixing Problems
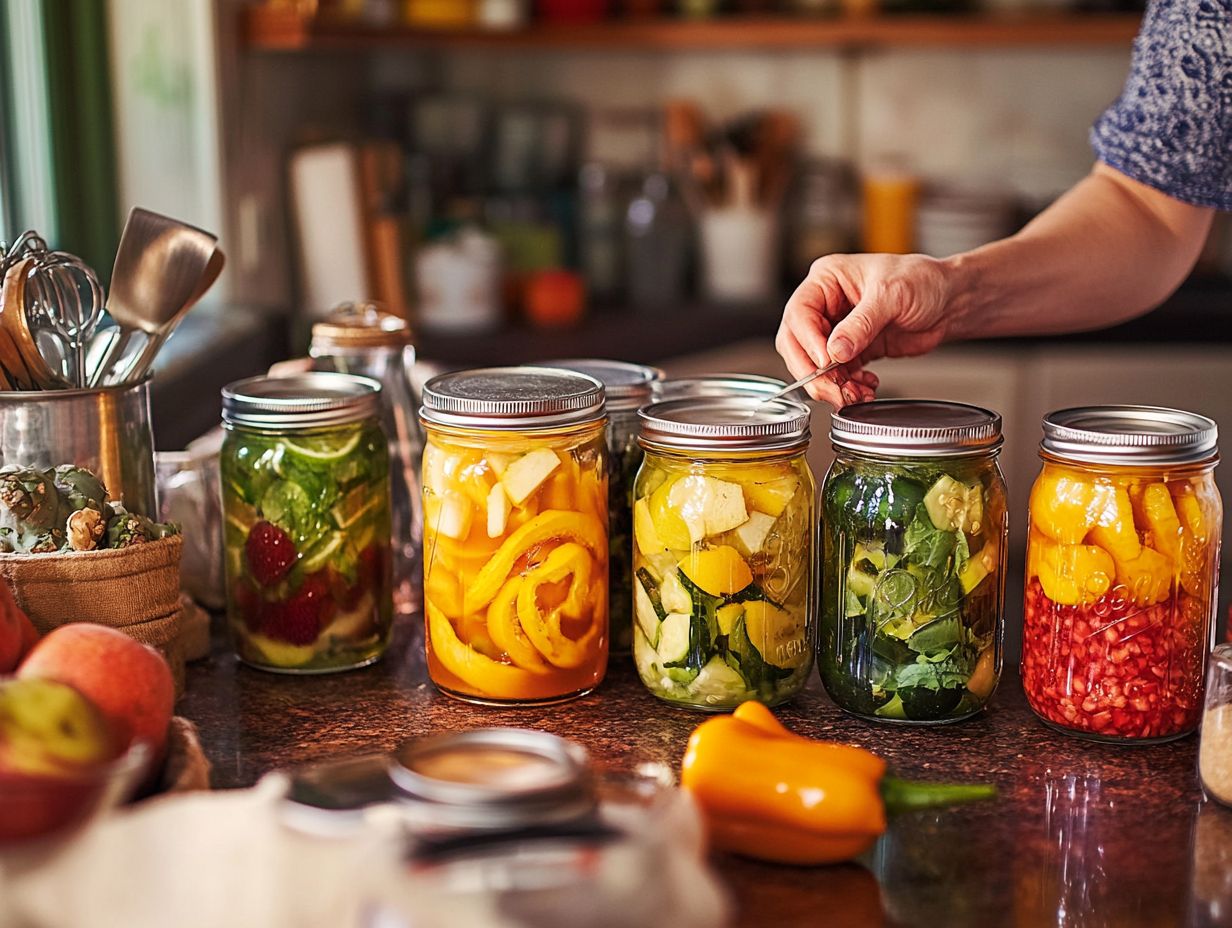
Identifying and addressing issues that arise during the sealing process can be your secret weapon against spoilage, significantly enhancing food safety. Improper seals can lead to food poisoning and waste. Recognizing failed seal signs helps you act quickly look for an unsealed lid or noticeable cracks and nicks in your glass jars to save your homemade preserves.
Watch for bulging lids or popping sounds when opening a jar, as these may indicate fermentation. A simple method to check seals is to gently press down at the center of the lid. If it springs back, the seal isn’t secure.
For those just starting with sealing glass jars, make sure the rims are clean and free of food debris. If you do encounter problems, don’t lose hope; just replace the faulty lid and reprocess the jar if needed. Additionally, you can check what to check when jars don’t seal or store the unsealed contents in the refrigerator to keep them fresh.
Storing and Using Sealed Canning Jars
Proper storage and use of sealed canning jars is key to keeping your delicious creations safe! To avoid spoilage and preserve flavor, it’s essential to follow tips for safe canning practices, which is the last thing you want after all your hard work.
By understanding best practices for food storage including optimal temperatures and conditions for long-term keeping you can ensure that your delightful creations stay safe and enjoyable for months to come.
How to Properly Store and Reuse Jars
Knowing how to store and reuse jars is essential for efficient food storage and promoting sustainability. This knowledge helps you maximize the lifespan of your canning jars while ensuring the safety of your preserved foods. By understanding the importance of sterilizing jars and following best practices for long-term storage, you can relish your homemade preserves without worrying about spoilage.
Start by inspecting each jar for any cracks or nicks that might jeopardize the seal and safety of your stored items. Once you’ve deemed them suitable, sterilizing the jars in a boiling water bath effectively eliminates lingering bacteria, ensuring your food remains safe for consumption.
It’s also wise to label your jars with dates to keep track of their freshness, which aids in efficient food rotation. These practical tips not only preserve the integrity of the jar but also elevate your overall preservation efforts, contributing to a truly sustainable kitchen environment.
Frequently Asked Questions
What are the steps to properly seal your canning jars?
First, prepare your jars by washing them in hot, soapy water and sterilizing them. Next, fill them with your desired food or liquid, leaving space at the top of the jar. Wipe the rims clean and place the lids on top. Finally, process the jars using a pressure canner as outlined in this guide on how to use a pressure canner effectively, depending on the recipe and food being canned.
How do I know if my canning jars are properly sealed?
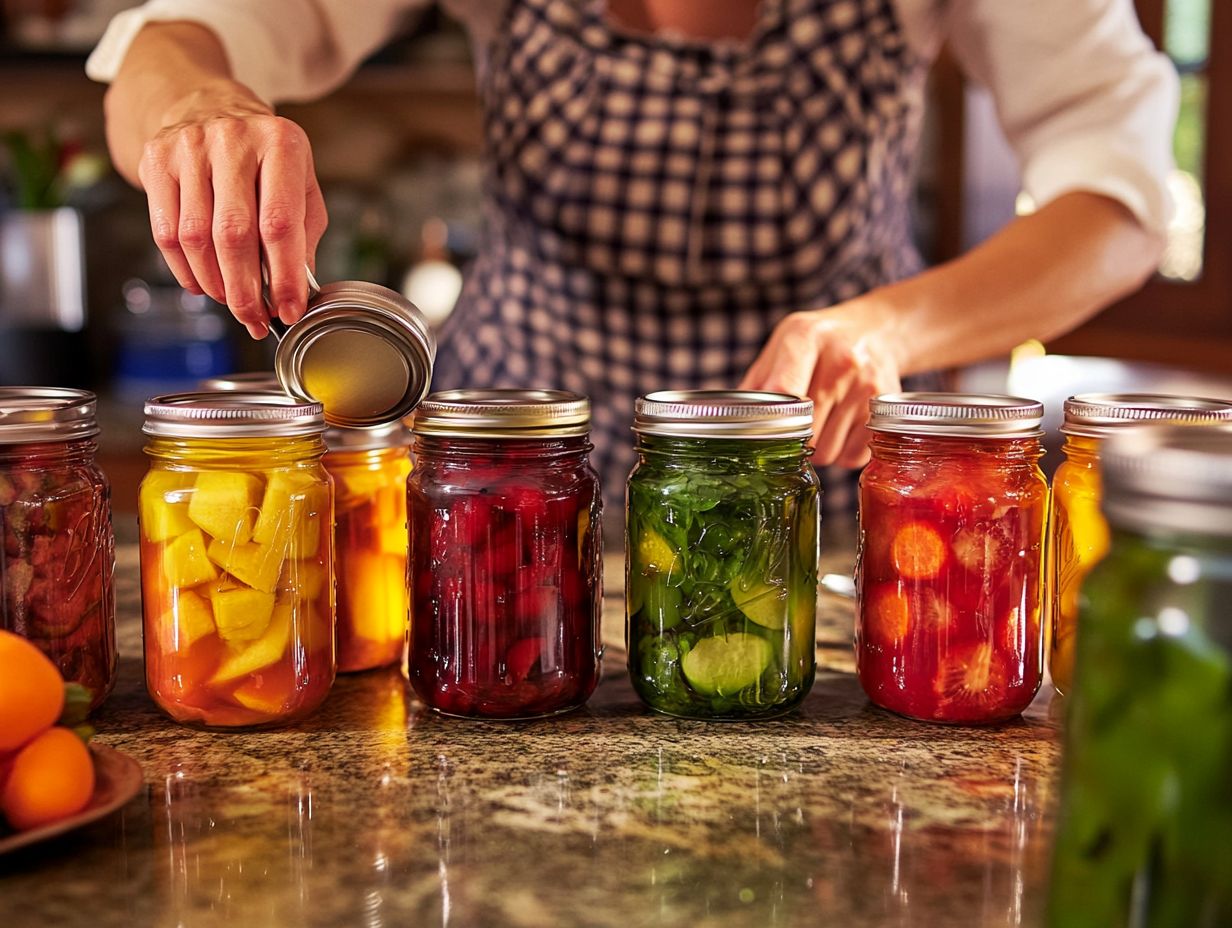
After processing, let the jars cool completely and check for a seal by pressing down on the center of the lid. If it does not move or make a popping sound, it is sealed. You can also visually inspect the lids for any signs of bulging or leakage, which indicate an improper seal. For more information, refer to our guide on how to reuse canning jars safely.
What can cause my canning jars to not seal properly?
The most common reasons for jars not sealing are dirty rims, improper headspace, or not processing the jars for the correct amount of time. It’s essential to follow the recipe and process carefully to ensure a proper seal.
Do I need to refrigerate my canning jars after they are sealed?
If your jars have sealed correctly, they can be stored in a cool, dark place for up to a year. However, once opened, they should be refrigerated and consumed within a few days.
Can I reuse canning jar lids?
No, canning jar lids are designed for one-time use only. The sealing compound can become worn and may not provide a proper seal if reused.
Start your canning adventure today and keep your kitchen stocked with tasty treats!
How important is it to follow proper canning procedures?
Following proper canning procedures is crucial for food safety. To ensure the best results, it’s important to learn how to use canning lids and bands, as improperly sealed jars can harbor harmful bacteria that lead to spoilage.
Don’t risk your health! Always use trusted recipes and can your jars properly.
