How to Easily Label Canned Goods?
Properly labeling canned goods goes beyond a kitchen chore. It s a vital practice that saves time, reduces food waste, and improves meal preparation.
This guide covers different label types, materials needed, and a simple, step-by-step approach to make labeling easy.
You ll find tips for organizing your pantry and methods to enhance efficiency.
Whether you re an experienced canner or just starting out, this guide will help you keep your canned goods organized and easy to identify.
Contents
- Key Takeaways:
- The Importance of Properly Labeling Canned Goods
- Types of Labels for Canned Goods
- Materials Needed for Labeling
- Step-by-Step Guide to Labeling Canned Goods
- Tips for Organizing and Storing Labeled Cans
- Alternative Methods for Labeling Canned Goods
- Frequently Asked Questions
- What are the benefits of properly labeling canned goods?
- What supplies do I need to easily label canned goods?
- How do I label canned goods with expiration dates?
- Can I use a label maker for labeling canned goods?
- What information should I include on the label for canned goods?
- How can I easily remove labels from canned goods?
Key Takeaways:
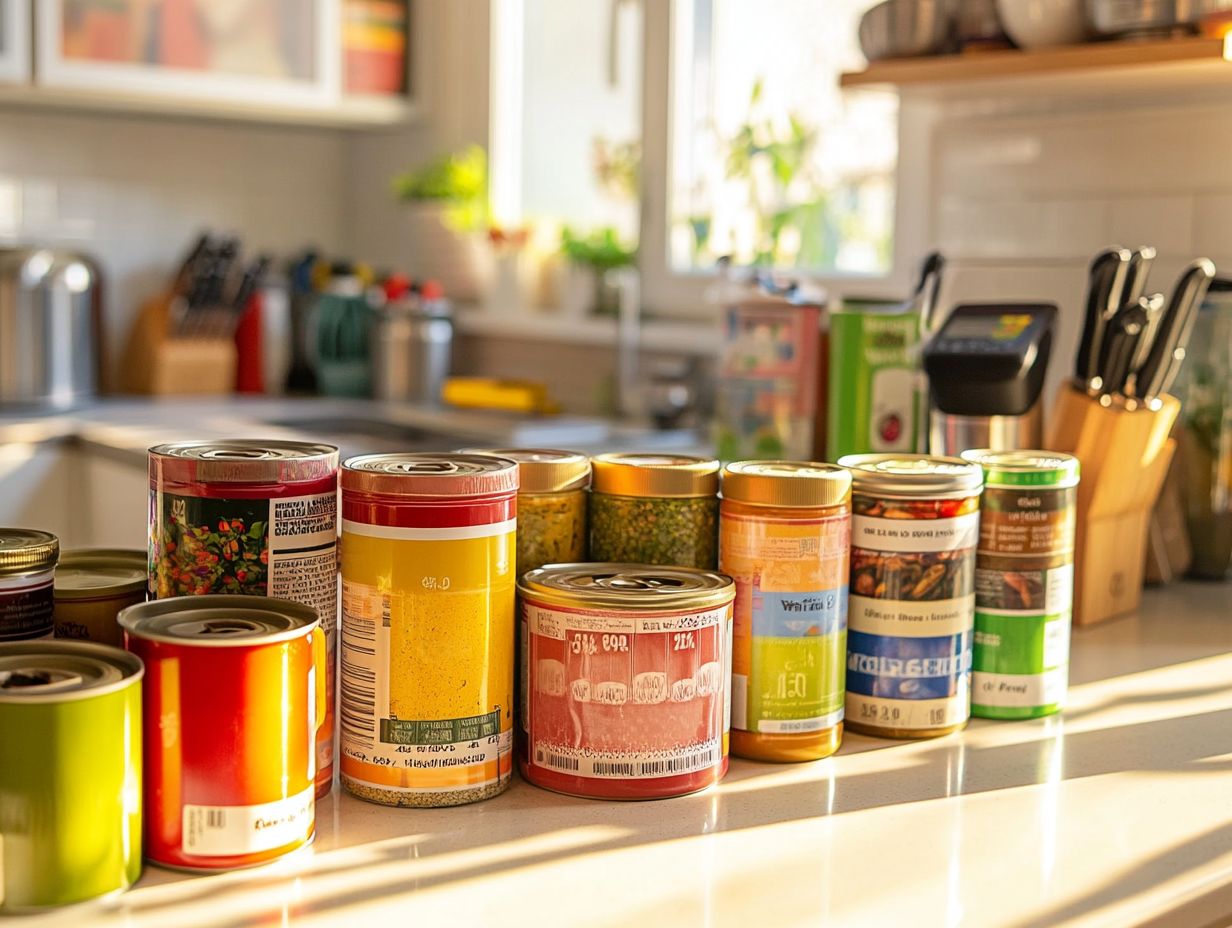
- Properly labeling canned goods is crucial for organization and safety.
- Adhesive labels are more durable and long-lasting compared to marker labels.
- Use waterproof and oil-resistant materials to ensure labels stay intact.
The Importance of Properly Labeling Canned Goods
Proper labeling is essential for ensuring food safety. It helps you know exactly what you’re consuming and how long it will remain fresh. By adding clear labels to your jars of homemade delights like savory onion relish, sweet raspberry jam, or zesty green tomato salsa you can effectively avoid food allergies, maintain nutritional information, and elevate the gift-giving experience.
Thoughtful labels safeguard your health and transform your home-canned gifts into heartfelt presents that convey genuine care, making them perfect for occasions like the harvest fair.
Why Labeling Matters
Labeling is vital for canning. It ensures your homemade products are safe to enjoy and easy to recognize, especially when using processing methods like water bath or pressure canning.
Think of proper labeling as more than just a simple tag; it plays a critical role in food safety by preventing mixing different food items that can cause health risks and enabling you to quickly check for allergens. With clear nutritional information, including ingredients and expiry dates, you can make informed dietary choices to support your health goals.
In terms of gift-giving, well-labeled jars not only look stunning but also reflect your thoughtfulness and care, making it easy for recipients to know exactly what s inside.
Ultimately, proper labeling enhances the experience of enjoying your homemade preserves. It s a crucial step that deserves your attention in the canning process.
Types of Labels for Canned Goods
When labeling your canned goods, such as jars of green beans or homemade jams, you have various labels available, including how to make your own canning labels, each tailored to meet different purposes and preferences for the home canner.
Are you ready to elevate your canning game? Let’s get started on labeling those delicious homemade goodies!
Adhesive Labels vs. Marker Labels
The choice between adhesive labels, such as dissolvable or custom labels, and marker labels can affect how your canned goods look and work.
When weighing your labeling options, consider factors like ease of use, cost-effectiveness, and durability. Adhesive labels are easy to apply; their sticky backs adhere beautifully to smooth surfaces, making them perfect for jars or cans that require a polished appearance. For example, during food preservation projects, adhesive labels can impart a professional finish while clearly conveying essential details like contents, batch number, and expiration dates.
Marker labels, like dry-erase and permanent markers, allow for quick changes. They are often more budget-friendly for temporary needs, such as organizing spices or labeling seasonal items. While they may not endure as well under varying environmental conditions, their convenience makes them ideal for informal settings or rapid kitchen tasks, such as using painter’s tape for quick labels. By understanding these distinctions between labeling methods, you can select the most practical labeling solution tailored to your needs.
Materials Needed for Labeling
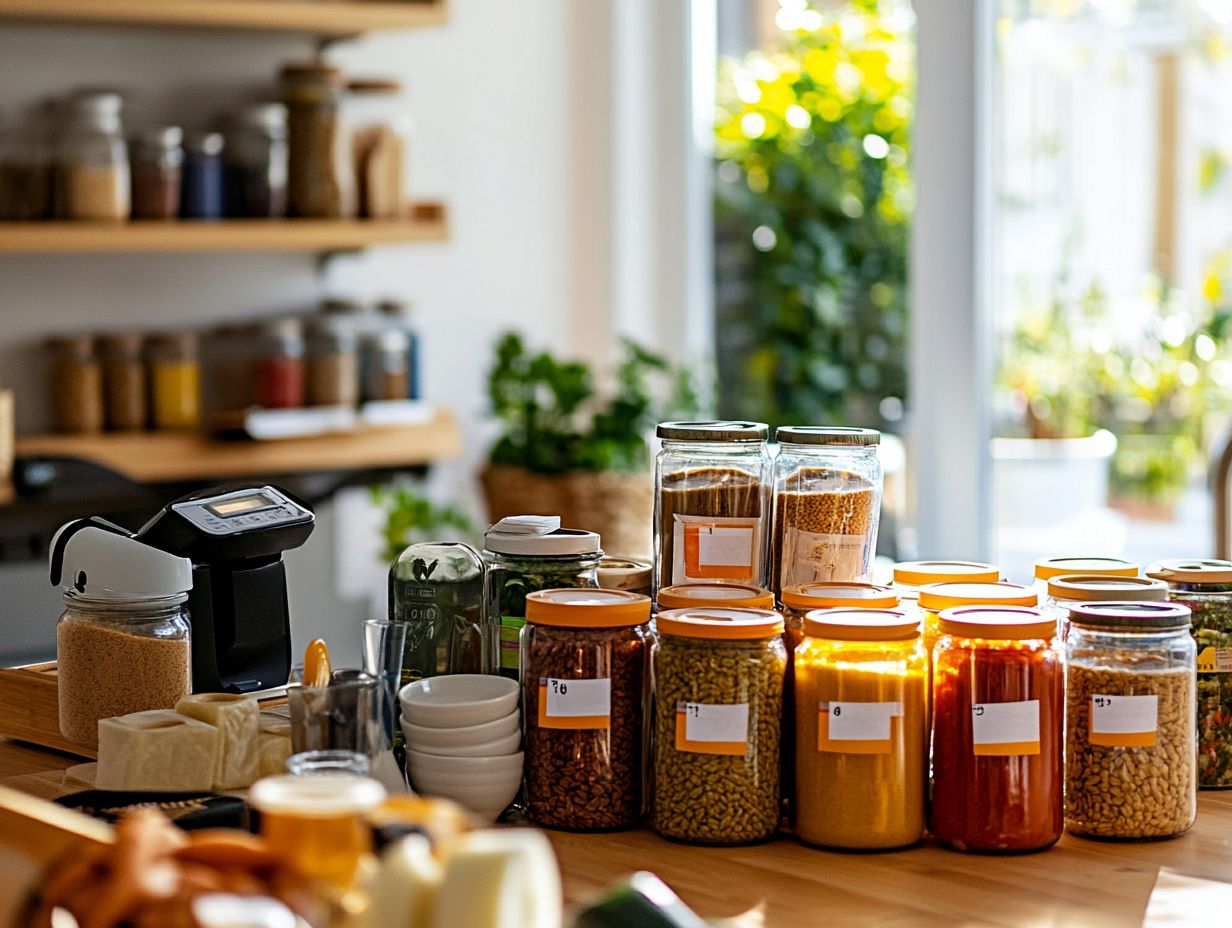
For easy labeling, it’s essential to have the right materials, including jars and labels, readily available. This ensures the preservation of the quality and integrity of your canned goods and helps you learn how to keep canned goods organized, elevating your efforts to a standard of excellence.
Essential Supplies
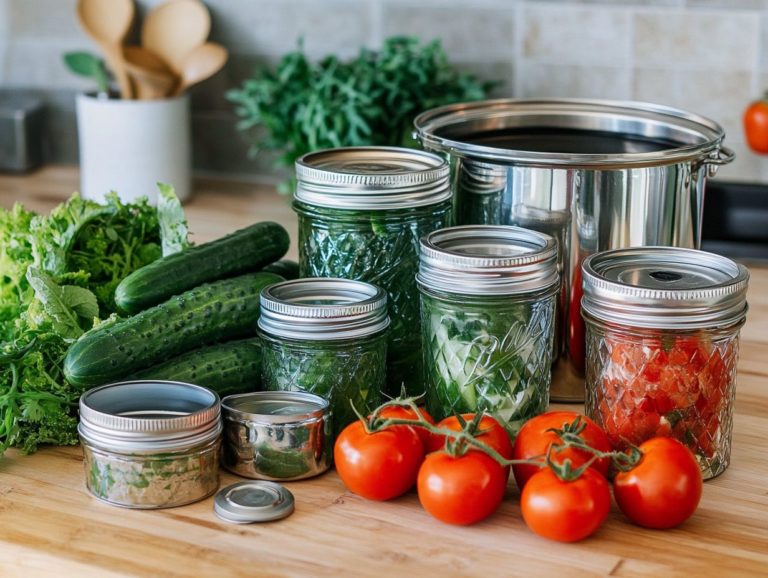
Essential supplies for effective labeling include jars, such as Ball jars, and tools like a canning journal, which helps you track your canning adventures and recipe sources. Choosing the right jar sizes pint, quart, or half-gallon is crucial, as they accommodate different quantities of food and impact the types of labels that are most fitting.
The variety of labels available from waterproof ones perfect for canning to decorative styles ideal for gifting elevates both organization and aesthetic appeal. A canning journal allows you to record batch numbers, ingredients, and any recipe variations, ensuring consistency and supporting your future canning projects.
By utilizing these essential supplies, you can streamline your process and truly savor the fruits of your labor.
Step-by-Step Guide to Labeling Canned Goods
Labeling canned goods might appear simple, but following a detailed step-by-step guide can significantly enhance food safety and the clarity of each jar, ensuring they are safe for consumption.
Preparing the Cans
Before labeling your cans, it s crucial to ensure they are meticulously prepared according to food safety standards. This preparation process includes several key steps that are vital for guaranteeing the quality and safety of your contents.
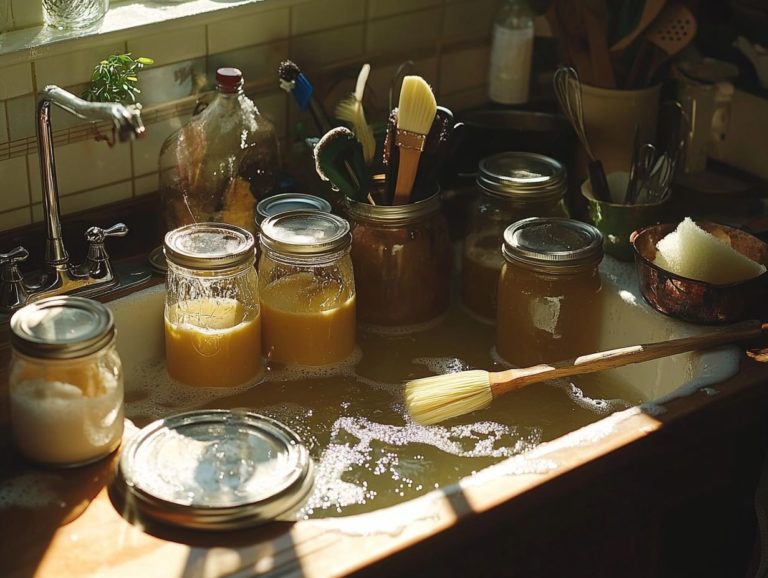
- Begin by thoroughly cleaning the jars to eliminate any contaminants that could compromise food safety.
- Next, check the ingredients; this means verifying expiration dates and ensuring that all components are fresh and suitable for consumption.
- It s also important to examine the way you prepare food for canning, confirming that it is both effective and safe for preserving the food.
By diligently following these steps, you significantly reduce the likelihood of spoilage or contamination, setting the stage for successful canning and labeling, ultimately enhancing your kitchen organization.
Choosing and Applying Labels
Choosing and applying the right labels, including custom labels and DIY solutions, can significantly elevate both the presentation and usability of your canned goods. For detailed guidance, check out how to properly label canned foods.
When evaluating your options, consider factors like design, durability, and functionality. Select labels with a visually appealing aesthetic; colors and fonts should harmoniously complement the contents while remaining legible, particularly for brand recognition.
Durability is also vital; seek out stick-on labels that can endure moisture and temperature changes without peeling away.
To apply these DIY labels effectively, start with a clean, dry surface for optimal adhesion, especially when using special printing labels from PrintRunner. This ensures they stay intact even in less-than-ideal conditions.
Don’t overlook the importance of including essential information such as expiration dates, ingredients, and nutritional information. This will enhance organization and ensure safety.
Tips for Organizing and Storing Labeled Cans
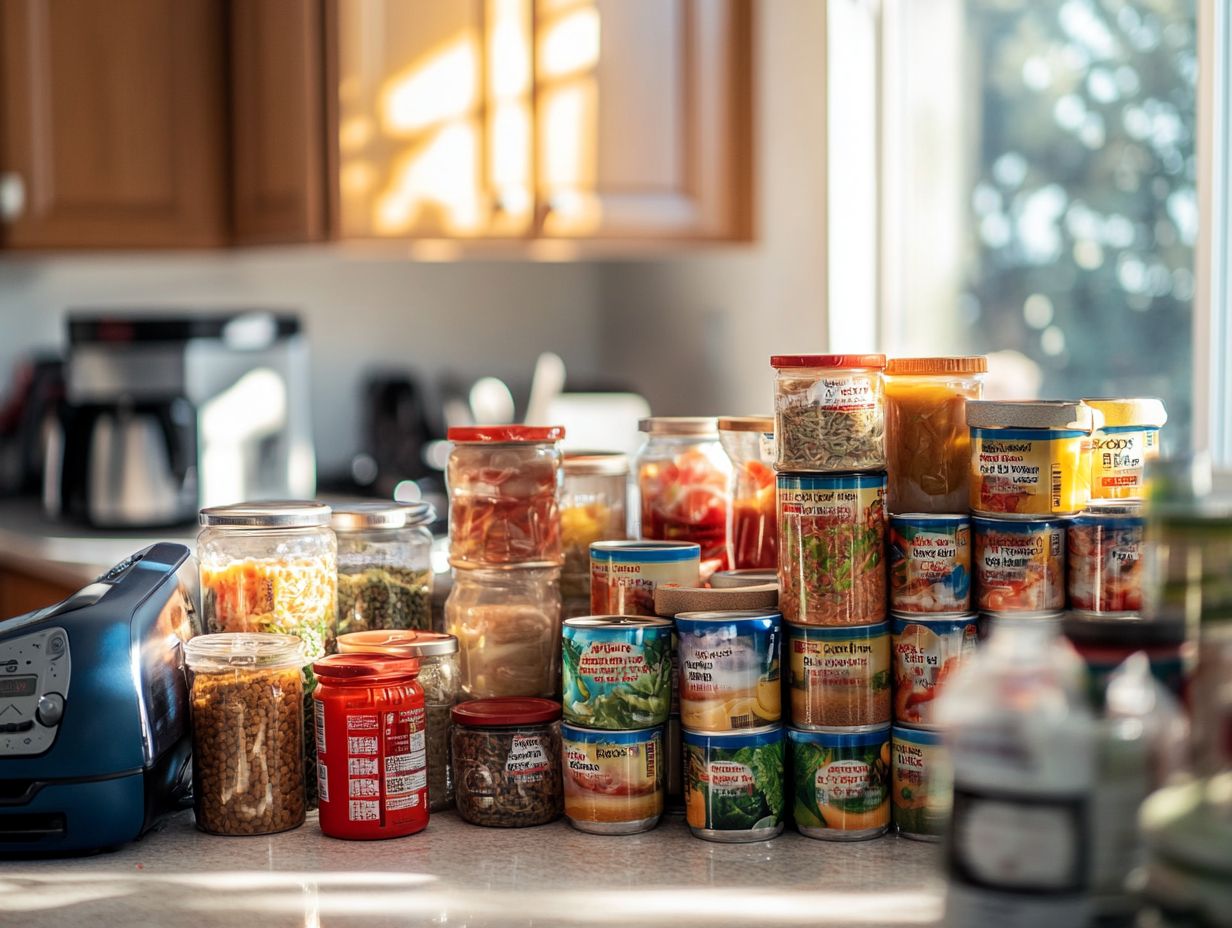
When you organize and store labeled cans properly, whether it’s jars of onion relish or raspberry jam, you not only extend their shelf life but also ensure they remain safe for consumption well past their expiry date.
This smart method, especially when using a canning journal for tracking, can elevate your food management game, allowing you to maximize your pantry staples.
Maximizing Space and Shelf Life
Maximizing space in your kitchen while extending the shelf life of your canned goods is achievable through strategic organization and careful labeling of jars and cans.
Implement effective storage solutions to enjoy both freshness and easy access. Start by categorizing canned items based on type think vegetables, fruits, and soups. This setup makes it easy to find what you need.
Consider using tiered shelving units or lazy Susans to make the most of your vertical space. Clear bins labeled by category help you keep track of your inventory, preventing waste and allowing you to easily find your homemade gifts.
Always place older cans, such as jars of onion relish and raspberry jam, at the front. This simple practice ensures they re used first, naturally rotating your stock to keep everything fresh.
Alternative Methods for Labeling Canned Goods
Exploring alternative methods for labeling canned goods, including DIY solutions and custom labels, opens up a world of creative solutions to common labeling challenges.
This approach ensures your jars catch the eye while effectively communicating essential information.
Other Labeling Options
With traditional labels, you have a wealth of options like Glowforge and printing labels that provide both flexibility and customization for your home canning adventures.
These alternatives can significantly enhance the presentation of your jars, adding a personal touch that makes them truly yours. For instance, DIY solutions unleash your creativity, allowing you to express your unique style through one-of-a-kind designs, like using embossing for added flair.
With just a few basic materials, you can craft labels that resonate with your personal sentiments or reflect seasonal themes.
On the other hand, printing custom labels opens up a treasure trove of professional-looking options. These tailored prints can include valuable information like ingredients, preservation dates, and storage tips, complementing your various canning projects.
Both methods elevate the aesthetic appeal of your creations while assisting you in managing and organizing your diverse range of preserved goods.
Frequently Asked Questions
Are you ready to start labeling your cans today for better organization?
What are the benefits of properly labeling canned goods?
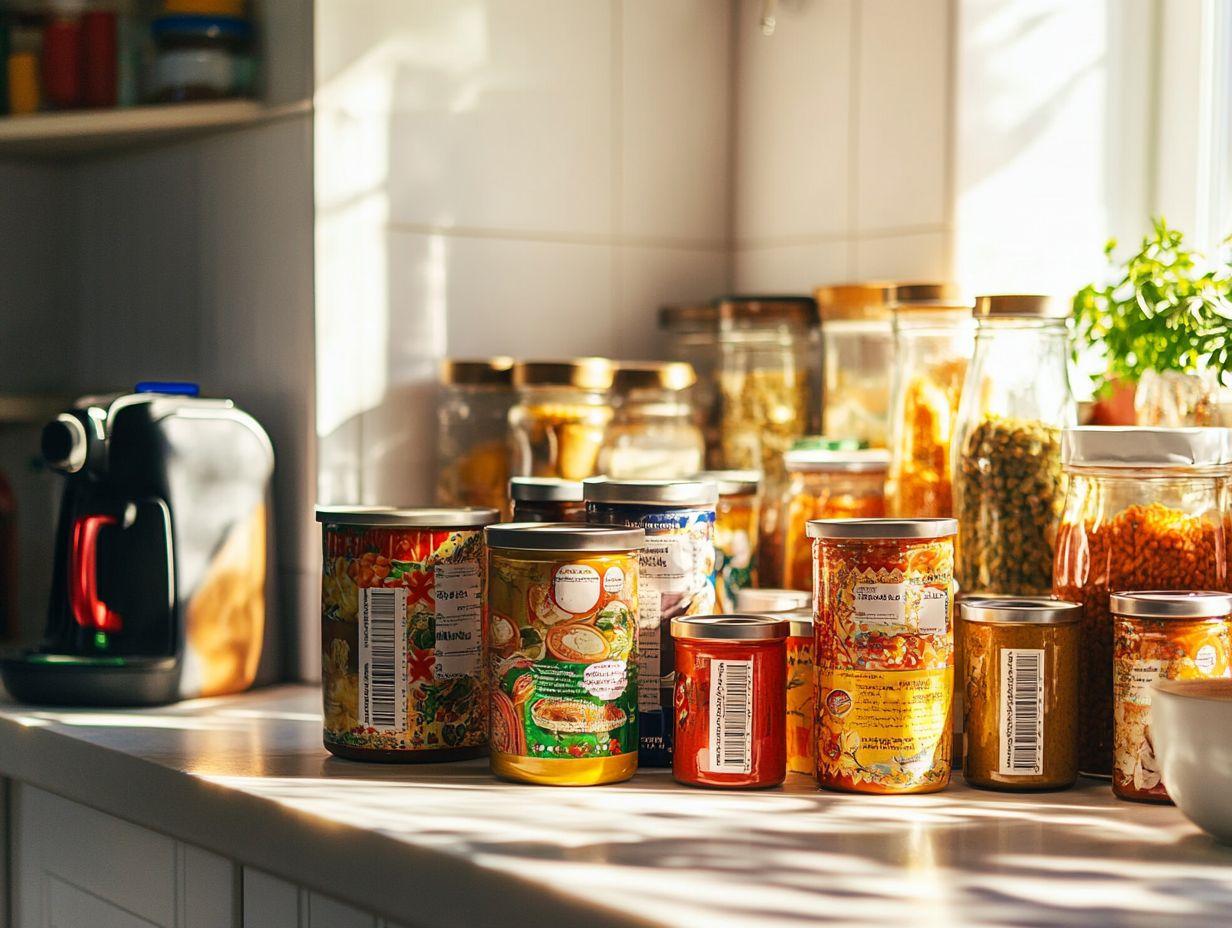
Proper labeling makes it easy to identify and organize your canned goods. This practice helps reduce food waste by showing expiration dates.
It also ensures safety by listing allergens and ingredients. Don’t wait label your canned goods today to prevent food waste!
What supplies do I need to easily label canned goods?
Grab your permanent markers, adhesive labels (stick-on labels that can display information), or a label maker. You’ll also need a clean surface to apply the labels onto the cans, ensuring you follow how to label canned goods properly.
How do I label canned goods with expiration dates?
Write or print the expiration date on a label. Place it on the top or side of the can.
You can also use a permanent marker to write the date directly on the can.
Can I use a label maker for labeling canned goods?
Yes, a label maker is a convenient and efficient option for labeling canned goods. For best results, refer to how to label your canned goods effectively and make sure to use labels suitable for cans that can withstand moisture and temperature changes.
What information should I include on the label for canned goods?
Your label should include the product name, date of canning, and expiration date. You can also include extra information like ingredients, allergens, or storage instructions.
How can I easily remove labels from canned goods?
You can use a label remover solution or soak the cans in warm, soapy water to help loosen the adhesive. Alternatively, use a razor blade or scraper to carefully remove the label.
Always make sure to thoroughly clean and dry the cans before applying new labels.
