How to Prep Foods for Canning?
Canning is a time-honored technique for preserving food. It allows you to savor seasonal flavors throughout the year, while also providing cost savings and reducing food waste. This method of food preservation lets you create delicious homemade gifts and foods that can be stored for a long time.
This guide will delve into the essential elements of canning, from preparing fresh produce to selecting the right ingredients. You’ll also learn about the equipment you’ll need to get started, such as canning jars and a heavy-bottomed stock pot.
You’ll discover a comprehensive, step-by-step approach to ensuring your jars are sealed and stored perfectly, focusing on safe canning methods.
Get ready for an exciting adventure in canning, where you can create everything from refrigerator pickles to freezer jams!
Contents
Key Takeaways:
Canning is a method of preserving fresh foods, such as high-acid and low-acid foods. It offers numerous benefits, including extending shelf life and saving money.
Proper preparation of foods for canning is essential. This includes avoiding foodborne illnesses like botulism, caused by Clostridium botulinum. To ensure safety, it’s important to follow the best canning practices, choosing the right foods and using proper cleaning and peeling techniques.
When canning, it’s important to have the necessary equipment. This includes a pressure canner or a boiling water bath. Follow a step-by-step guide, and properly seal and store the jars for safe consumption.
What is Canning?
Canning is an art of food preservation. You seal food in airtight containers, typically canning jars, to ward off spoilage and lock in flavors. This ensures safety for all food products, including homemade bone broths and beef stew.
This technique traces its roots back to the early 19th century, thanks to pioneers like Nicolas Fran ois Appert. Later refinements came from innovators such as Alexander Kerr and John Mason, who significantly advanced the craft of canning.
By employing safe canning methods, you can store high-acid foods like pickles and low-acid options like beef stew. This minimizes the risk of foodborne illnesses, including the notorious botulism from Clostridium botulinum.
The evolution of canning has enabled generations to preserve seasonal produce and capitalize on the nutritional benefits these methods offer. This includes creating vacuum-sealed products for long-term storage.
In today’s world, canning blends techniques like water bath canning perfect for high-acid foods with pressure canning, essential for low-acid items such as meats and vegetables. This ensures your preservation endeavors are both safe and effective.
Grasping the intricacies of these methods is vital for anyone looking to maintain food safety while enjoying the enduring flavors of their favorite dishes.
As sustainability takes center stage, canning is a crucial practice in the fight against food waste. It allows you to relish the bounty of your harvest while being conscientious about your nutritional health. Plus, you can enjoy homemade gifts that promote healthy eating.
Benefits of Canning
Canning presents a wealth of advantages, making it a compelling choice for anyone keen on food preservation. Want to enjoy your favorite flavors any time of year? Canning is the answer!
It provides a sustainable method to savor seasonal produce throughout the year. It also allows you to craft thoughtful homemade gifts and create shelf-stable foods like freezer jams and refrigerator pickles.
Preserving Fresh Foods
One of the most enticing aspects of canning is its ability to preserve fresh foods. You can turn seasonal fruits and vegetables into delightful creations, like refrigerator pickles and freezer jams.
This method is great for foods like tomatoes, berries, and citrus fruits. These ingredients not only boost flavor but also ensure safety against issues like botulism.
For instance, making raspberry freezer jam captures the essence of summer with just a few ingredients. Remember those sunny afternoons spent preparing spicy dill refrigerator pickles? The crunch and tang of those pickles create cherished memories.
With a variety of canning techniques, you can find what suits you best. Whether you prefer water bath canning, refrigerator methods, or no-cook freezer jams, each offers unique advantages.
Cost Savings
Canning not only preserves food but also saves you money. By using seasonal fruits and vegetables, you can create shelf-stable items at home.
A little time and effort can significantly reduce your grocery bills, especially when you buy fresh produce during its peak season.
These savings can add up, potentially saving you hundreds of dollars annually. Explore the versatility of freezing and canning techniques to maximize your budget.
Homemade goods make heartfelt gifts for loved ones, adding emotional value that store-bought items can’t match. Share beef stew or easy white bean chicken chili to show your care.
Embracing canning enhances your financial stability and enriches your relationships, leading to personal fulfillment with every batch you create.
Preparing Foods for Canning
Preparing foods for canning is crucial for minimizing foodborne illness risks. To ensure you get it right, learn how to read canning recipes and pay attention to detail when selecting and cleaning your ingredients.
Proper cleaning and peeling elevate flavors and extend shelf-life. This ensures your efforts yield delicious and lasting results.
Choosing the Right Foods
Choosing the right foods is exciting and vital for your canning journey! Focus on high-acid options like tomatoes and fruits, along with low-acid choices such as vegetables and meats. To ensure a successful food preservation process, it’s important to follow established canning recipes and understand what safety measures to take in canning.
Knowing the difference between high-acid foods and low-acid foods is important for effective canning. High-acid foods, like berries, citrus fruits, and pickled products, typically require less stringent canning methods. They can be safely processed in a water bath canner, making them easier for beginners.
On the other hand, low-acid foods such as green beans, carrots, and meats must be processed in a pressure canner to prevent the growth of harmful bacteria. This ensures food safety and quality.
By distinguishing between these categories of foods, you can make informed choices that optimize both flavor and safety in your canning projects, promoting botulism prevention. If you’re a beginner, consider starting with simple canning recipes. For instance, you might check out tips for safe canning practices before trying to make peach jam or canned green beans—both are rewarding projects for your first endeavors!
This approach will help you build confidence and develop your skills, making the canning process enjoyable and fulfilling.
Proper Cleaning and Peeling Techniques
Proper cleaning and peeling techniques are key in the canning process. They ensure that your food items are free from contaminants, which is crucial for safe preservation. For more detailed information, you can check out the canning guidelines for vegetables.
Cleaning your fruits and vegetables properly is essential. Each type needs special care to remove dirt and pesticides that can cause illness. For example, leafy greens require a thorough rinse under running water, while root vegetables like potatoes benefit from a good scrubbing to remove stubborn soil.
Using techniques like blanching which is briefly boiling food to kill bacteria can enhance the safety and shelf-life of certain foods. It also loosens peels for easier removal. This practice improves food safety and preserves the quality and flavor of your canned items.
By following these steps, you’ll have wholesome meals ready for the future, perfect for sharing with loved ones.
Equipment Needed for Canning
Before you start canning, gather your must-have tools! A pressure canner, boiling water bath, and high-quality canning jars are essential for the best preservation results.
Essential Tools and Supplies
Essential tools and supplies for your canning adventures include:
- High-quality canning jars
- Heavy-bottomed stock pot for boiling
- Various utensils designed for safe food handling and processing
These ensure a successful canning experience. Make sure your jars are perfect for canning now to avoid any mishaps later!
A stock pot with a tight-fitting lid promotes even heating, making a difference in achieving a vacuum-sealed product. A jar lifter is invaluable for safely removing hot jars, helping you avoid burns.
A funnel is great for filling jars without spills, and a reliable magnetic lid lifter simplifies handling metal lids, making the process smoother.
Don’t underestimate the importance of a food thermometer, which ensures your foods are processed at the correct temperatures. Together, these tools create a seamless canning experience, allowing you to confidently preserve your harvest and enjoy the rewards of your efforts.
Step-by-Step Guide to Canning
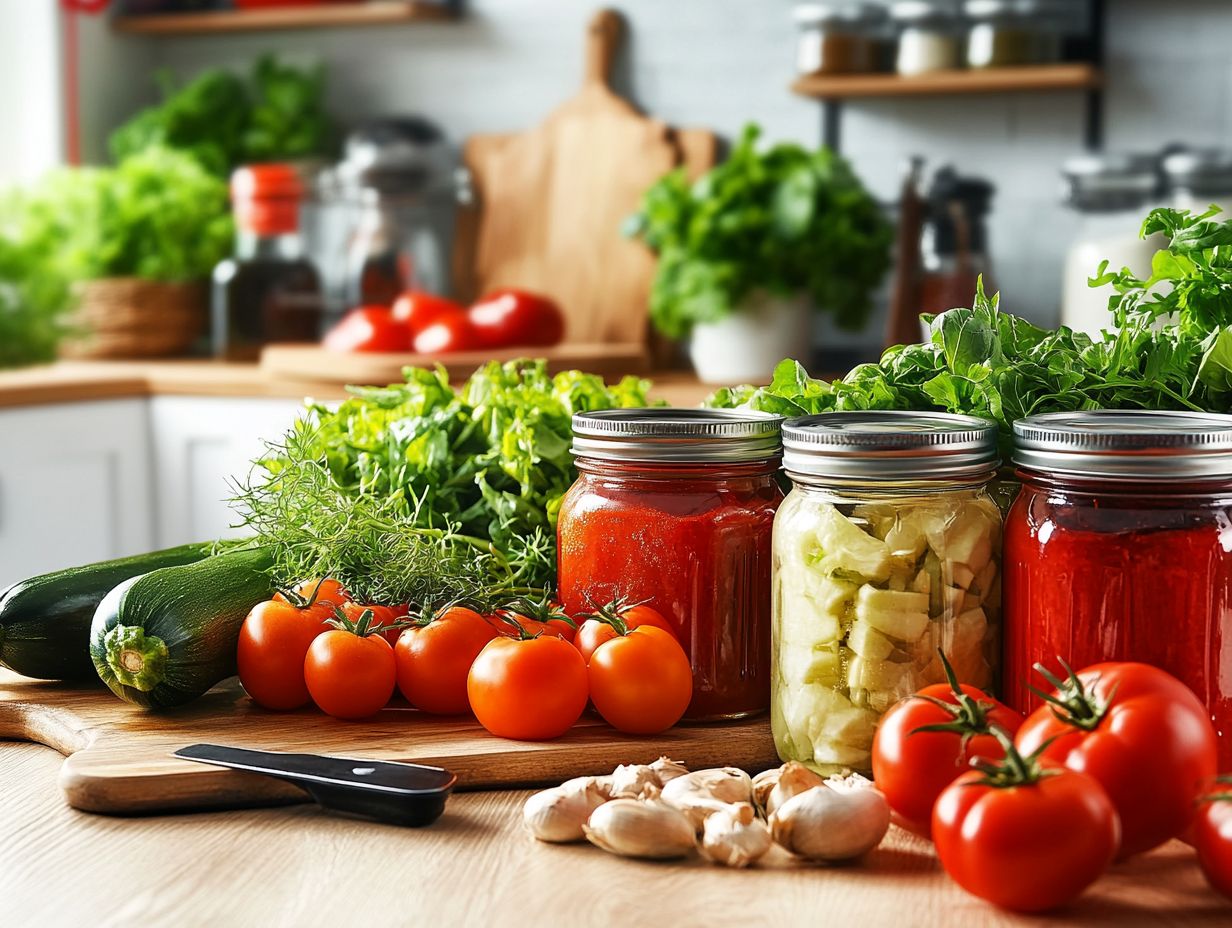
A step-by-step guide to canning is an invaluable resource for you as you embark on your food preservation journey. It ensures safe canning methods, helping you avoid foodborne illnesses.
Preparing Jars and Lids
Preparing jars and lids is a crucial step in the canning process. Ensuring they are clean and properly sealed is essential for effective food preservation.
Start by washing the jars and lids thoroughly with hot, soapy water to eliminate any leftover substances. This is the first step to ensuring your canning success!
Next, proper sterilization is key. Boil the jars and lids in water for at least 10 minutes to eradicate any lingering bacteria.
Once sterilization is complete, take a moment to inspect each component carefully for defects, such as cracks or chips, which could compromise the seal.
By following these meticulous steps, you significantly enhance the likelihood of a successful canning experience, ensuring your preserved food remains safe and delicious for months to come.
Filling and Processing the Jars
Filling and processing the jars correctly is paramount in canning. Carefully add food while leaving the right amount of space at the top of the jar.
To achieve optimal results, it s essential to maintain appropriate space at the top of the jar. Generally, leave half an inch for jams and jellies and one inch for vegetables to promote a proper seal.
Following precise processing times is vital. This guarantees the elimination of harmful bacteria and preserves the quality of your food.
Using a reliable canning guide will help you determine those times based on specific jar sizes. Using sterilized jars and ensuring that lids are undamaged will significantly contribute to the overall success of your canning endeavors.
Sealing and Storing the Jars
Sealing and storing the jars is the crucial final step in your canning process. Pay close attention to detail here; properly removing air from the jar will extend its shelf life.
To achieve an effective seal, follow the manufacturer’s instructions regarding the types of jars and lids to use, along with any specific requirements for the foods you’re canning.
Using a canner whether it s a water bath or a pressure canner can enhance the sealing process by applying the right amount of heat and pressure.
Store your jars now in a cool, dark place to keep them fresh! This protects them from light exposure and temperature fluctuations, which can jeopardize seal integrity.
Regularly check your jars. Look for signs of spoilage, like a popped lid or bulging sides, to ensure your preserved goods remain safe and delicious for future enjoyment.
Frequently Asked Questions
How to Prep Foods for Canning?
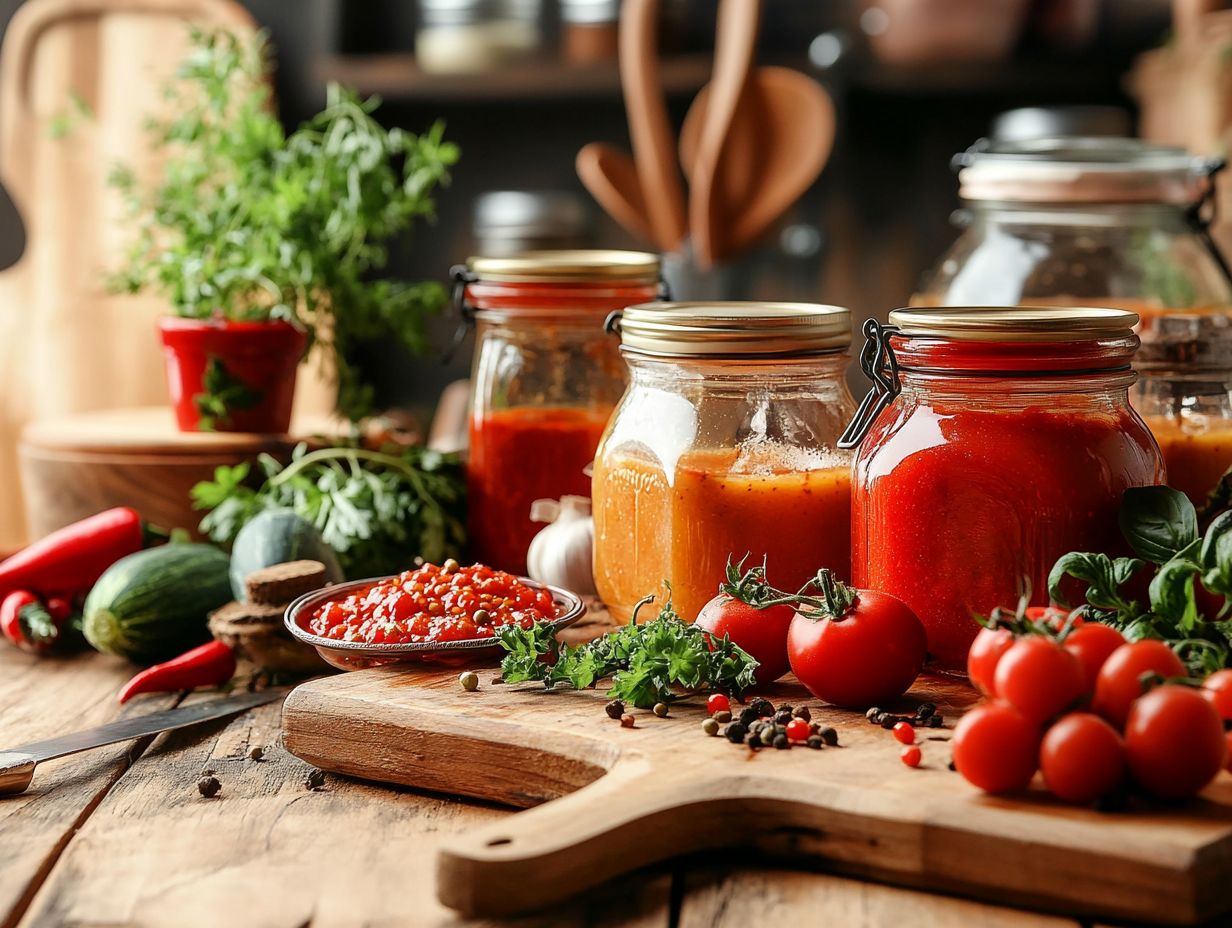
Preparing foods for canning is an important step to ensure safe and delicious preserved goods. To get started, learn how to prepare jars for canning and check out some commonly asked questions about the process.
What tools do I need for prepping foods for canning?
You will need:
- A large pot for sterilizing jars
- A jar lifter
- Canning jars, lids, and rings
- A funnel
- A ladle
- A damp cloth for wiping the jar rims
Do I need to peel fruits and vegetables before canning?
Peeling fruits and vegetables is not necessary, but it can improve the texture and appearance of your canned goods. If you choose to leave the peels on, wash them thoroughly.
Should I blanch vegetables before canning?
Blanching vegetables before canning is recommended. This helps preserve their color, texture, and flavor. It involves briefly cooking the vegetables in boiling water and then placing them in an ice bath to stop the cooking process.
Now you re ready to preserve your summer bounty. Happy canning!
How do I prepare acidic foods for canning?
Acidic foods like tomatoes and fruits don t need sterilization before canning. Just wash and trim them before packing into jars.
Can I use frozen fruits and vegetables for canning?
You can use frozen fruits and vegetables for canning. Thaw them first to ensure even cooking during the canning process.
What is the proper way to pack foods into jars for canning?
When packing foods, leave enough space at the top of the jar for expansion. Use a clean ladle and funnel, and remove any air bubbles with a non-metallic tool.
Then, tighten the lids securely.
